Have you ever scrolled through social media, seen a gorgeous dessert, and immediately thought, “There is absolutely no way I could ever make that”? Maybe you don’t consider yourself a baker. Maybe the thought of messing around with oven temperatures, timers, or complicated baking scales makes you want to step out of the kitchen entirely. If that sounds like you, take a deep breath, because you are in the exact right place.
This easy no-bake Oreo cheesecake is specifically made for anyone who thinks they can’t cook or bake. Seriously, even if you have never cracked an egg or turned on an oven in your life, you can confidently make this dessert tonight. There are zero complicated techniques here, no gelatin to mess up, and absolutely no baking required. If you can crush a cookie and mix a few basic ingredients together in a bowl, congratulations—you have all the skills you need to pull off this absolute crowd-pleaser.
Let’s be completely honest for a moment: this isn’t some fancy, over-the-top pastry shop cake. It’s not the kind of dessert you save only for a massive holiday or a formal, stiff dinner party. Instead, it is the ultimate, cozy, everyday dessert. It’s a casual treat meant to sit happily in your fridge, waiting for you to sneak a slice after a long workday, or to share with your family on a lazy Sunday afternoon. It’s exactly what you want on hand when a friend drops by unexpectedly for a cup of coffee and a chat. It is simple, humble, and utterly delicious.
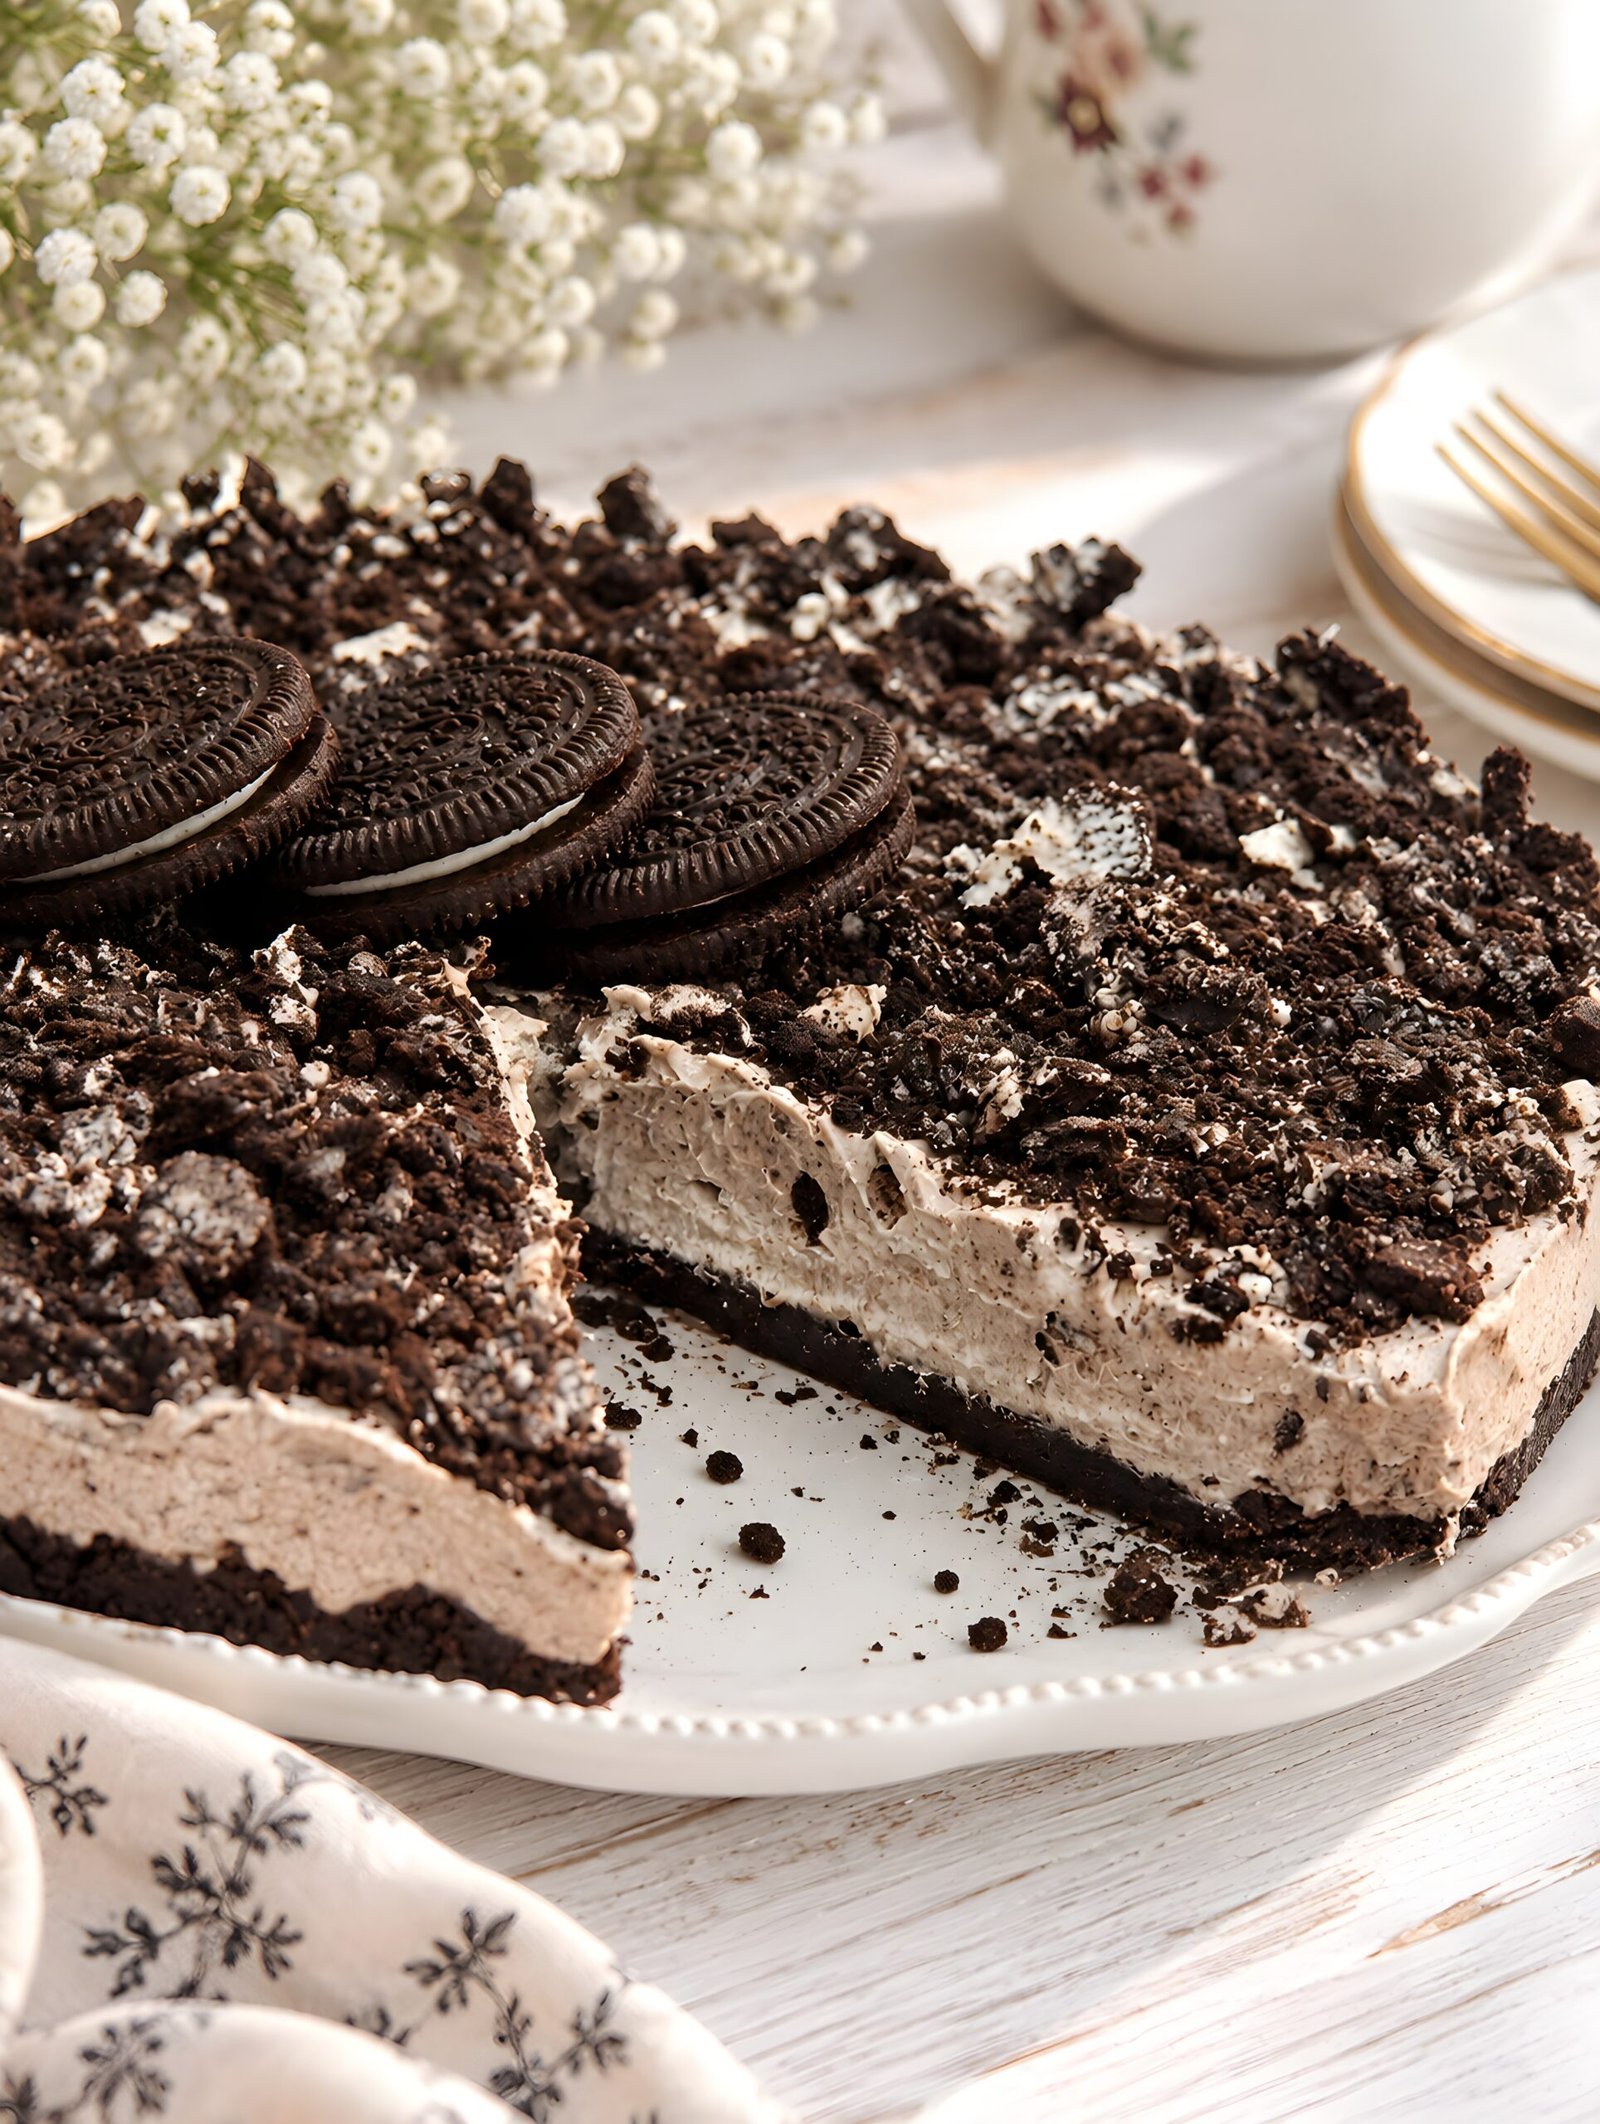
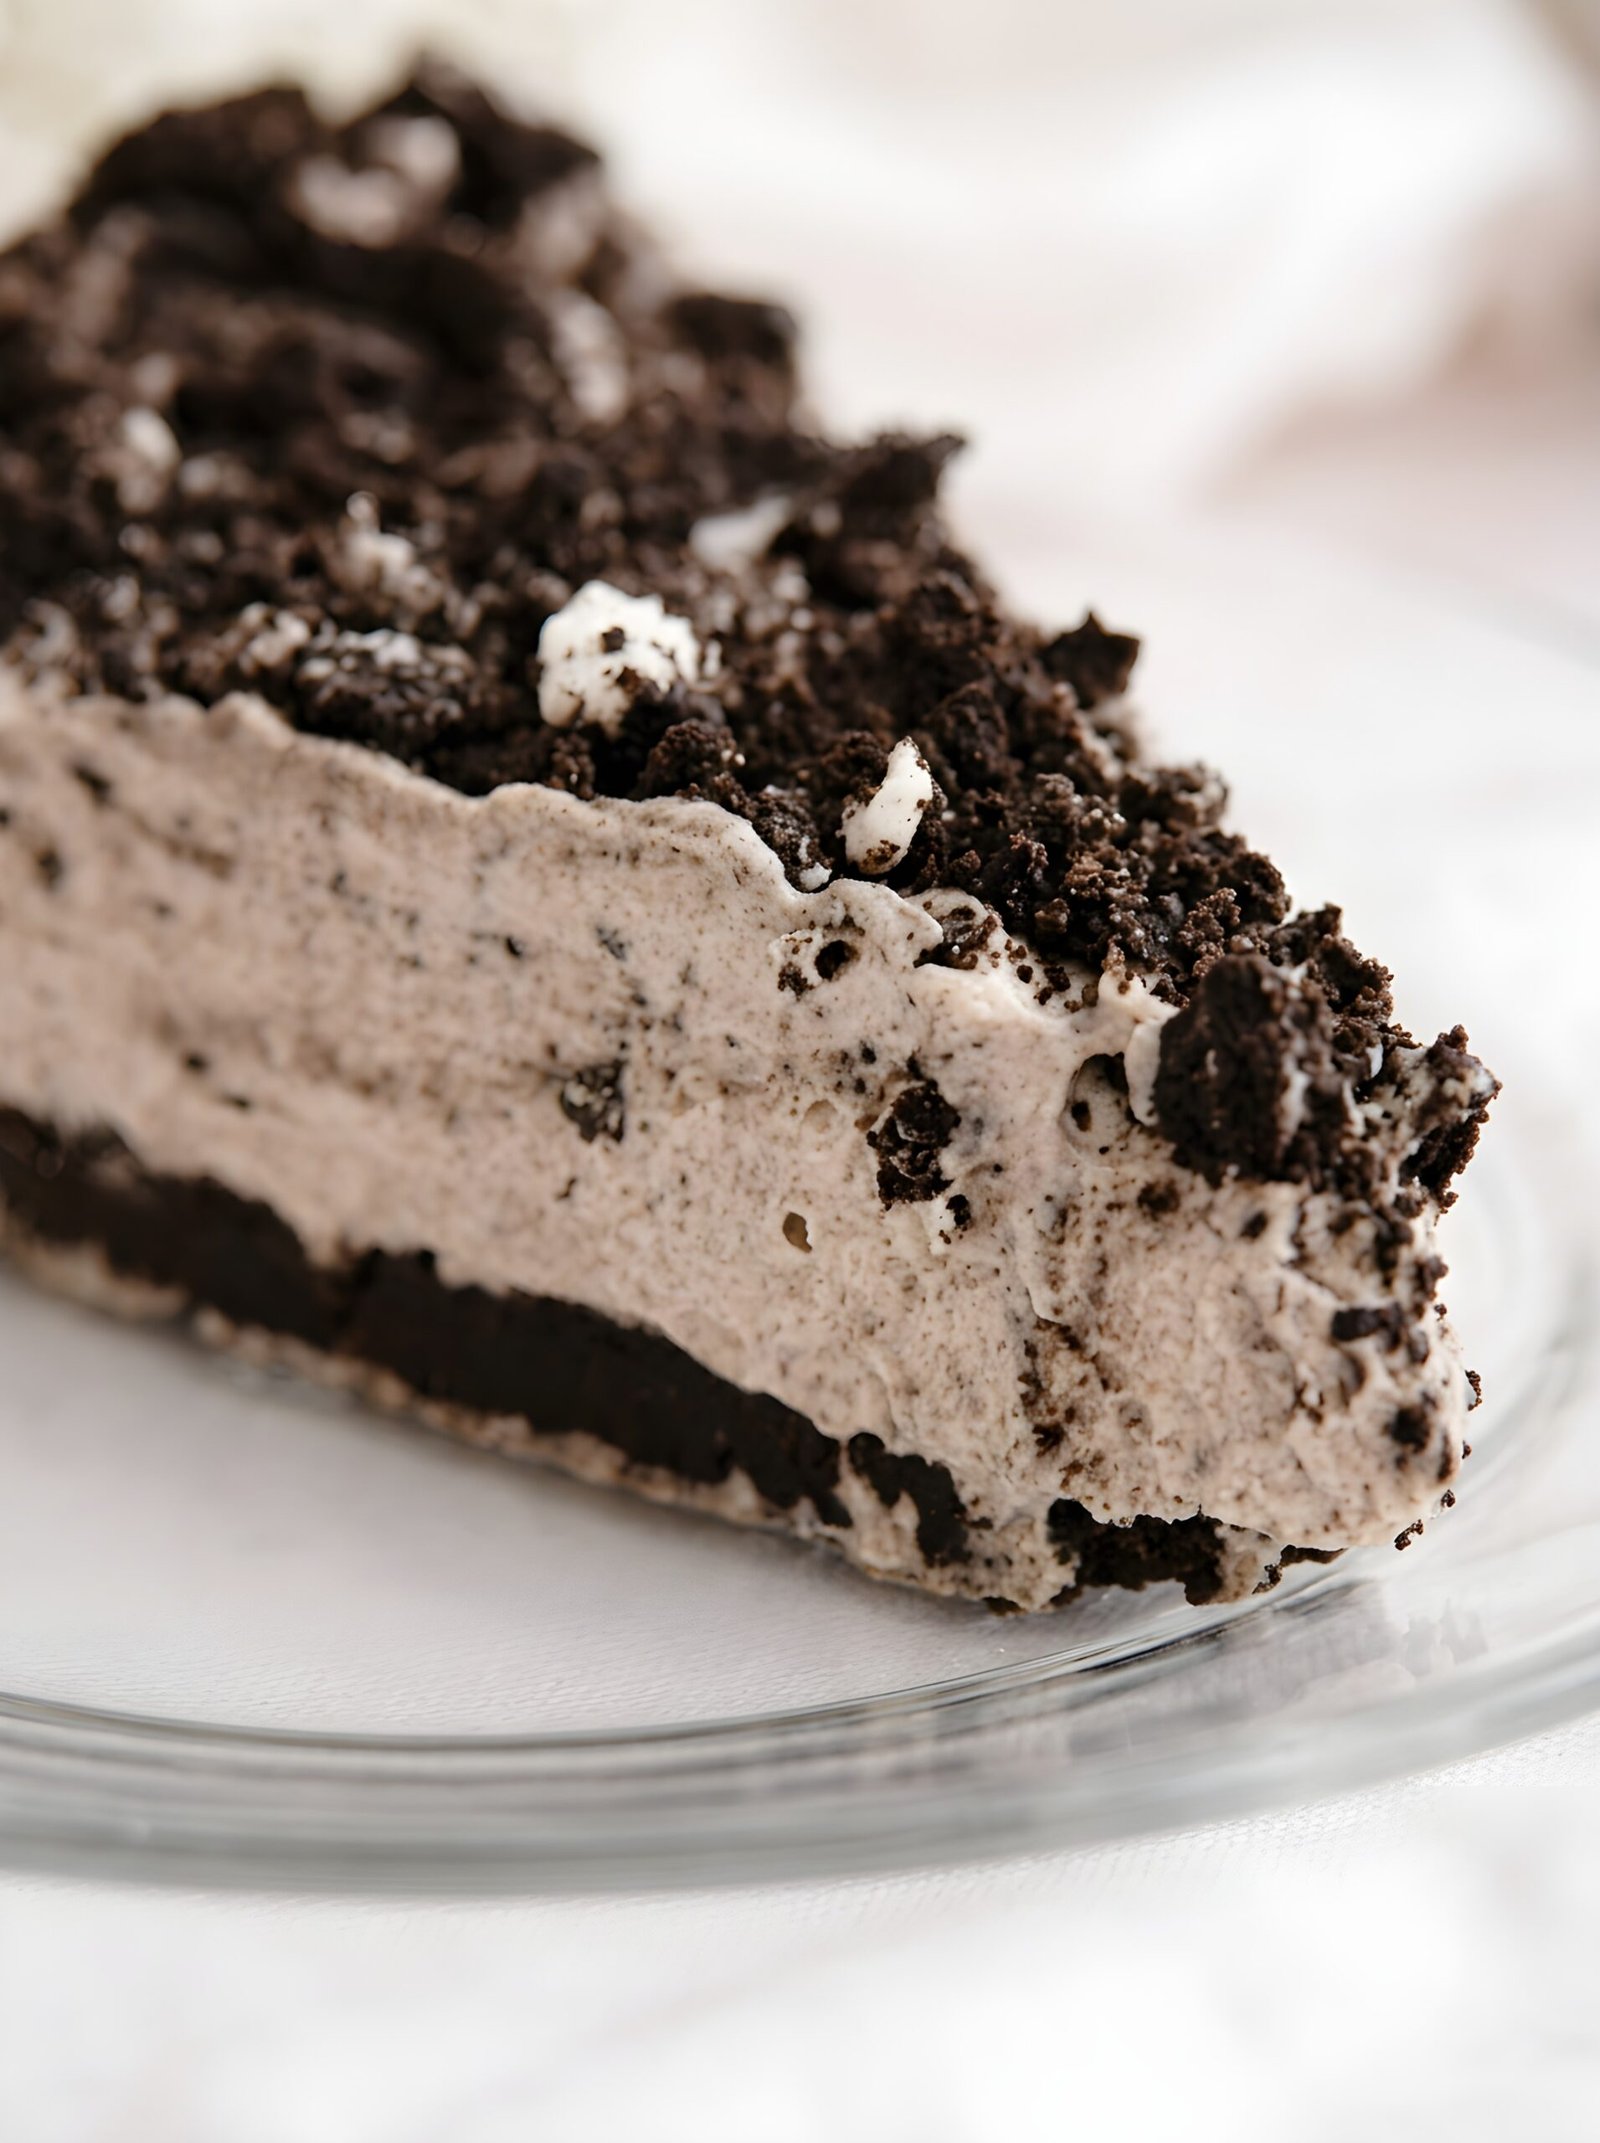
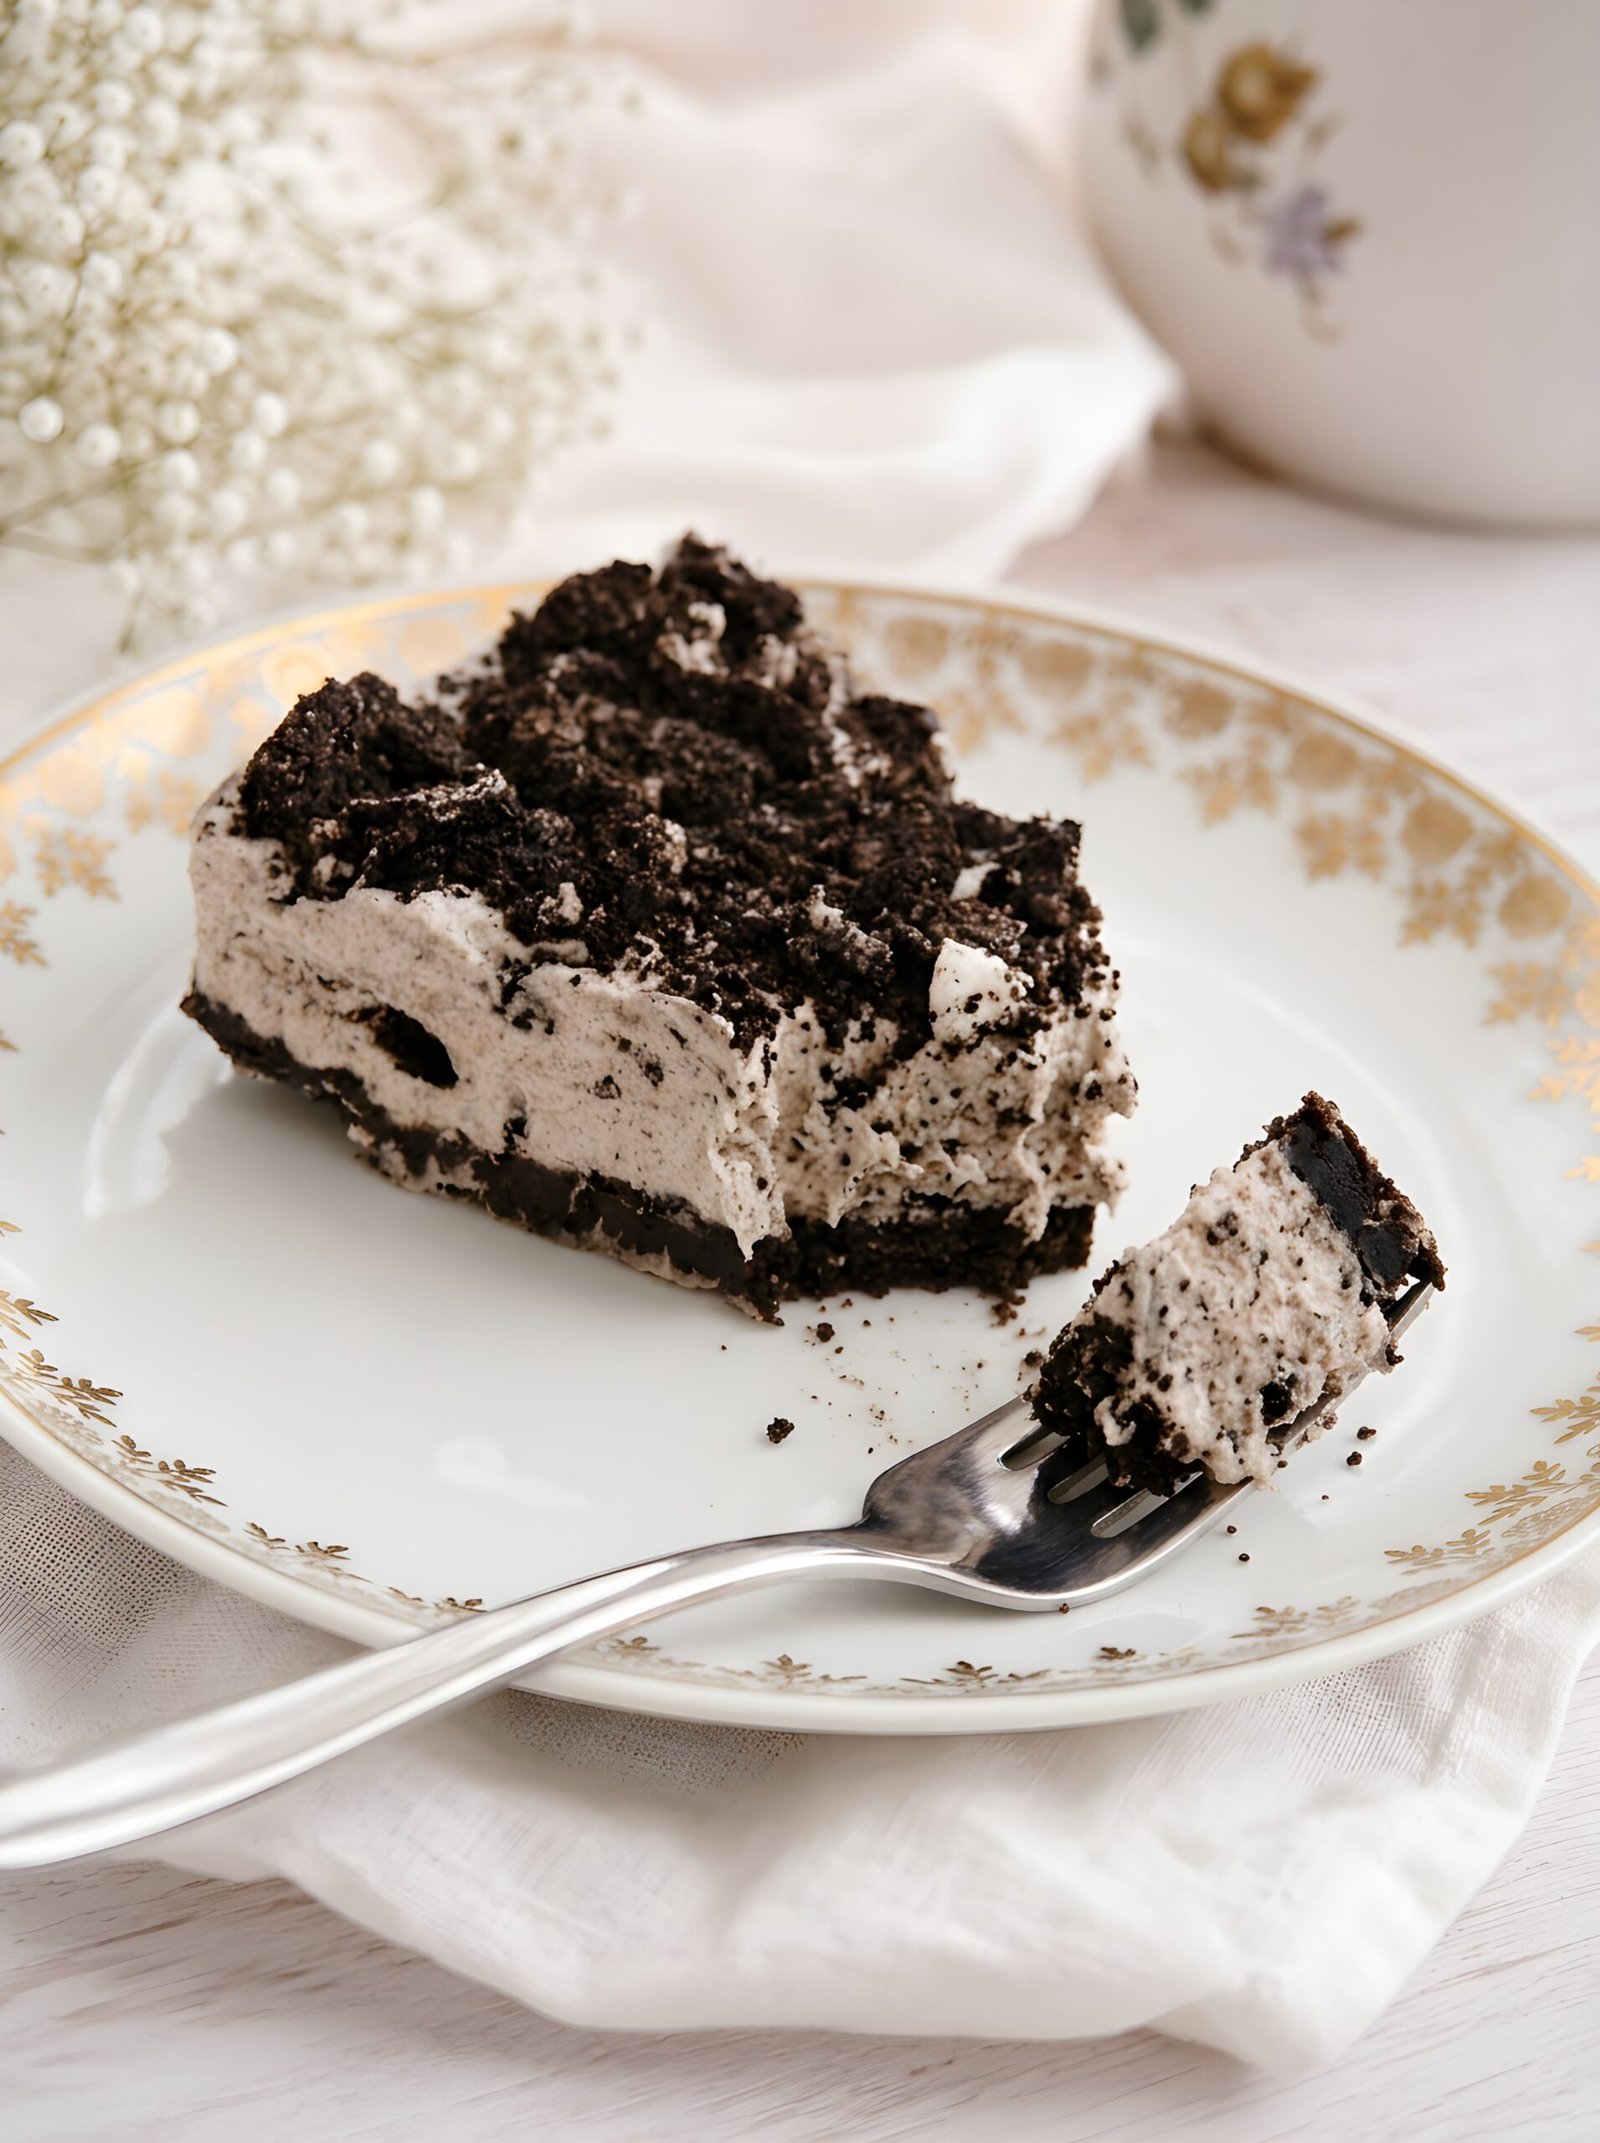
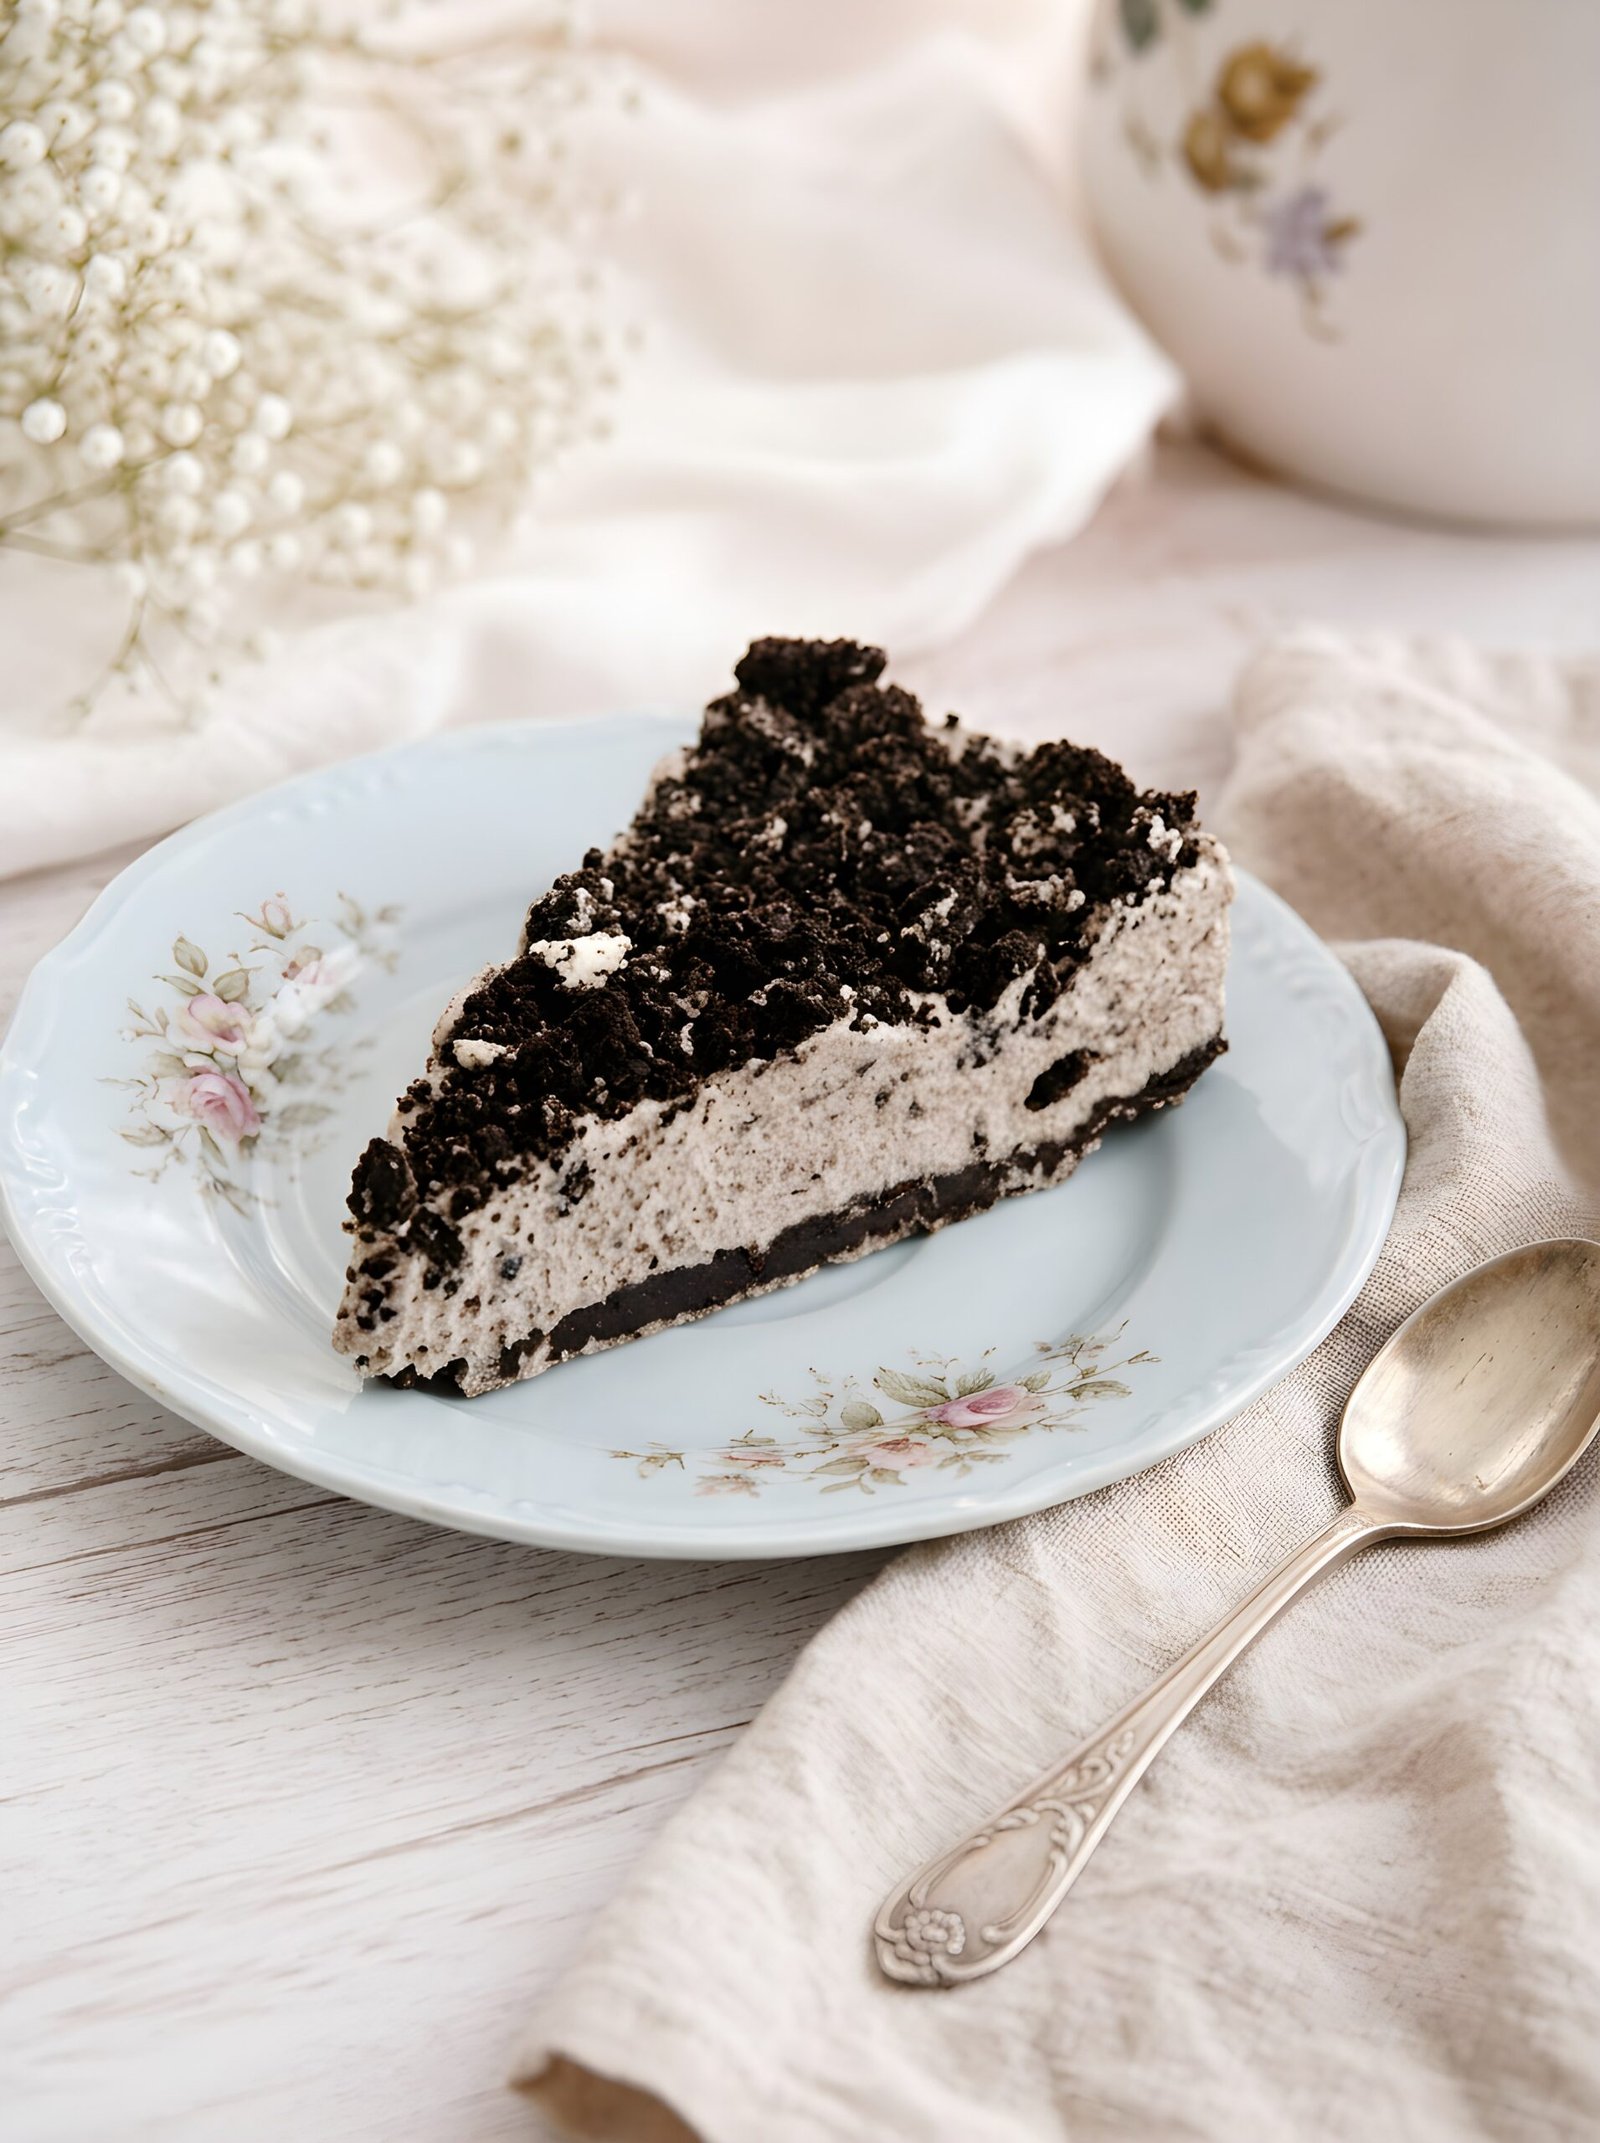
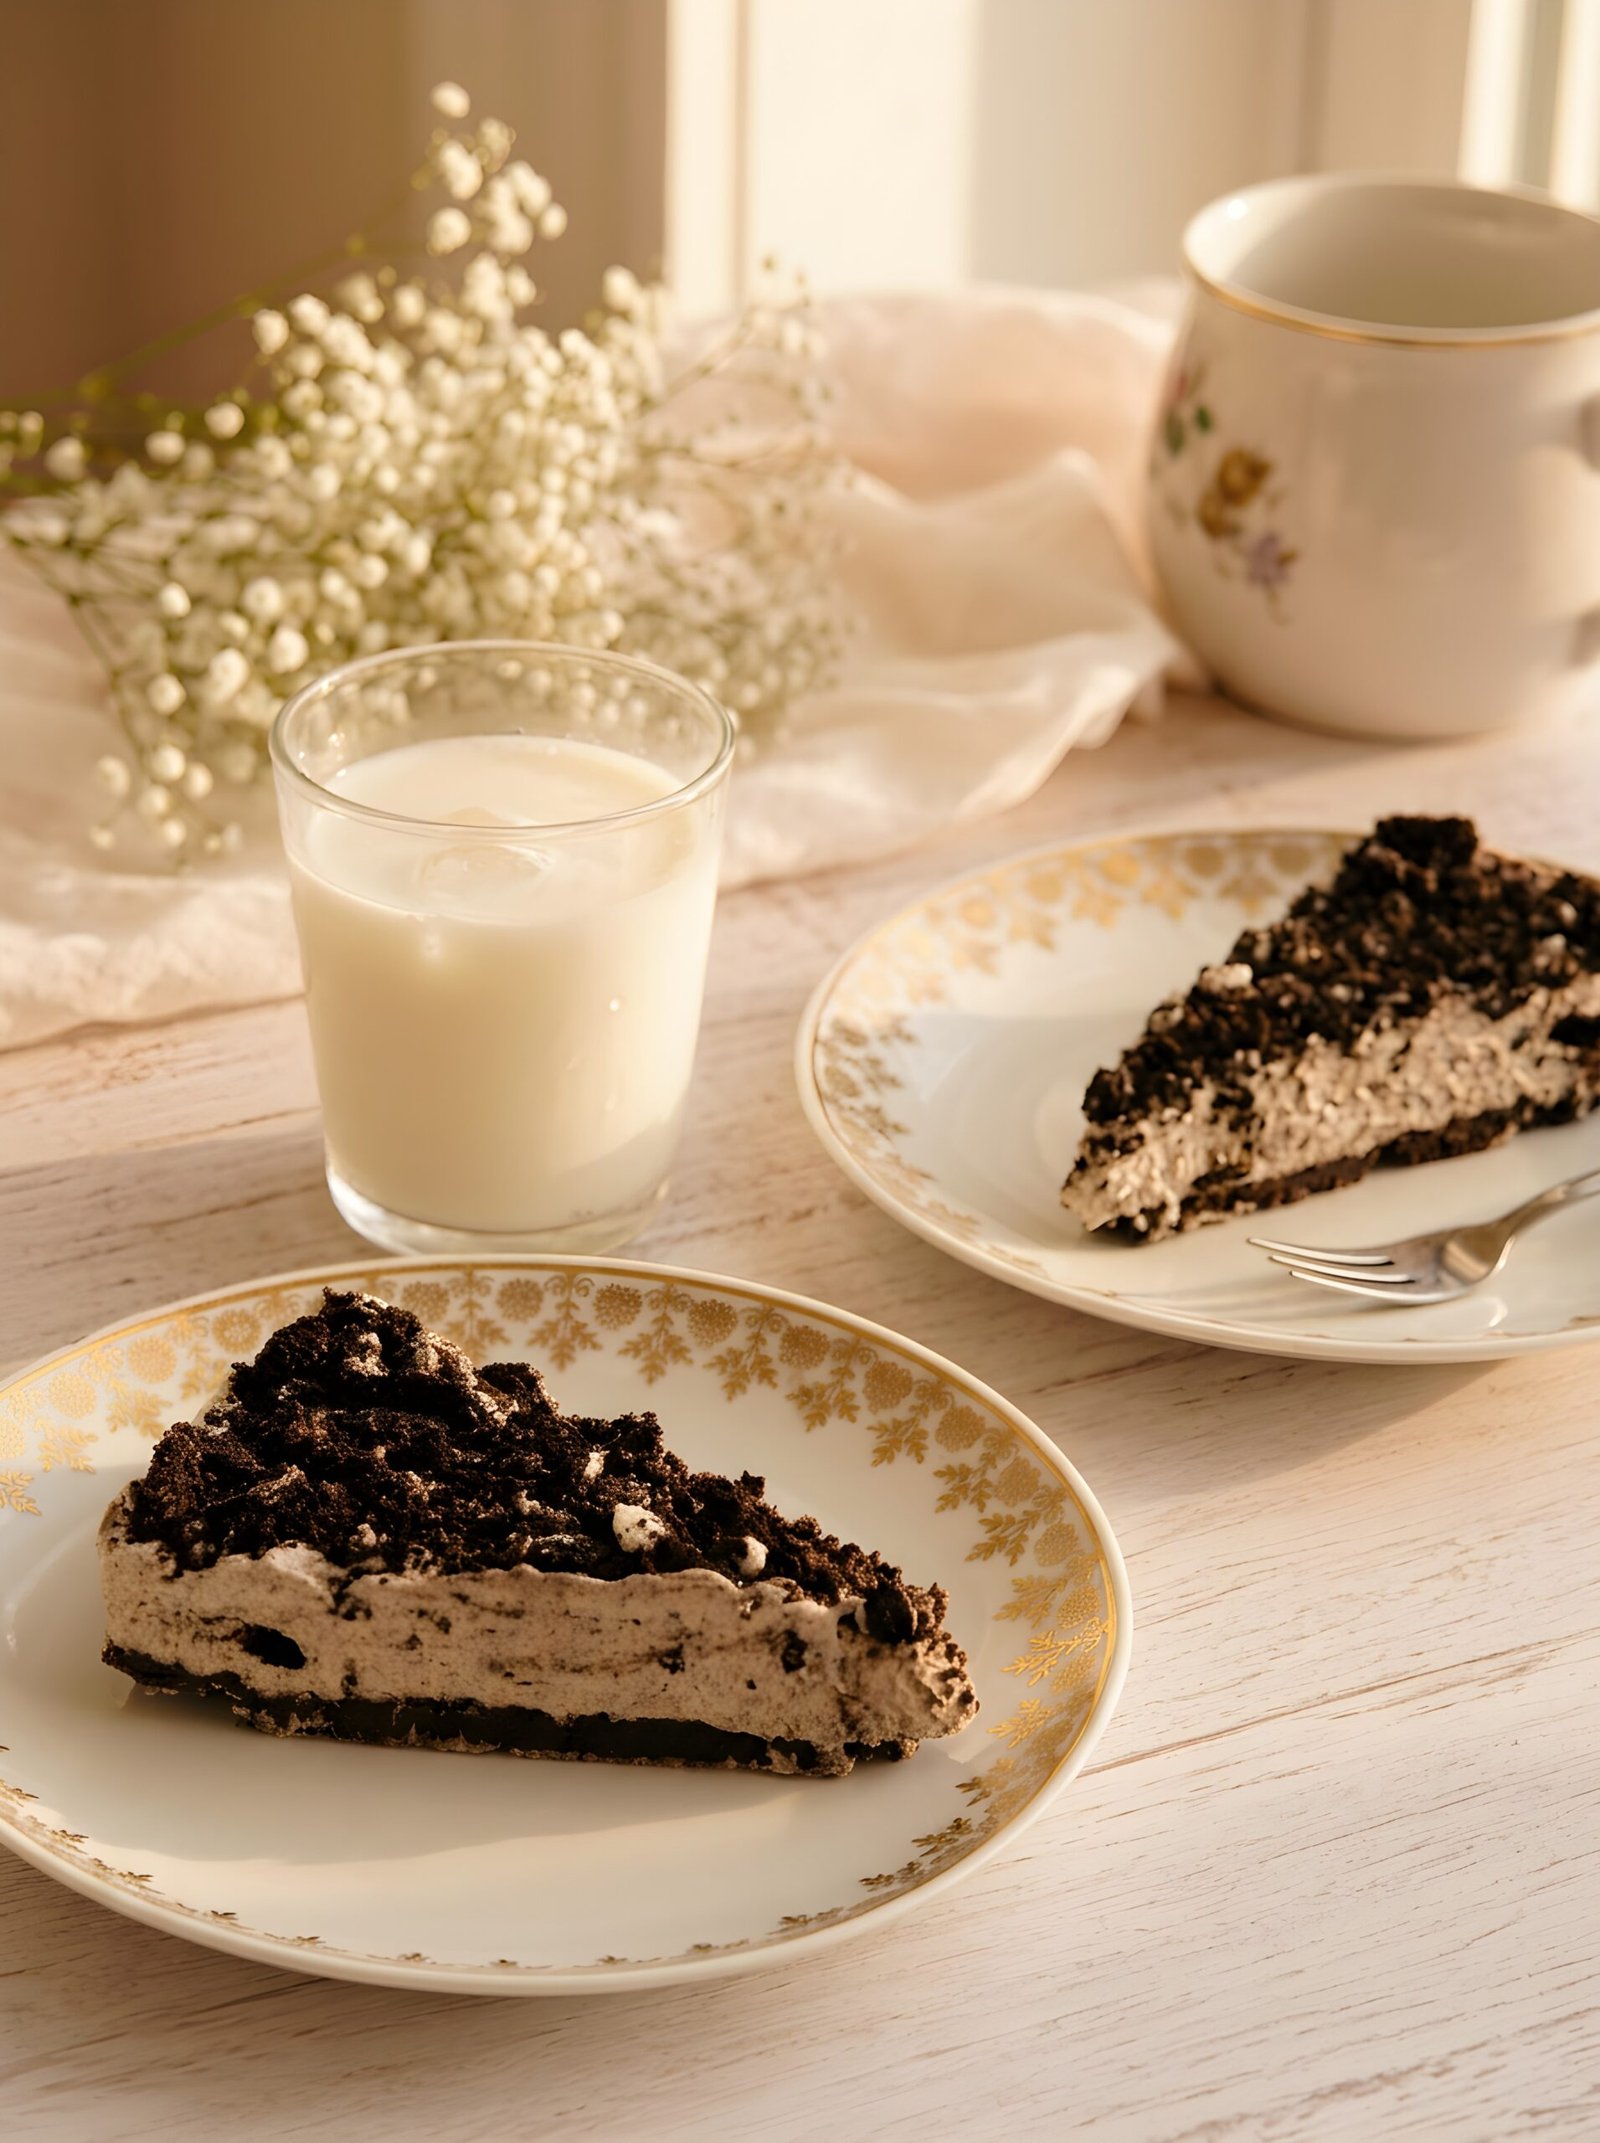
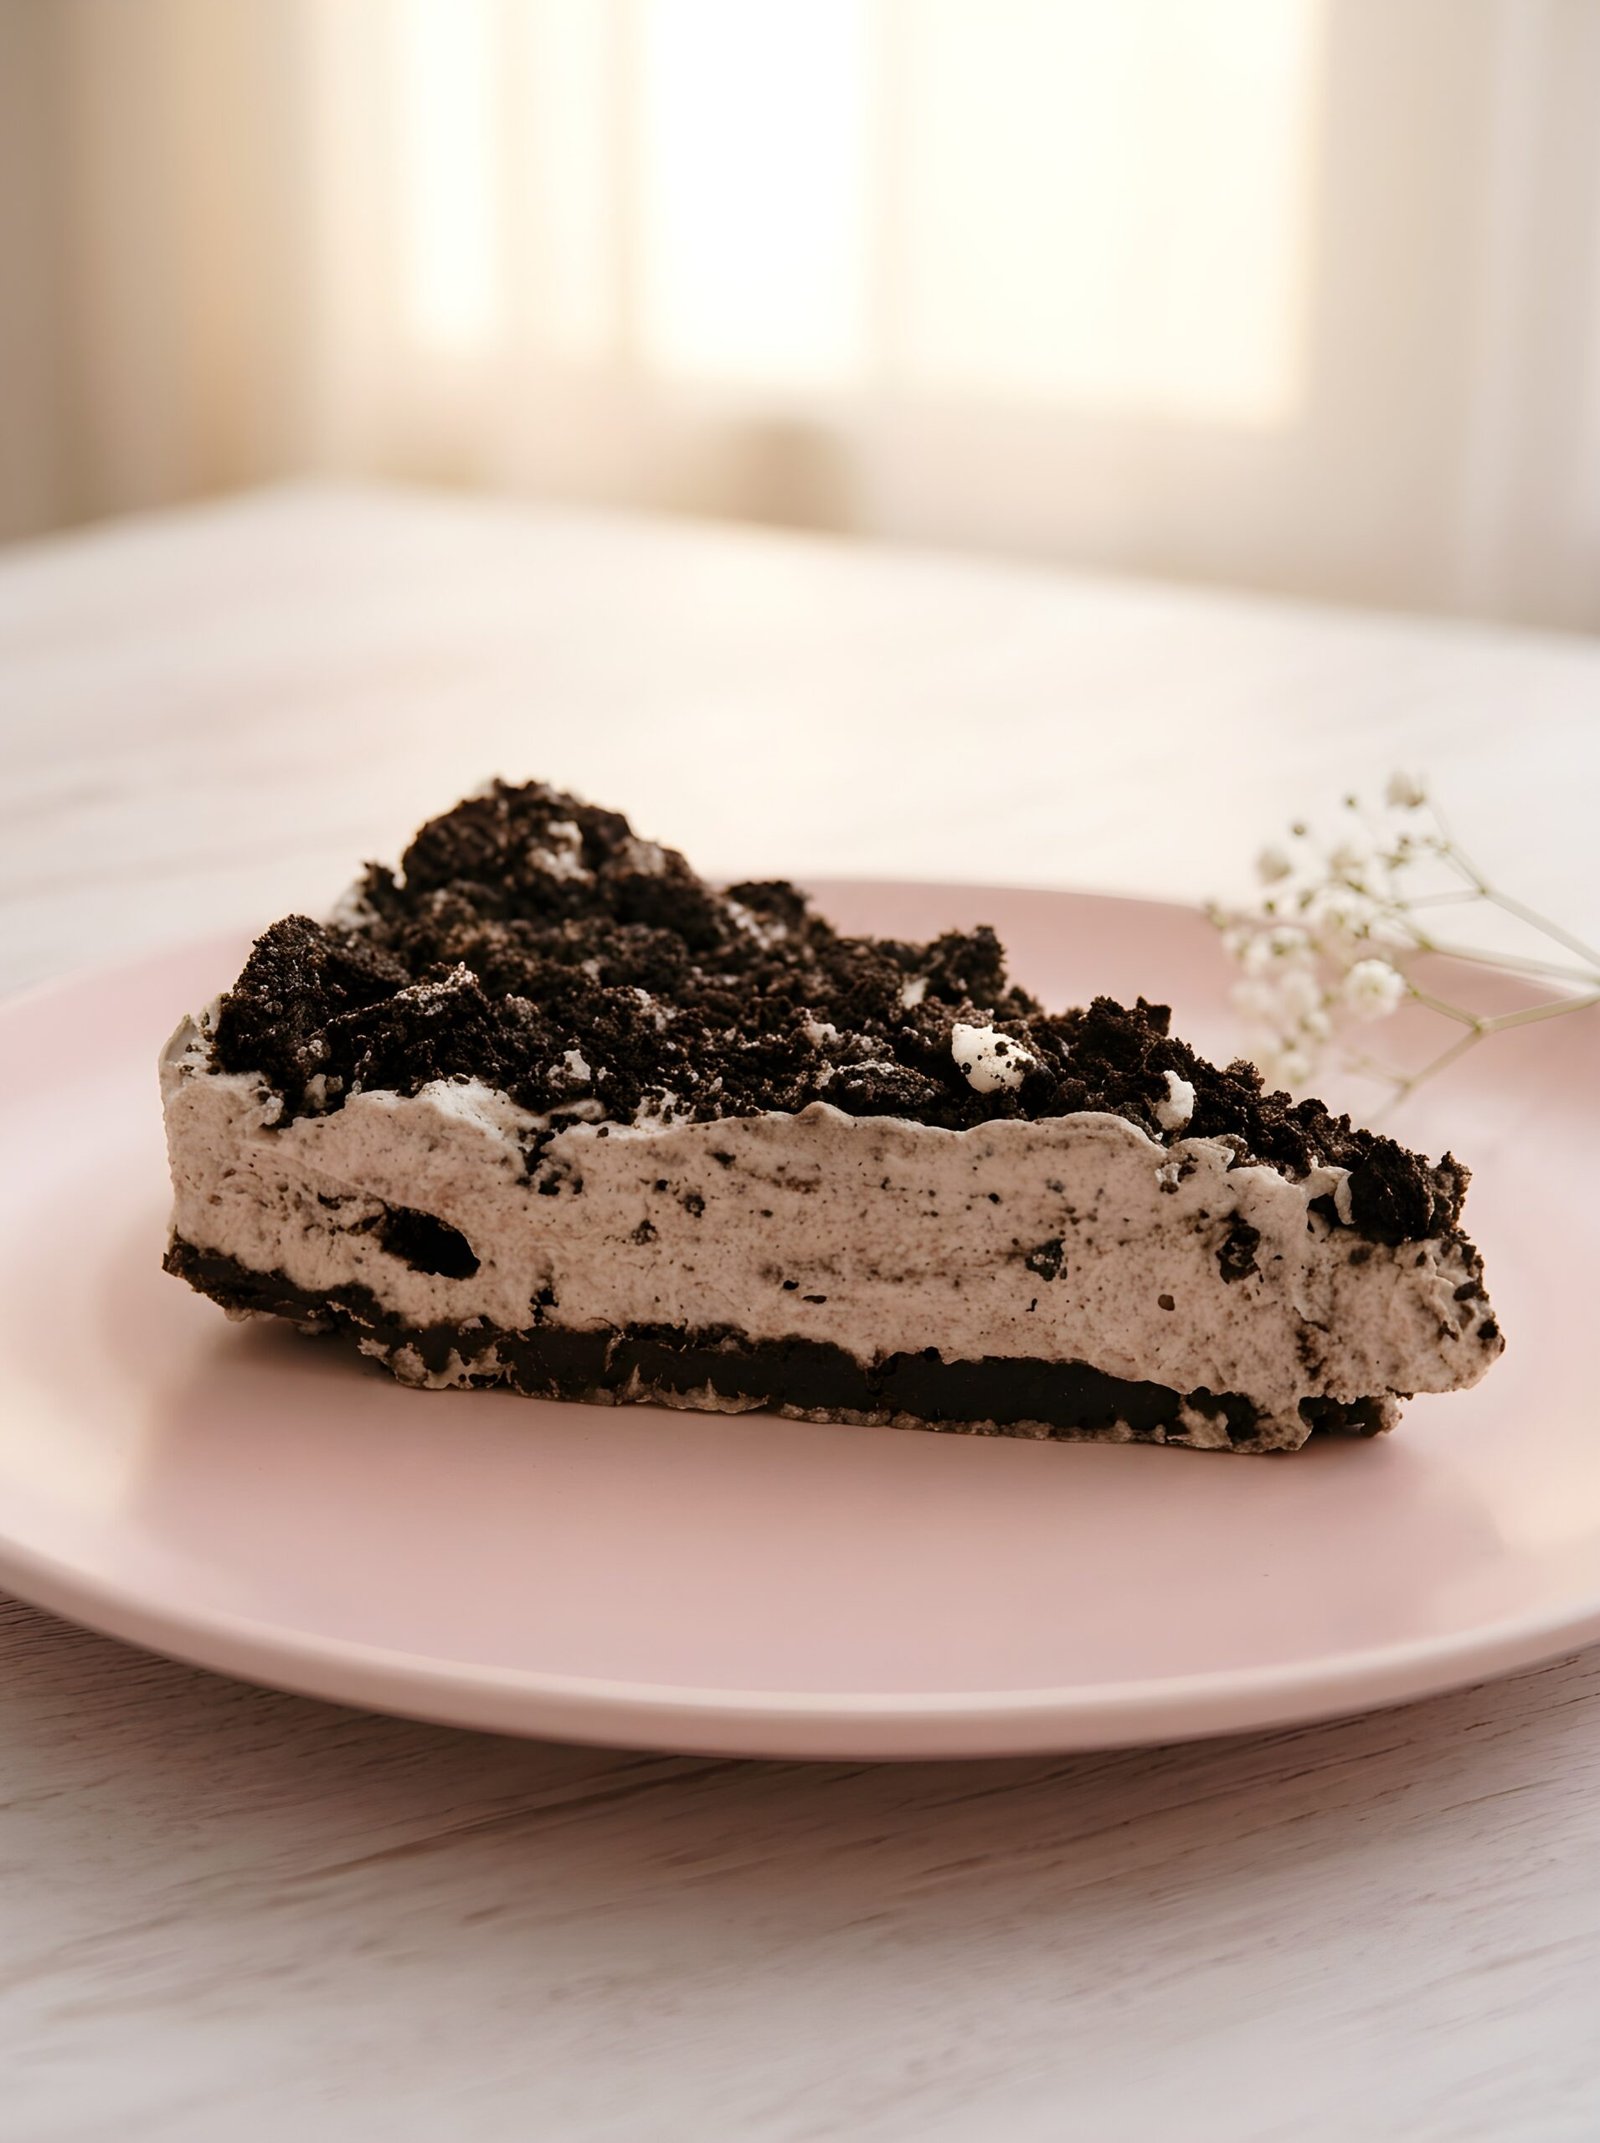
What truly makes this dessert special is its incredible texture. If you are expecting a dense, heavy, or traditional hard cheesecake, you are in for a wonderful surprise. This is much more like a luxurious, dreamy Oreo mousse cake. The filling is unbelievably light, pillowy, and softly whipped. It doesn’t feel like a heavy brick of cream cheese; rather, it is a very soft, velvety cloud of cookies and cream goodness that practically dissolves the moment it hits your tongue. Every single bite gives you the perfect contrast between that soft, mousse-like filling and the satisfying crunch of the cookie pieces.
Another reason you are going to fall completely in love with this soft Oreo mousse cake is just how incredibly forgiving it is. In traditional baking, if you miss a measurement by a few grams or leave a cake in the oven for two minutes too long, the whole thing can quickly turn dry or ruined. Here? There is absolutely zero pressure. If your cookie crust has a few bigger chunks in it, it just adds a better crunch. If you want to throw in extra crushed cookies into the whipped filling because you love a deeper chocolate flavor, go right ahead! It is a totally customizable, low-stress dessert that works with you, not against you. There is no worrying about a cracked top or a sunken center—just pure, effortless kitchen fun that ends with a beautiful, bakery-worthy treat waiting for you in the fridge.
The absolute best part about this mousse-like dream is how little effort it actually takes from you. You only need about 15 minutes of hands-on prep time to whip up the crunchy cookie crust and the velvety, creamy filling. After that, you just hand the job over to your refrigerator. Because it is so soft and airy, it does require a bit of patience—it needs a solid 5 to 6 hours of undisturbed chilling time to set into perfect, clean, sliceable perfection—but your actual work is done in the blink of an eye. You can whip it up in the morning, go about your day, and by dinner time, you have a rich, melt-in-your-mouth chocolate and vanilla treat that tastes amazing. Let’s dive into how easily this comes together!
Why You’ll Love This No-Bake Oreo Mousse Cake
Zero Baking Skills Required: You do not need to know how to separate eggs, temper ingredients, or even turn on an oven. If you can use a spoon and a mixing bowl, you can make this cake.
Dreamy Mousse-Like Texture: Forget heavy, dense, or hard traditional cheesecakes. This version is incredibly soft, light, and pillowy—it feels like eating a velvety cookies and cream cloud.
The Ultimate Prep-Ahead Treat: Because it requires 5 to 6 hours to set in the fridge, it is the perfect stress-free dessert for hosting. Whip it up the night before or in the morning, and it is ready when your guests arrive.
Just a Few Simple Ingredients: No hard-to-find items, no complicated gelatin sheets, and no expensive pastry shop tools. You only need a few everyday grocery staples to bring it to life.
Completely Foolproof & Forgiving: Traditional baking is a strict science, but this recipe is entirely relaxed. You cannot over-bake it, it will never crack on top, and you can add as many extra Oreos as your heart desires!
Perfect for Every Day: It is not a rigid, overly formal cake. It is a comforting, casual sweet treat to keep in the fridge for your family to snack on whenever a craving strikes.
PRO-TIP FOR NEXT-DAY FRESHNESS
Don’t be afraid to make this a day early! This soft mousse cake actually tastes even better the next day. As it sits tightly covered in the fridge overnight, the deep cocoa flavor from the cookies infuses into the velvety filling, and the crust softens just enough to give you perfect, clean slices. It stays incredibly fresh, airy, and delicious for up to 3-4 days!
My Tips for the Best Results
Because this recipe requires zero baking, getting the texture right comes down to a few simple mixing and chilling tricks. Follow these insider tips to guarantee a flawless, velvety dessert every single time:
Use Room Temperature Cream Cheese: Take your cream cheese out of the fridge about 30–60 minutes before starting. Soft cream cheese blends smoothly without leaving tiny, stubborn lumps in your airy mousse filling.
Don’t Over-Crush the Filling Oreos: For the crust, grind the cookies into a fine sand. But for the mousse filling? Leave them in small, chunky pieces. This gives you beautiful black-and-white flecks and a great texture contrast in every soft bite.
Use a Springform Pan or Line It: To easily remove the cake without ruining its soft edges, use a springform pan with detachable sides. If you don’t have one, line a regular cake tin with parchment paper, leaving tabs on the sides so you can lift the cake straight out.
Don’t Rush the Chill Time: It can be tempting to slice into it early, but give it the full 5 to 6 hours in the fridge. Because this cake is very soft and mousse-like, it needs that uninterrupted time to stabilize so it doesn’t collapse when sliced.
Wipe the Knife Between Slices: To get gorgeous, clean cuts through the soft mousse filling, dip a sharp knife into hot water, wipe it dry with a towel, and make a clean slice. Repeat this quick step for every single cut!
Use Full-Fat Ingredients for the Best Stability: Since this recipe uses no gelatin, the cake relies entirely on the fat content of the dairy to hold its soft mousse shape. Always choose full-fat brick cream cheese and heavy whipping cream (at least 35-36% fat content). Light or spreadable tub cream cheeses contain too much water and will make your mousse runny.
Melt the Crust Butter Gently: When melting the butter for your Oreo cookie crust, do it slowly over low heat or in short 10-second bursts in the microwave. If the butter gets boiling hot, it can greasy-fry the cookie crumbs instead of binding them, making your base greasy or rock-hard once it chills.
Press the Crust Firmly, But Not Too Hard: Use the flat bottom of a drinking glass or a measuring cup to press the cookie crumbs into your pan. Press firmly enough so it doesn’t crumble when cut, but don’t pack it down like concrete. Packing it too hard makes it difficult to slice through with a fork later.
Tap the Pan to Remove Hidden Air Bubbles: Because this mousse filling is incredibly thick, soft, and airy, large pockets of air can get trapped at the bottom when you pour it over the crust. Once the filling is in the pan, give it a few gentle taps on your kitchen counter to force any trapped air to the surface for a perfectly solid cross-section slice.
Whip the Heavy Cream Separately First: While it is tempting to dump all the ingredients into one bowl to save time, always whip your heavy cream to stiff peaks in a separate, chilled bowl before gently folding it into your cream cheese. This is the ultimate secret to capturing that ultra-light, pillowy, mousse-like texture that dissolves in your mouth.
Avoid Spreadable Tubs of Cream Cheese: Always choose traditional, brick-style cream cheese rather than soft, spreadable cream cheese from a plastic tub. Tub varieties are formulated with a higher moisture content for easy spreading on toast, which will prevent your airy mousse filling from stabilizing properly and cause it to stay runny.
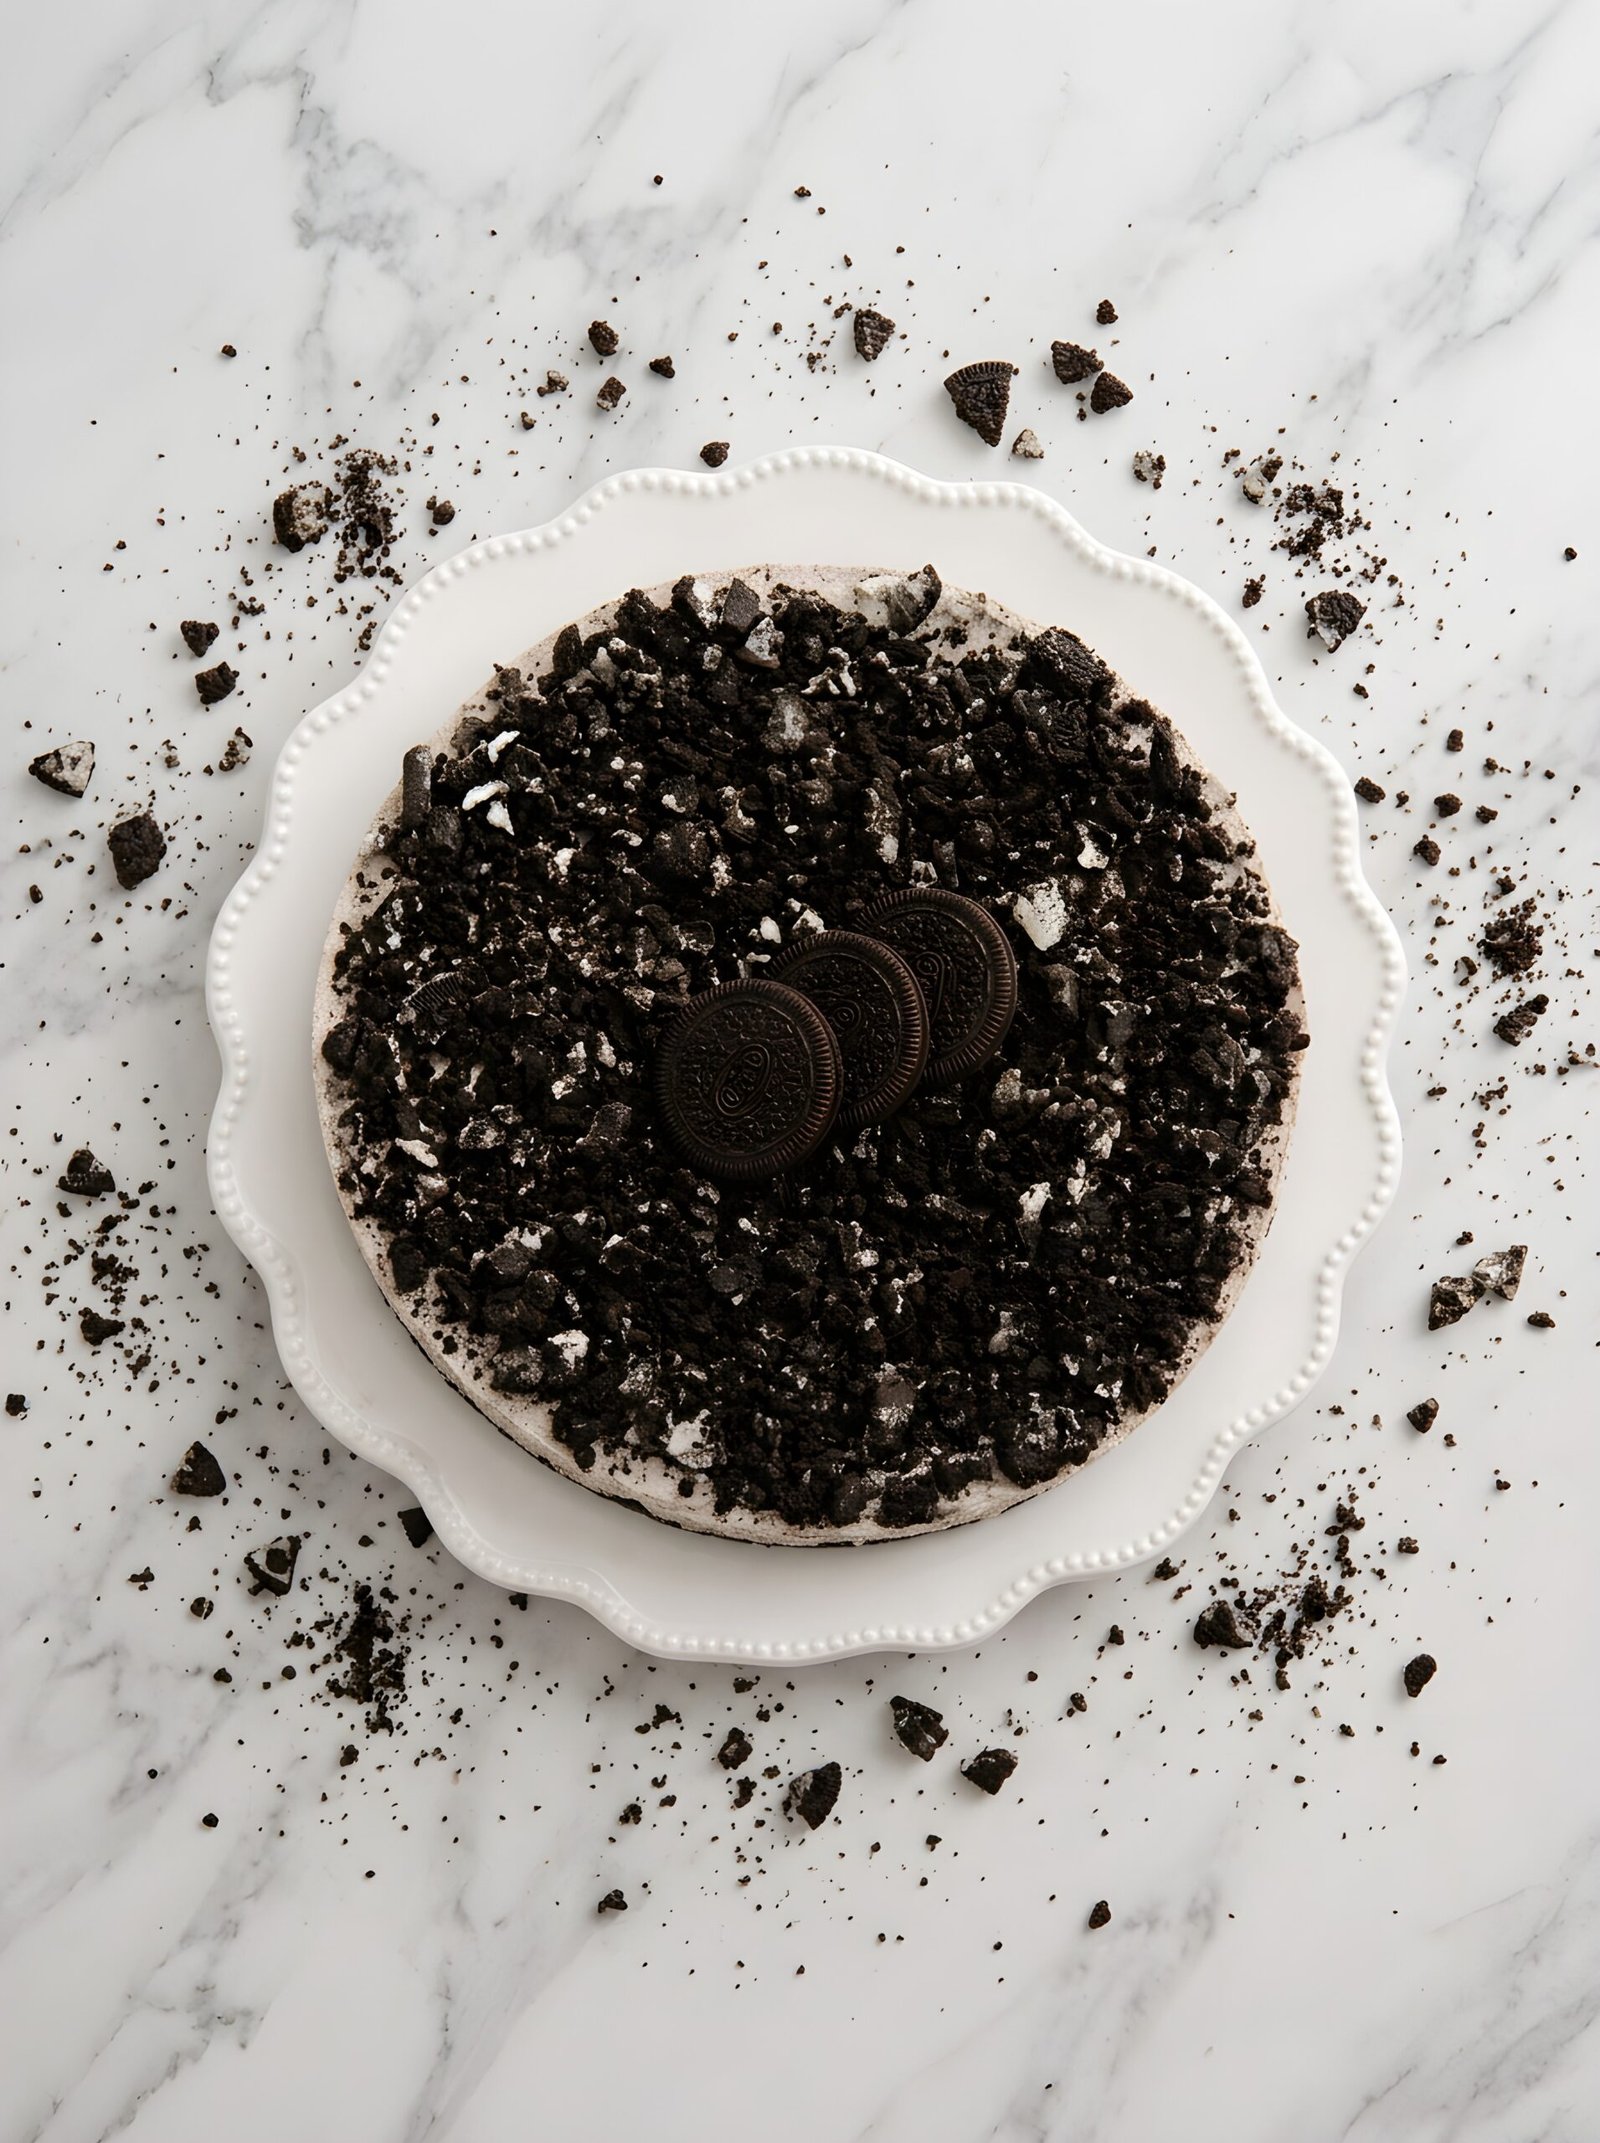
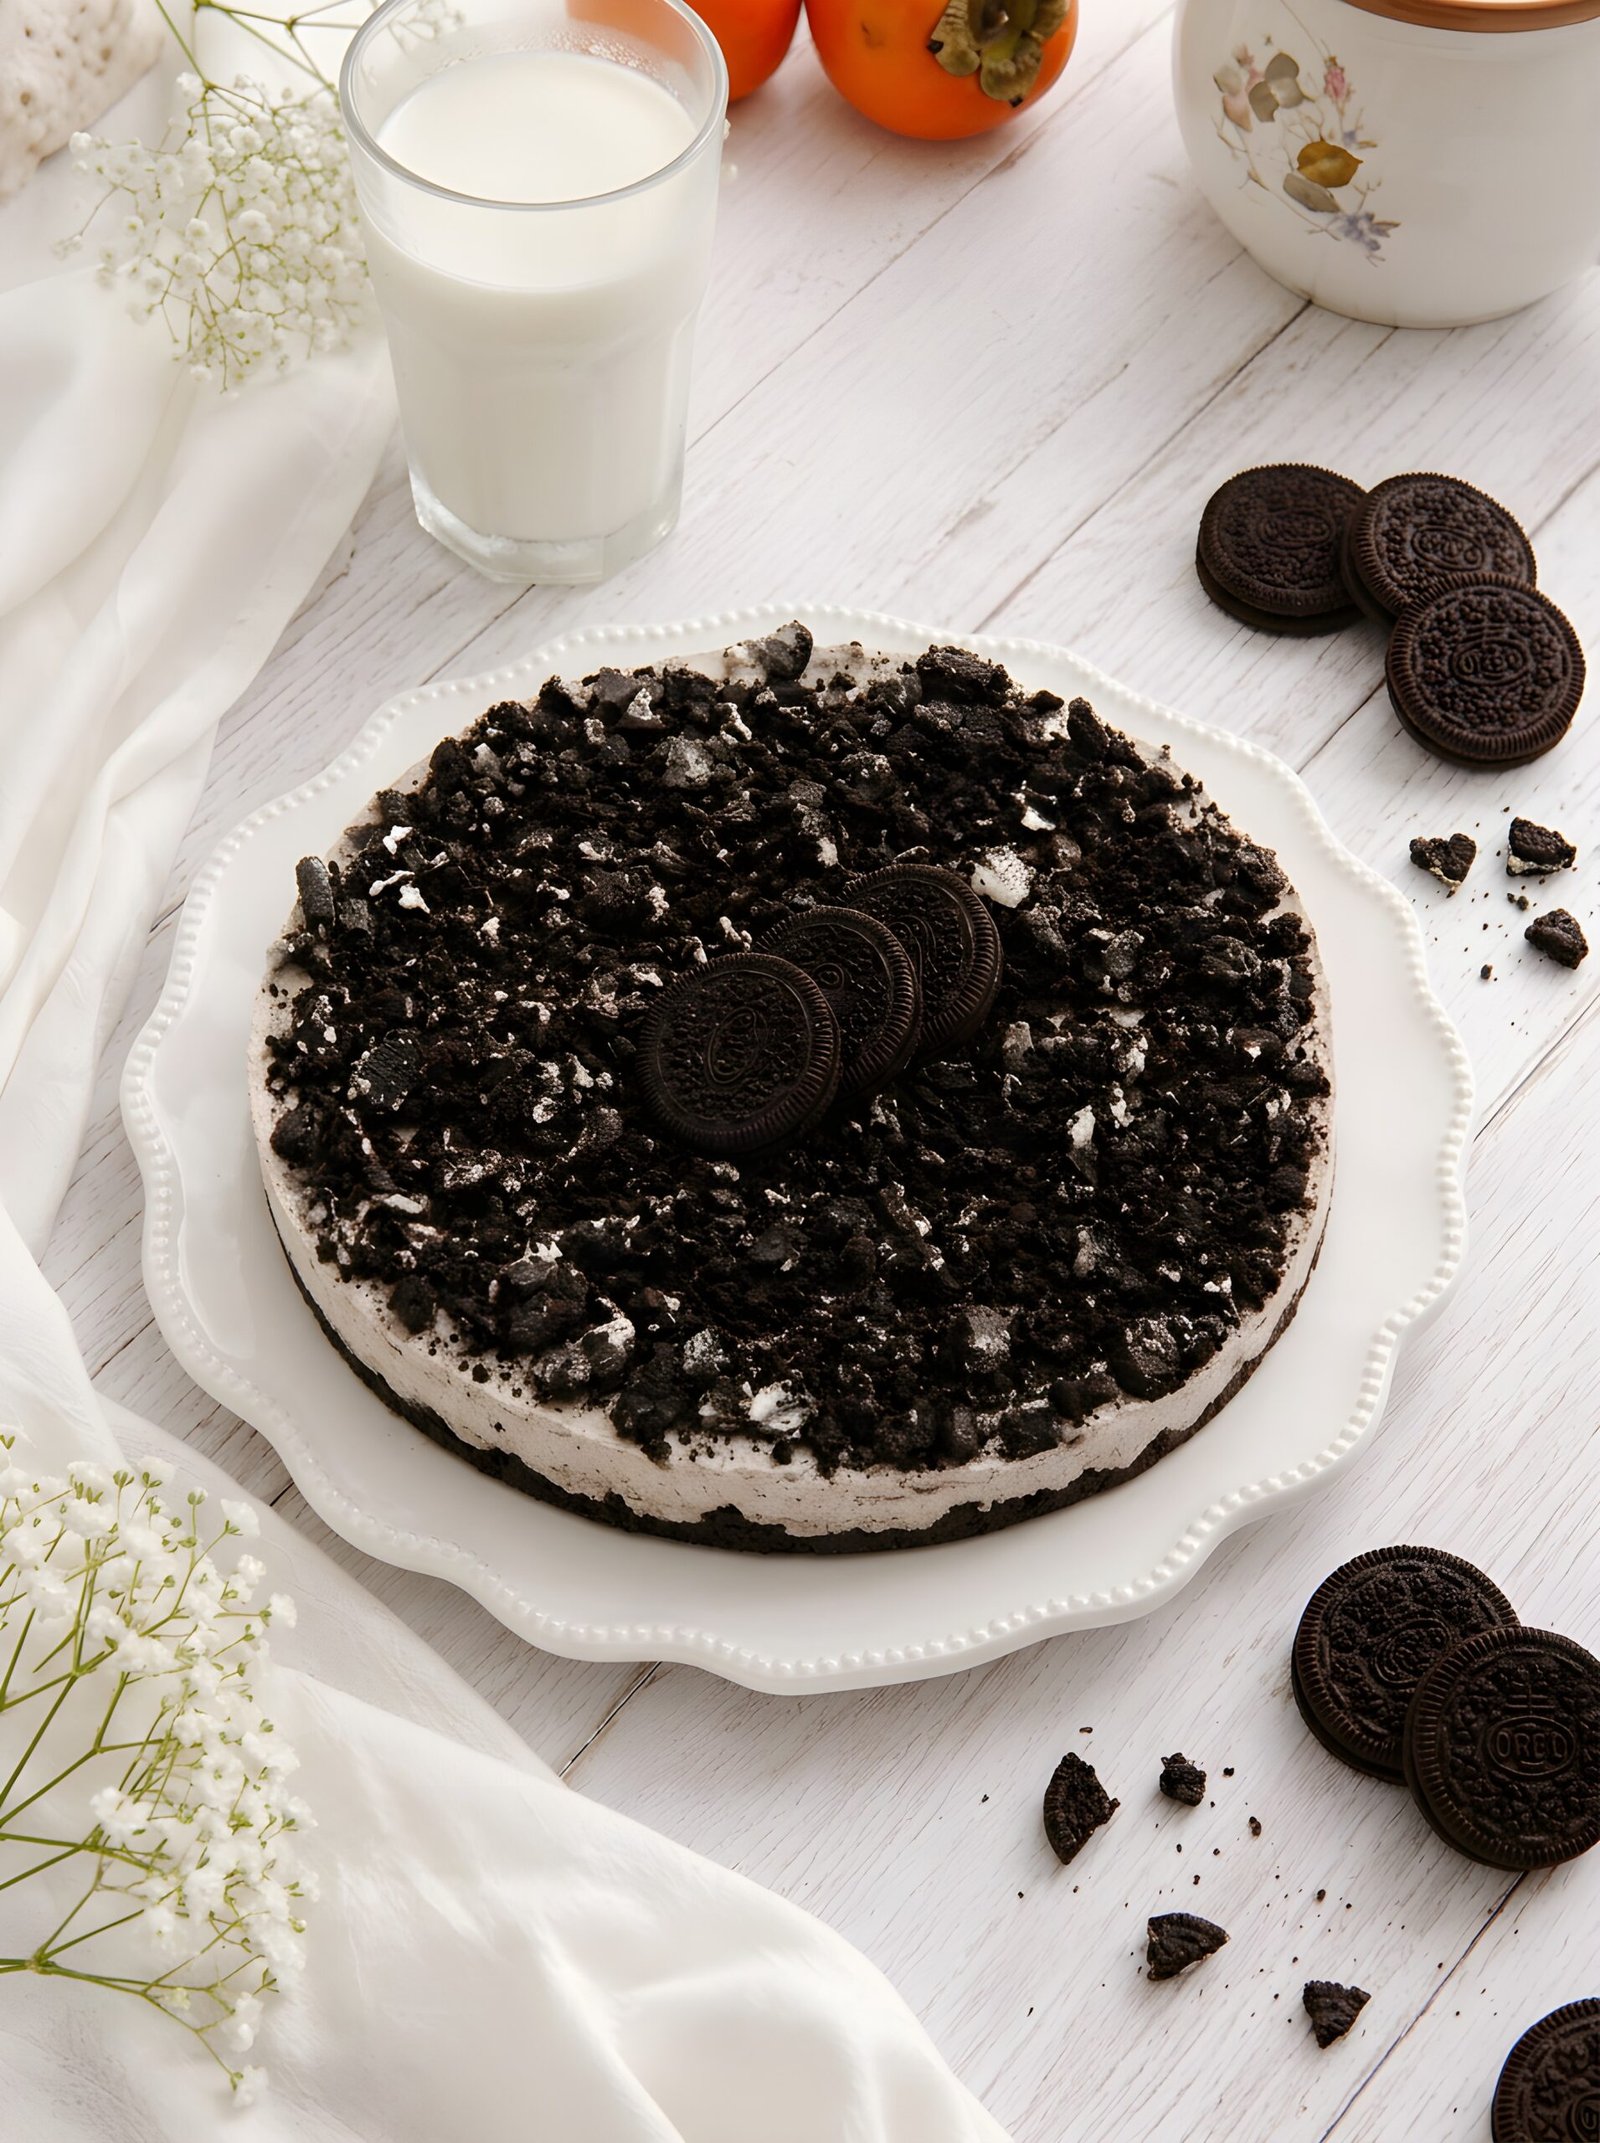
Decorate Only After the 5–6 Hour Chill: Do not add your Oreo crumbs or whole cookie decorations before putting the cake in the fridge. You must wait until the full chilling time is completely up. If you decorate it early, the cookies will absorb moisture from the soft cream mousse overnight, turning them soggy and spongy. To keep your toppings perfectly crisp and crunchy, always add them right before you slice and serve!
ෆ Picky Eater Note : If you are feeding kids, a partner who hates complex textures, or friends who are notoriously fussy about desserts, this soft Oreo mousse cake is your secret weapon. Here is why it wins over even the most stubborn picky eaters:
Familiar & Loved Flavors: There are no hidden surprises, complex spices, or weird aftertastes. It features the simple, universal, and classic combination of milk, cream and chocolate cookies.
No “Weird” Textures: Fussy eaters are often texture-sensitive. Traditional cheesecakes can sometimes feel too thick, chalky, or heavy. Because this filling is whipped into a super soft, airy mousse, it has a smooth, pillowy mouthfeel that feels like eating ice cream.
No Surprise Ingredients: Many fussy eaters dread biting into a dessert only to find unexpected bits of fruit, hidden nuts, or weird jelly layers. This cake keeps things completely straightforward—just pure cookies and cream goodness from the first bite to the last.
Simona
The Best Easy No-Bake Oreo Mousse Cheesecake Recipe
This easy No-Bake Oreo Mousse Cheesecake is creamy, rich, and irresistibly delicious. It features a crunchy Oreo cookie crust and a smooth, fluffy filling made with mascarpone, cream cheese, and whipped cream, creating a light and indulgent mousse-like texture. No oven is needed, making this the perfect, quick make-ahead dessert for Oreo lovers and any occasion.
¾ cup + 1 tbsp (200 ml) heavy whipping cream35% fat
10Oreo cookiescrushed
½ cup (60 g)powdered sugar
2 tsp (8–10 g)bourbon vanilla sugar
Pinchsalt
For the Topping
6–8Oreo cookies
A few chocolate curls(optional)
Method
Prepare the Oreo crust. Place 20 Oreo cookies in a blender or food processor and crush them into fine crumbs. Melt the butter in the microwave in short intervals, then mix it with the Oreo crumbs until evenly combined. Press the mixture firmly and evenly into the bottom of a 7–8-inch (18–20 cm) springform pan with removable sides. Refrigerate the crust for at least 20–30 minutes to firm up before adding the filling.
Make the Oreo mousse filling. In a large mixing bowl, beat the softened cream cheese, mascarpone, powdered sugar, bourbon vanilla sugar, and a pinch of salt until smooth and creamy.
Whip the cream. In a separate bowl, whip the cold heavy cream until stiff peaks form. Gently fold the whipped cream into the cream cheese and mascarpone mixture until smooth, light, and fluffy.
Crush the Oreos for the filling. Place 10 Oreo cookies in a sturdy plastic food-storage bag and gently crush them with a rolling pin or the bottom of a glass. Do not use a blender for these Oreos, as you want some small chunks rather than fine crumbs. Gently fold the crushed Oreos into the mousse mixture.
Add the filling. Remove the chilled Oreo crust from the refrigerator. Spoon the mousse filling over the crust and gently spread it into an even layer.
Chill the cheesecake. Cover and refrigerate for at least 6 hours, or preferably overnight, until completely set and firm.
Add the topping. Once the cheesecake is fully chilled, sprinkle the top with the crushed Oreo cookies and add a few chocolate curls, if desired.
Remove from the pan and serve. Carefully release and remove the removable sides of the springform pan. Because the mousse is soft and delicate, a springform pan makes it much easier to remove the cheesecake while keeping its edges neat and beautiful. Slice and serve chilled.
Notes
Use a springform pan: A pan with removable sides makes it much easier to release the soft mousse cheesecake without damaging the edges.Use cold heavy cream: Cold cream whips more easily and gives the mousse a lighter, fluffier texture.Chill the crust first: Make sure the Oreo crust is chilled and firm before adding the mousse filling so the layers stay neat.For a lighter, whiter filling: Crush the Oreos into larger pieces and fold them in at the very end, gently mixing just until evenly distributed. This keeps the mousse lighter in color while adding little Oreo cookie pieces throughout.For a darker, more Oreo-flavored filling: Crush the 10 Oreos into smaller, finer crumbs and mix them into the filling earlier. The fine Oreo crumbs will blend into the mousse, giving it a darker, slightly grayish color and a stronger Oreo flavor.For the best texture: Chill the cheesecake for at least 6 hours, preferably overnight.How to Get Perfect, Clean Slices: For beautiful bakery-style slices, wrap your springform pan with a warm towel for 30 seconds before removing the rim. Wipe your chef’s knife clean with a hot, damp cloth between every single cut.Storage & Freezing: Store leftovers in an airtight container in the refrigerator for up to 4 days. You can also freeze this cake! Wrap it tightly in plastic wrap and aluminum foil for up to 2 months. Thaw in the fridge for 2–3 hours before serving—it tastes just like a gourmet Oreo icebox cake!
Gray vs. White Filling: How to Customize Your Oreo Mousse Cake Look
One of the most fun parts about making this soft Oreo mousse cake is that you can completely customize how it looks on the inside! If you’ve looked at the photos of my cake, you’ll notice a beautiful, uniform, grayish cookies-and-cream filling. However, you can also make it with a stark white filling packed with distinct black cookie chunks.
The secret to choosing your style all comes down to how you crush the cookies and when you mix them in. Here is how to achieve both looks perfectly:
Option 1: The Dreamy Gray Look (Just Like In My Photos!)
If you want your cake to look exactly like the one in my photos, you want the cookie flavor to completely marry into the cream filling.
The Technique: Crush your filling Oreos into smaller, more irregular pieces so that plenty of fine cookie dust is created along with the small chunks.
The Mixing: Fold the crushed cookies and their dust into the cream cheese and whipped cream mixture early. Stir a few extra times!
The Result: The fine chocolate cookie dust will naturally bleed into the white cream as you stir, turning the entire mousse into a gorgeous, uniform grayish hue so that every single bite is packed with deep cookies-and-cream flavor.
Option 2: The Stark White Look with Black Chunks
If you prefer a sharp visual contrast with a snowy white cream filling and distinct, dramatic black cookie pieces, follow this method instead.
The Technique: Crush the Oreos into much larger, distinct chunks. Avoid creating fine cookie dust or powder.
The Mixing: Fully mix your cream cheese and whipped creams together first until the filling is completely smooth and white. Only fold in the cookie chunks at the very absolute end.
The Result: Give it just one or two incredibly gentle folds with a spatula. This prevents the chocolate from bleeding into the dairy, keeping your filling perfectly white with beautiful, crunchy black flecks scattered throughout.
Which one tastes better?
Both options taste incredible! The gray method gives you a slightly more intense Oreo flavor throughout the entire mousse, while the white method gives you bursts of intense chocolate crunch against a sweet, velvety vanilla cream. Choose whichever fits your style!
How to Whip Heavy Cream to Stiff Peaks Like a Pro (Every Single Time!)
Because this no-bake Oreo mousse cake relies completely on whipped cream for its light, cloud-like texture, getting your heavy cream to a perfect stiff peak is the most important step. If you’ve ever had heavy cream turn into liquid or over-whip into butter, don’t worry.
Whipping cream isn’t about luck—it is pure science, and the secret weapon is temperature. Follow these steps, and you are guaranteed to succeed with zero failures.
Step 1: The Golden Rules of Cold Preparation
Before you even turn on your mixer, you must set yourself up for success with these three mandatory rules:
Buy 35% Fat Content Cream: This is an absolute must! You cannot use light cream or cooking cream. The fat content must be at least 35% so it has enough structure to trap air and hold its shape.
Make It Ice-Cold: Keep your heavy cream in the coldest part of your fridge until the exact second you are ready to use it. Warm cream will simply refuse to whip.
Chill Your Equipment: This is the ultimate pro-tip. Put your mixing bowl and your metal mixer beaters into the fridge for 15 to 20 minutes before you start. When the metal beaters and bowl are freezing cold, it prevents the cream from warming up while mixing. If everything is chilled, there is absolutely no way you will fail!
Step 2: How Long to Mix (The Timeline)
Pour your ice-cold 35% cream into your chilled bowl. Turn your electric mixer onto medium-high speed and watch it closely.
0 to 1 Minute: The cream will look completely liquid but will start forming small bubbles on top.
1 to 2 Minutes (Soft Peaks): The cream will begin to thicken. If you lift the beaters, the cream will form a peak that immediately sags and falls over. (Keep mixing!).
2 to 4 Minutes (Stiff Peaks): The tracks from your mixer blades will become very distinct and deep in the cream. The texture will suddenly look matte, thick, and billowy. This usually takes around 2 to 4 minutes total depending on your mixer’s power. Stop mixing immediately once you hit this stage so you don’t accidentally make butter!
The 5-Minute Maximum Rule: Consider 5 minutes your absolute maximum cutoff. If you mix past the 5-minute mark, your beautiful cloud-like cream will quickly over-whip, separate, and turn into granular chunks of homemade butter. Keep a close eye on it, trust the process, and stop mixing the second it holds its shape!
Step 3: The Famous “Upside Down” Test
How do you know your texture is 100% perfect? It’s time for the ultimate test!
Take your mixing bowl, lift it up, and turn it completely upside down over your counter (or your head if you are feeling brave!). If you did it right, the whipped cream will not move a single millimeter. It will stay perfectly stiff, still, and locked into place. This means you have achieved the perfect, stable, velvety texture ready to be folded into your Oreo mousse cake!
Fun & Easy Recipe Variations to Try Next Time
Once you see how incredibly simple it is to make this basic Oreo mousse cake, you will want to make it on repeat. The best part? This flexible recipe acts as a perfect blank canvas. Here are a few easy, delicious ways you can switch up the flavors using the exact same no-bake method:
The Golden Oreo Heaven: Swap out traditional chocolate Oreos for Golden Oreos (the vanilla version). Use them for both the crust and the filling to create a beautiful, sunny-yellow cake with a rich, buttery vanilla-shortbread flavor profile.
The Mint Chocolate Refresh: Love the classic combination of mint and chocolate? Use Mint Oreos for the filling chunks and add just one tiny drop of peppermint extract into your cream cheese mixture. It creates a wonderfully refreshing, vibrant dessert.
The Peanut Butter Twist: If you are a fan of chocolate and peanut butter, use Peanut Butter Oreos for your filling. You can even swirl two tablespoons of smooth peanut butter directly into the cream cheese before folding in your whipped cream.
The Berry & Cream Dream: Want a fruity twist? Stick with the classic chocolate Oreo crust, but fold a handful of fresh, chopped strawberries or raspberries into the mousse along with the cookie chunks. The tartness of the berries cuts through the sweet cream beautifully.
The Double Chocolate Mousse: For the ultimate chocoholic, add 2–3 tablespoons of high-quality cocoa powder (or a drizzle of cooled, melted dark chocolate) into the cream cheese filling before mixing. It transforms the filling into a rich, dark chocolate mousse.
Common Mistakes to Avoid
Even though this Oreo mousse cake is incredibly easy and beginner-friendly, a few simple shortcuts can ruin your hard work. Keep these common mistakes in mind so your dessert turns out flawless, sliceable, and velvety:
Using Whipped Topping (Like Cool Whip) Instead of Fresh Heavy Cream: Do not replace the liquid heavy cream with pre-whipped toppings from a tub. Pre-whipped toppings contain different stabilizers and oils that will completely change the texture, making your cake overly sugary and greasy instead of light and pillowy. Stick to fresh 35% heavy cream!
Dumping the Cookies into the Mixer While It’s Running: Never throw your filling Oreos into the bowl while using the electric mixer. The fast spinning blades will pulverize the cookies completely, turning your entire filling into a dark, muddy brown mess. Always shut off the mixer and use a rubber spatula to gently fold the cookies in by hand.
Skipping the Crust Chilling Step: Don’t rush to pour your soft mousse filling directly onto a freshly made, room-temperature cookie crust. If the butter in the crust hasn’t solidified yet, the loose crumbs will detach and float straight up into your clean cream filling. Always pop your pressed crust into the fridge (or freezer) for 10–15 minutes to lock it in place before adding the mousse.
Forgetting to Scrape the Bottom of the Bowl: When mixing your cream cheese, sugar, and cream, cream cheese loves to stick stubbornly to the very bottom and sides of your mixing bowl. If you don’t scrape it down with a spatula halfway through, you will end up with unmixed, chewy white lumps of pure cream cheese hidden inside your otherwise smooth mousse.
Covering the Cake with Plastic Wrap Too Tightly: When you put your cake into the fridge for its 5–6 hour chill, you need to cover it to keep out fridge odors. However, do not press plastic wrap directly onto the surface of the cake. Because this mousse filling is incredibly soft and delicate, the plastic wrap will stick to it and rip off the beautiful, smooth top when you peel it back. Use a cake dome, or tent foil gently over the pan instead.
Slicing the Cake with a Dull, Dry Knife: Because this mousse filling is incredibly soft, light, and pillowy, slicing into it with a cold, dry knife will drag the cream along with it, creating a messy, smudged look. For those picture-perfect, clean slices, always run your sharp knife under hot water, wipe it completely dry with a clean towel, and make your cut. Remember to clean and reheat the knife before every single slice!
Rushing the Set Time in the Freezer: If you realize you forgot to make the cake ahead of time, it is incredibly tempting to pop it into the freezer for an hour to force it to harden. Don’t do it! Freezing the cake quickly creates icy structures inside the dairy. The moment you take it out to serve, it will melt rapidly on the plate and turn into a runny, soupy mess. Trust the 5–6 hour slow chill in the refrigerator to get that perfect, stable mousse hold.
What to Serve with This Oreo Mousse Cake
One of the best things about this soft, no-bake Oreo cake is how beautifully it stands on its own. You don’t need to spend hours creating fancy garnishes or complicated side dishes just to make it taste good. It is already a rich, velvety chocolate-and-cream dream right out of the fridge! However, if you are hosting a casual weekend get-together with friends, enjoying a cozy Sunday afternoon with your family, or just want to elevate your evening treat, pairing a slice with the right beverage or side can turn a simple dessert into a complete experience.
with items that bring a bit of balance. You want pairings that add a refreshing pop of tartness, a clean bitter contrast, or a fun shift in texture. Here are the absolute best, low-stress things to serve alongside your cookies-and-cream treat:
Black Coffee or Espresso: The natural bitterness of a fresh dark roast cuts right through the sweet cream cheese and rich cocoa, perfectly cleansing your palate between those soft, melt-in-your-mouth bites.
Warm Cappuccinos or Lattes: A hot, milky coffee mirrors the velvety creaminess of the mousse while keeping the sugar levels perfectly balanced.
An Ice-Cold Glass of Milk: The absolute timeless classic. If you are serving this to kids or picky eaters, nothing beats the nostalgic comfort of cold milk with Oreos.
Green Tea: Offers clean, earthy, and grassy notes that strip away the lingering sweetness of the chocolate crust.
Tangy Raspberry Sorbet or Ice Cream: A scoop of icy, sharp fruit sorbet or vanilla ice cream next to the slice provides a fantastic, refreshing temperature and texture contrast against the soft, pillowy mousse cake.
Fresh Raspberries or Blackberries: Placed directly on the plate, their sharp, tart flavor acts as the ultimate counter-weight to the sweet chocolate and cream.
Sliced Fresh Strawberries: A natural match for cookies and cream that adds a gorgeous pop of color and instantly makes your everyday dessert look like a gourmet treat.
Choosing the Right Pan Size for Your Oreo Mousse Cake
When it comes to making a no-bake dessert, choosing the right pan size is just as important as getting your ingredients right. Since we aren’t using an oven, the size of your pan dictates exactly how tall, thick, and fluffy your cake layers will look. When I made this specific cake, I used a 23 cm (9-inch) springform pan. It turned out absolutely delicious, but using a larger pan like this means the mousse layer is spread out a bit more, resulting in a slightly thinner cake.
If you want the ultimate, bakery-worthy look with a super thick, tall, and extra-fluffy mousse layer, I highly recommend using a 20 cm (8-inch) springform pan. It is the absolute best sweet spot for this recipe!
To help you decide what works best for your kitchen, here is a quick guide to how different pan sizes will change your cake:
The Best Choice (20 cm / 8-inch Springform Pan): This is the gold standard for this recipe. It concentrates the filling, giving you a wonderfully thick cookie base and a tall, dramatic, extra-fluffy mousse layer that looks like a giant cloud.
The Thinner Party Option (23 cm / 9-inch Springform Pan): This is the size I used! It creates a slightly thinner cake, but it is fantastic if you are feeding a larger family or a crowd of friends because it is much easier to cut into more slices.
The Sky-High Cloud (18 cm / 7-inch Springform Pan): If you use a smaller pan, your cake will be tall and striking. Just make sure the walls of your springform pan are high enough so the fluffy mousse doesn’t spill over the top!
CRUCIAL STEP – PLEASE DO NOT SKIP THIS: No matter which size pan you choose, it is absolutely vital and mandatory that you use a springform pan (the kind with a latch on the side where the walls completely detach). Because this mousse filling is incredibly soft, creamy, and delicate, you cannot flip this cake upside down to get it out. If you try to scoop slices out of a regular deep cake tin, you will completely ruin the structure and turn your beautiful dessert into a messy bowl of pudding! We use a springform pan specifically so we can gently release the latch, pop the sides right off, and leave behind a gorgeous, perfectly clean, and showroom-ready cake with zero mess.
Make-Ahead & Storage
Because this no-bake Oreo cheesecake requires zero oven time and relies entirely on a slow chill to set, it is the ultimate make-ahead dessert. Whether you are planning a casual family Sunday or hosting a dinner with friends, you can easily get this dessert completely out of the way well in advance.
Here is everything you need to know about preparing it ahead of time and storing it so it stays light, fluffy, and fresh.
Preparing Ahead of Time
The Perfect Prep Window: The sweet spot is making this cake the evening before or the morning of your event. Because it needs a mandatory 5 to 6 hours to set, letting it sit in the fridge overnight is actually the less stressful way to handle it.
Why Waiting Helps: Giving it a longer rest allows the whipped heavy cream and cream cheese to marry fully with the fine cookie dust. The crust will also absorb just a hint of moisture from the mousse, turning it perfectly sliceable without losing its crunch.
How to Store Leftovers
This cake contains a lot of fresh dairy, which easily absorbs other scents from your fridge (like onions or leftovers). To keep it tasting perfectly sweet and vanilla-fresh, follow these storage rules:
Keep It Covered, But Gently: Once the cake has set and you have removed the springform sides, store it under a plastic cake dome or inside a large, airtight container. If you don’t have one, tent a piece of aluminum foil over the top of the pan, ensuring it doesn’t touch the soft mousse surface.
Shelf Life: Tightly covered, this cake will stay incredibly fresh, soft, and delicious in the refrigerator for up to 3 to 4 days.
Can You Freeze It?
For Short-Term Firming (After Chilling): To be absolutely clear, this trick is only done after the cake has already completed its full 5–6 hour chill in the fridge. If you want to get ultra-sharp, picture-perfect cuts, pop the fully set cake into the freezer for 30 to 60 minutes right before you plan to slice it. This quickly tightens up the dairy fats one last time so your knife glides through like a dream!
For Long-Term Storage: You can freeze the entire cake (or leftover slices) for up to 1 month. To do this, let it set completely in the fridge first, wrap it tightly in plastic wrap followed by a layer of foil, and freeze.
How to Thaw: Never thaw this cake at room temperature or in the microwave! Because it is a soft mousse with no gelatin, thawing it too fast will break the whipped cream structure and turn it into a soupy mess. Always transfer it back to the refrigerator for 2 to 3 hours to let it thaw slowly and safely.
Frequently Asked Questions
Can I make this Oreo mousse cake without a springform pan?
You can, but it requires a trick! Because this mousse filling is incredibly soft and delicate, you cannot flip the cake upside down to remove it. If you don’t have a springform pan, line a regular deep cake tin with parchment paper, leaving long tabs hanging over the sides. Once the cake has chilled for 5–6 hours, use those paper tabs to carefully lift the entire cake straight up and out of the tin.
Why did my no-bake Oreo cake turn out runny or watery?
This usually happens for two reasons: either you used light/spreadable cream cheese from a tub (which contains too much water), or you didn’t whip your heavy cream to true stiff peaks before folding it in. Make sure to always use full-fat block cream cheese and fresh 35% heavy cream to ensure the mousse stabilizes perfectly.
Can I use a food processor to crush the Oreos?
Yes, a food processor is perfect for the crust! It grinds the cookies into a fine sand in seconds. However, for the mousse filling chunks, it is better to place the Oreos in a Ziploc bag and crush them gently with a rolling pin or a spoon. This gives you better control over the size so you don’t accidentally turn your filling cookies into powder.
Can I use melted margarine instead of butter for the crust?
It is highly recommended to stick to real, unsalted butter. Margarine has a higher water content, which means when it cools, it will not harden and bind the cookie crumbs as securely as real butter. Using margarine often results in a loose crust that crumbles completely when sliced.
How do I know if my heavy cream has reached “stiff peaks”?
The absolute best way to check is the upside-down test. Once your cream looks thick and matte (usually after 2–4 minutes of mixing), carefully turn your mixing bowl completely upside down. If the whipped cream stays perfectly still and doesn’t move a single millimeter, it has reached perfect stiff peaks!
Why are my decorative Oreo toppings soft and soggy?
Cookies naturally absorb moisture from dairy creams over time. If you add your decorative whole Oreos or cookie crumbs before putting the cake in the fridge for its 5–6 hour chill, they will turn soft and spongy overnight. Always add your toppings right before you slice and serve to keep them perfectly crisp and crunchy!
How do I prevent the cookie crust from sticking to the bottom of the pan?
While a springform pan lets you remove the sides easily, the butter in the crust can sometimes cause it to stick firmly to the metal bottom base. To prevent this, line the bottom disk of your springform pan with a piece of parchment paper before locking the sides in place. This allows your cake spatula to slide effortlessly right underneath the crust for a clean lift.
Can I substitute granulated sugar for powdered (confectioners) sugar in the filling?
It is highly recommended to use powdered sugar. Because this is a no-bake recipe, granulated white sugar will not have the heat required to dissolve completely into the cream cheese. This can leave your smooth mousse filling with a slightly grainy, sandy texture. Powdered sugar dissolves instantly, keeping the mousse perfectly velvety.
I hope you love this oreo cheesecake as much as I do. Happy cooking! ෆ
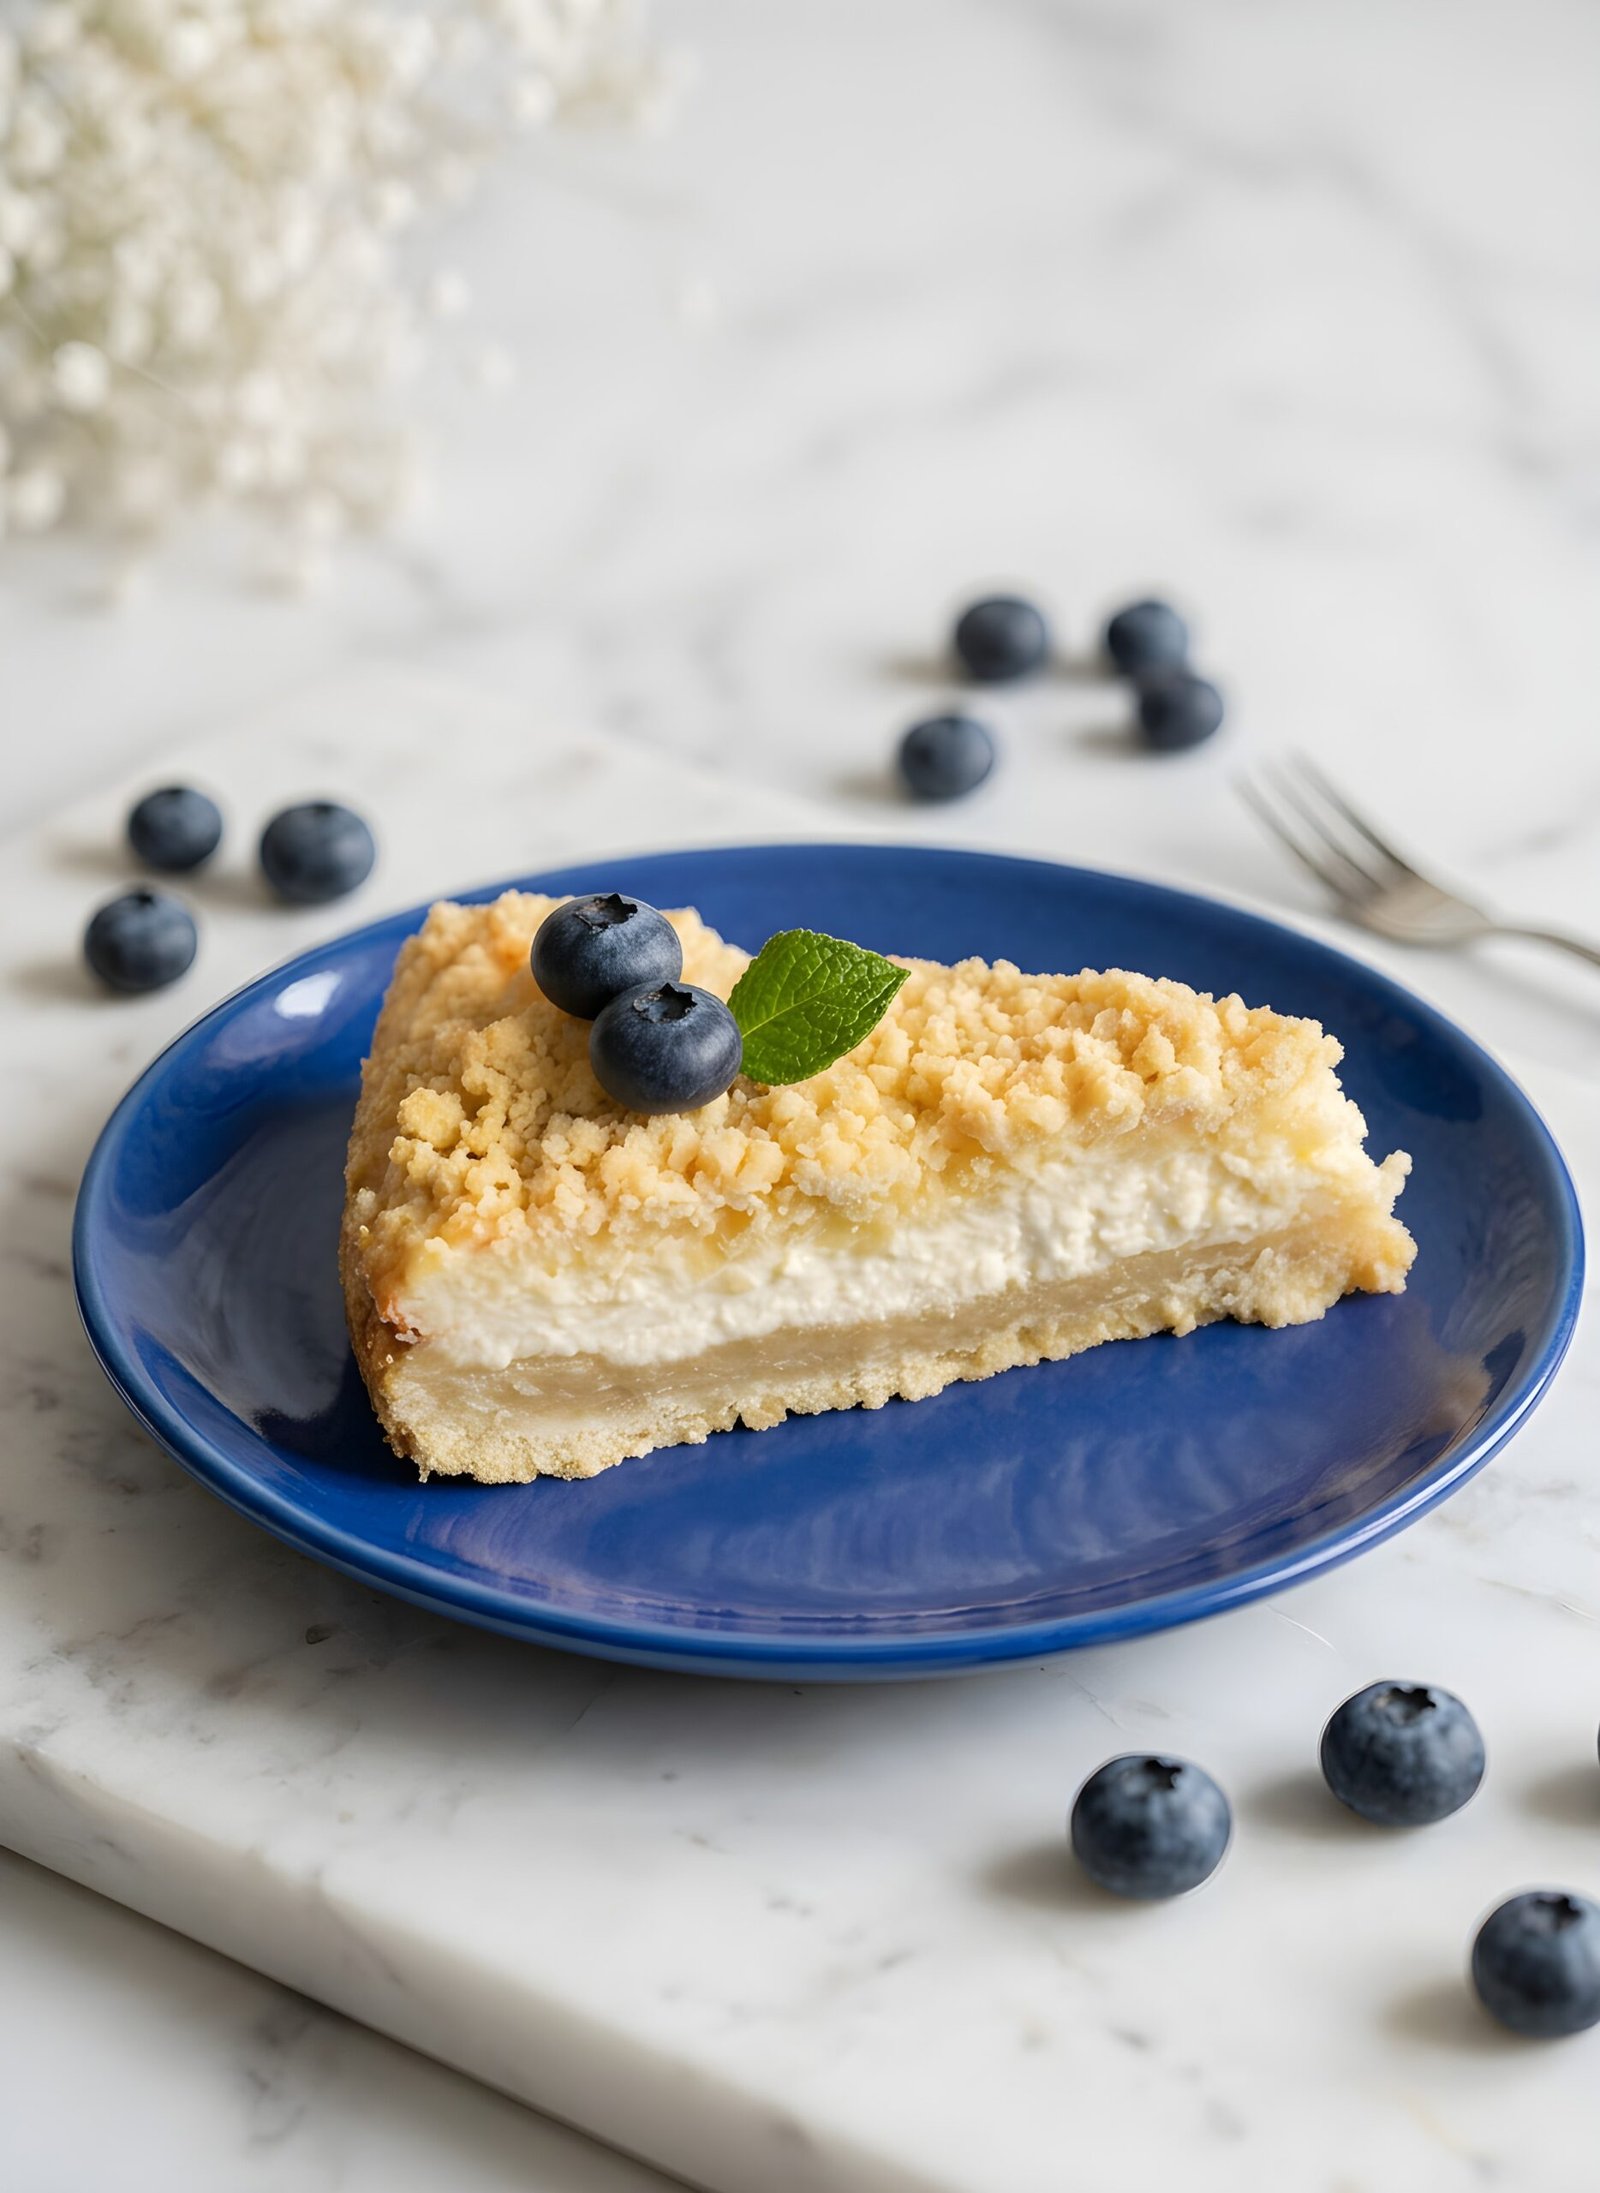
Get bakery-style results with this Easy Cottage Cheese Cake with Crumb Topping. Includes expert baking tips to avoid soggy crusts and keep the topping crunchy!
These easy sausage buns are soft, buttery, and packed with flavor, thanks to ready-made yeast dough, juicy sausages, and a delicious garlic butter and parsley filling. They come together with minimal effort and are perfect for breakfast, lunch, parties, or an easy snack. Add cheese, mustard, or ketchup for your own twist!
The ultimate Creamy Scrambled Egg Toast recipe! Fluffy soft-scrambled eggs with juicy tomatoes, parsley butter, and mayo on crunchy artisan bread. Pure comfort!
Crispy golden fish cutlets are paired with a rich, velvety sauce made with butter and heavy cream. This easy and comforting fish dinner is full of flavor and perfect served with creamy mashed potatoes, rice, or your favorite side.
These Easy Oven-Baked Pork Meatball and Potato Skewers are the perfect all-in-one meal! Packed with juicy pork mince, roasted potatoes, and colorful veggies, they are paired with a creamy garlic dill sauce that everyone will love. Perfect for quick weeknight dinners or casual family gatherings!
This Easy No-Bake Toffee Wafer Cake is a simple 3-ingredient dessert loaded with crispy plain wafer shards coated in a rich, velvety glaze made from melted creamy toffee candies. No oven required! It’s the perfect crunchy, sweet treat for hosting a crowd.