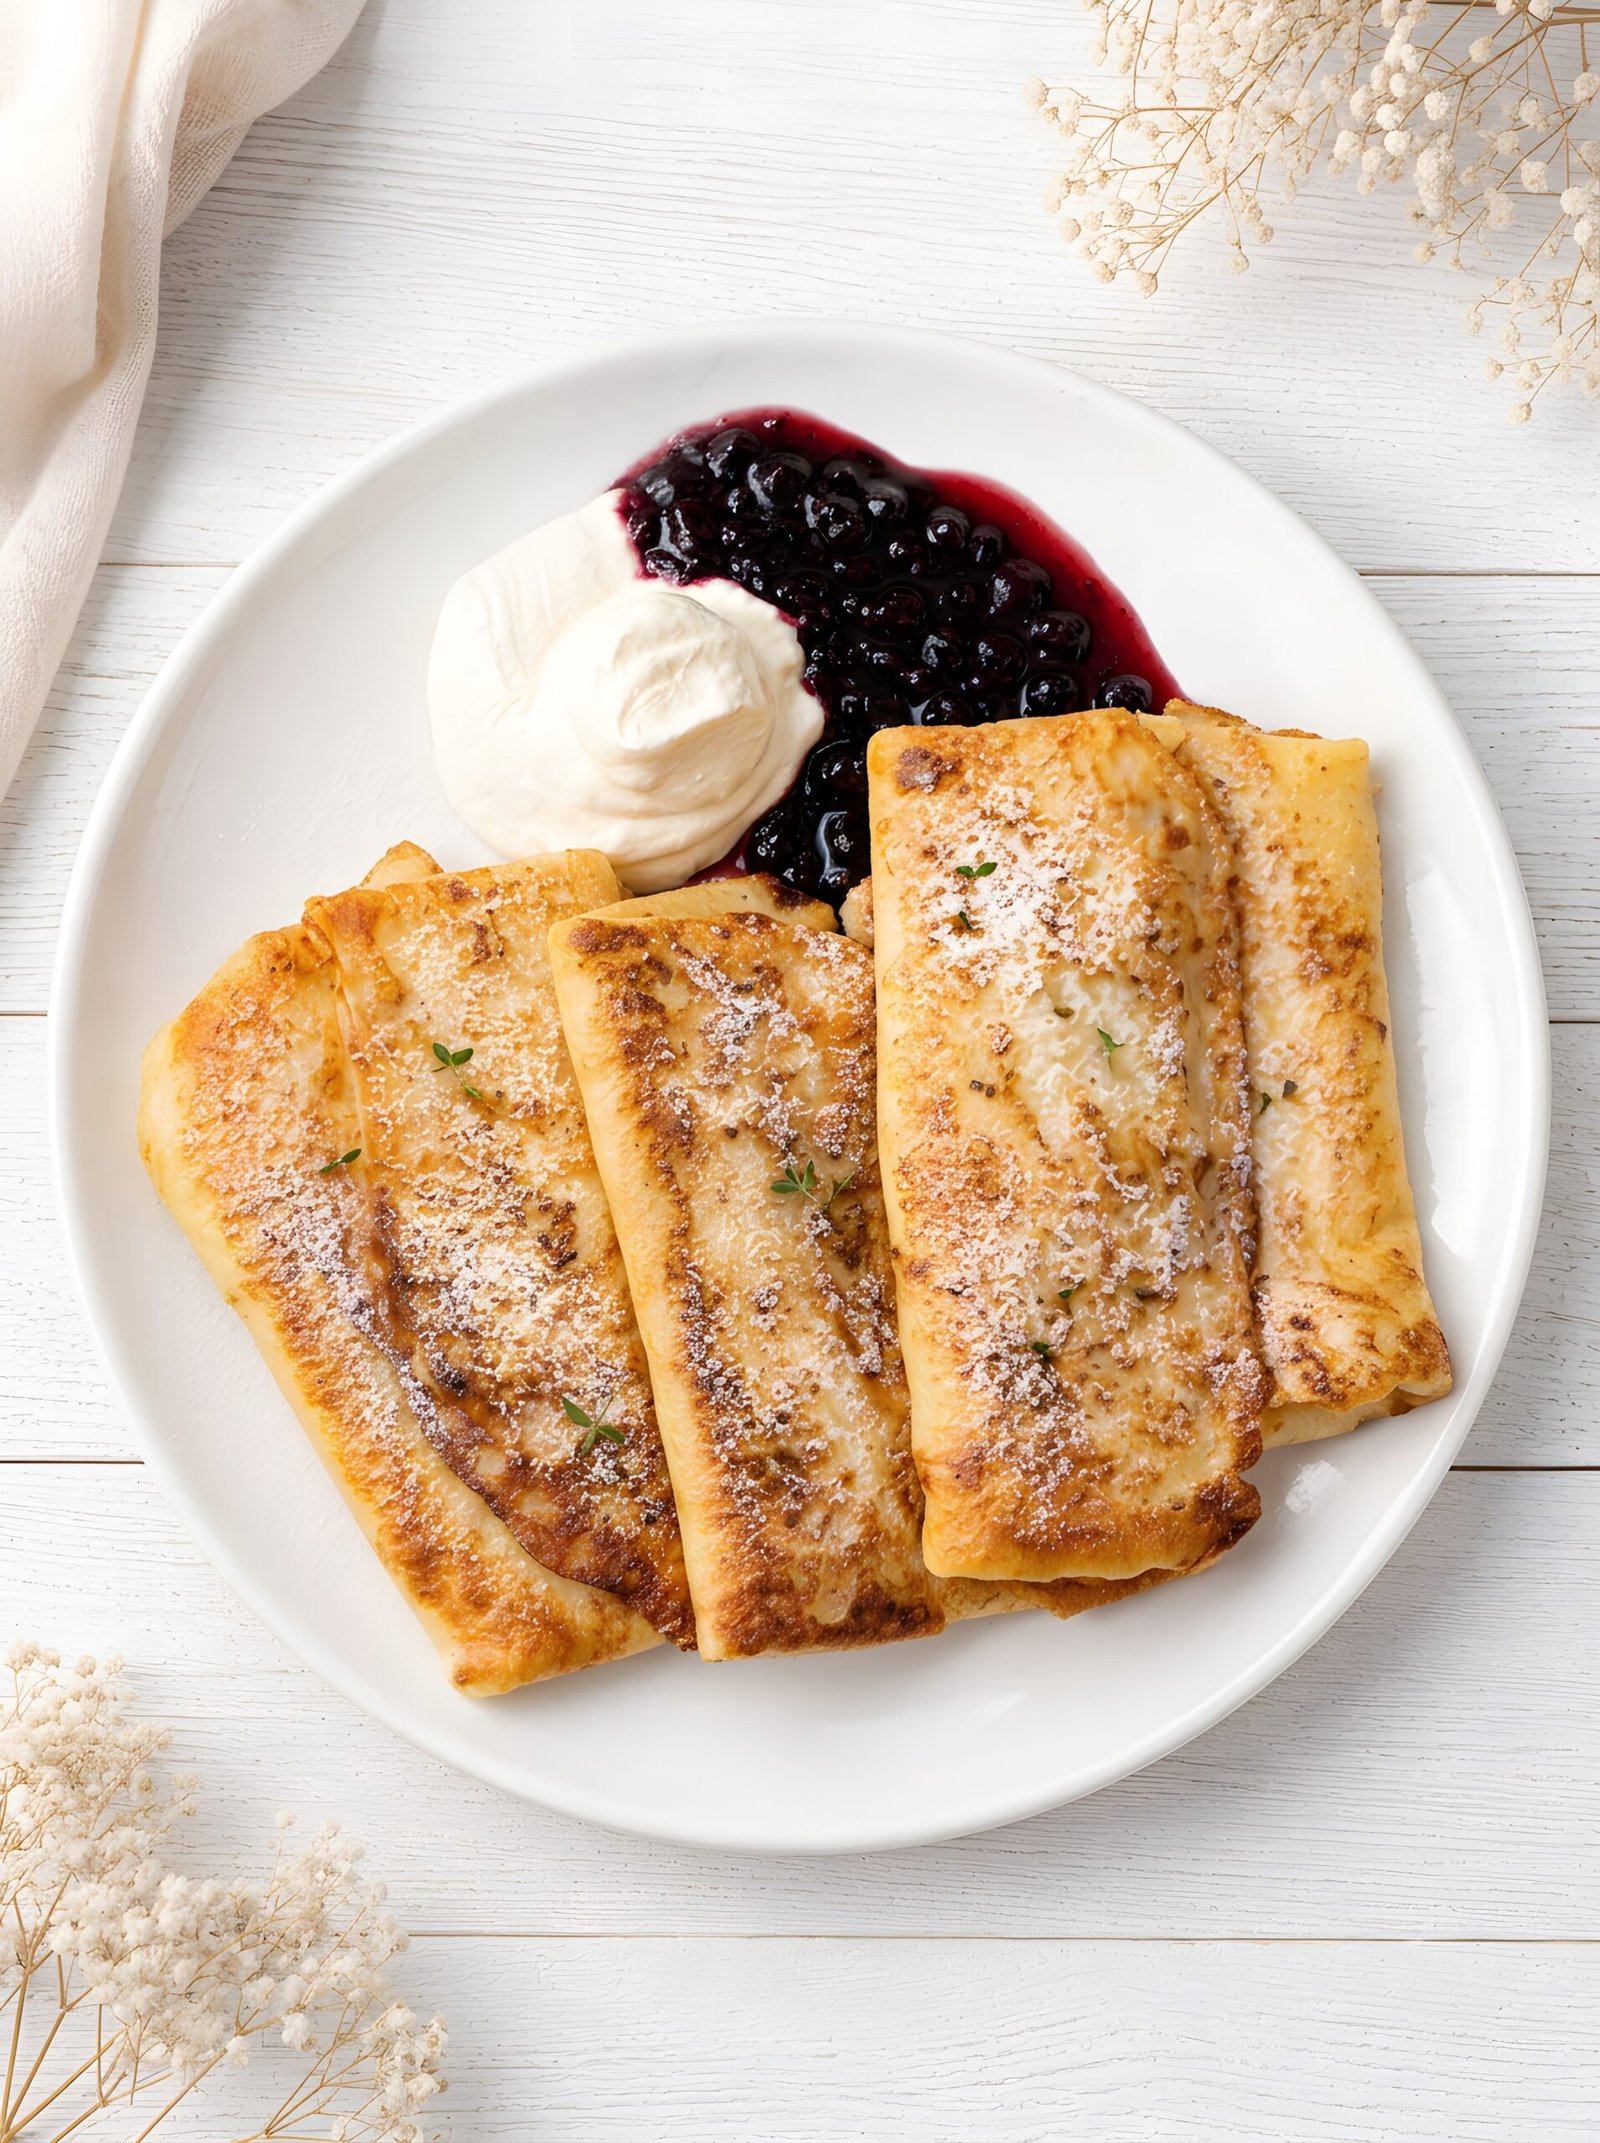
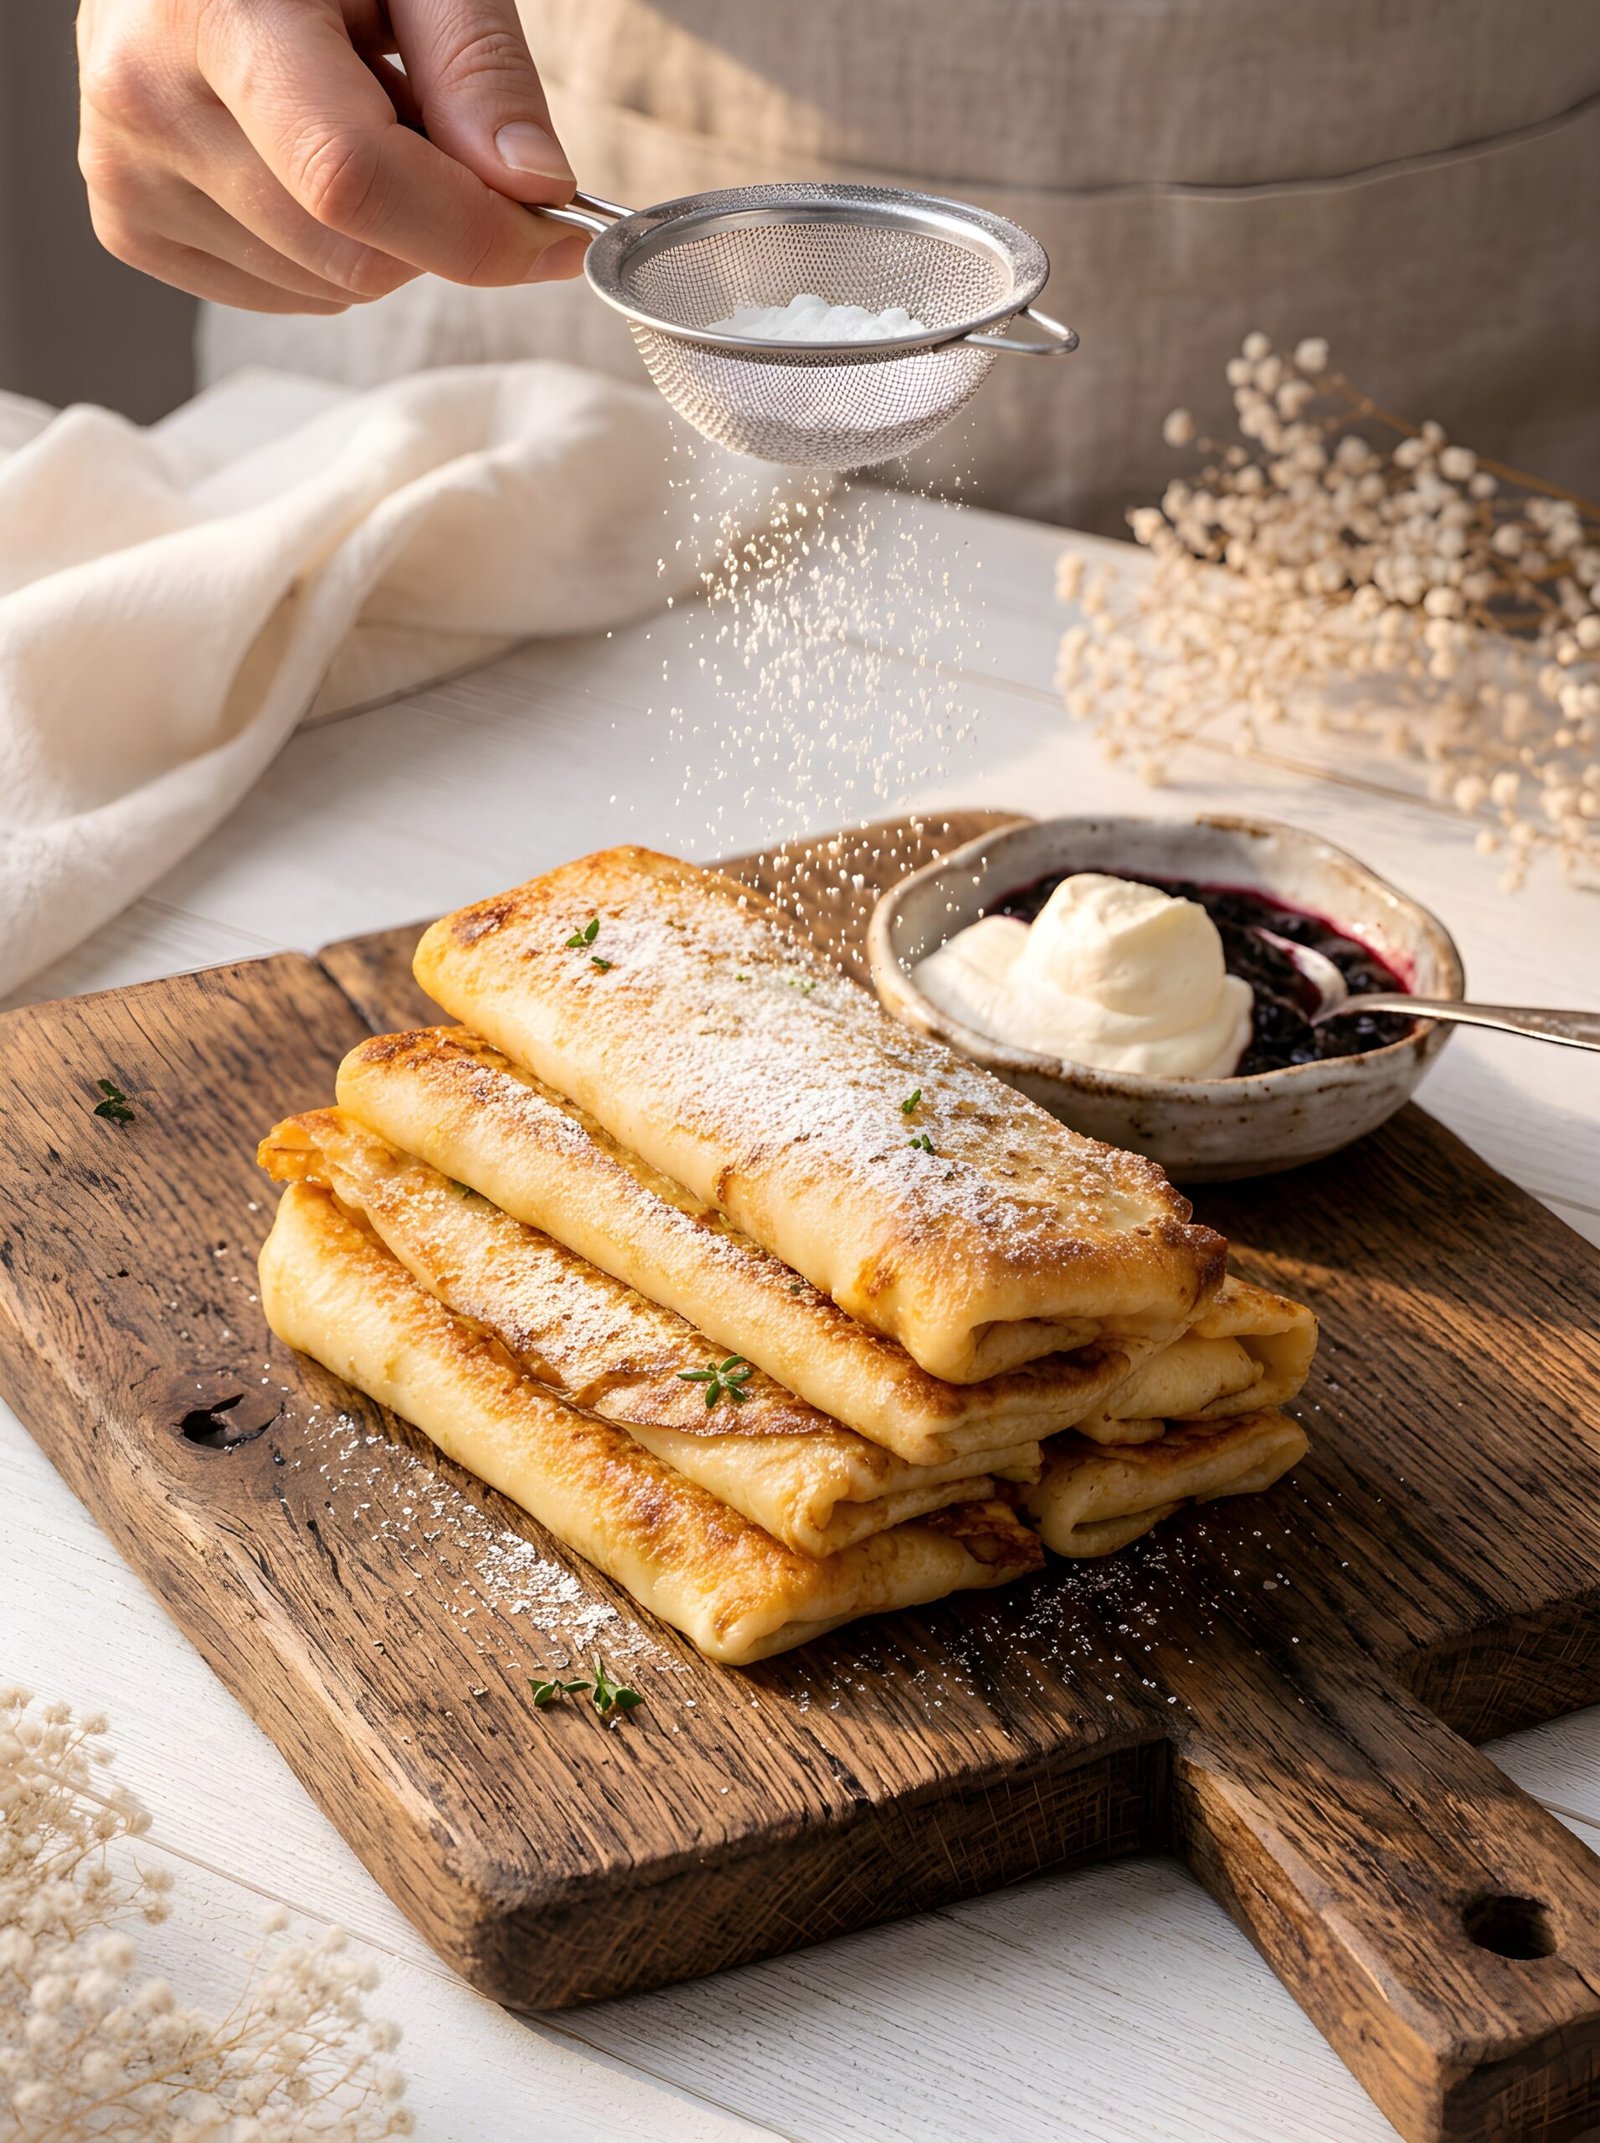
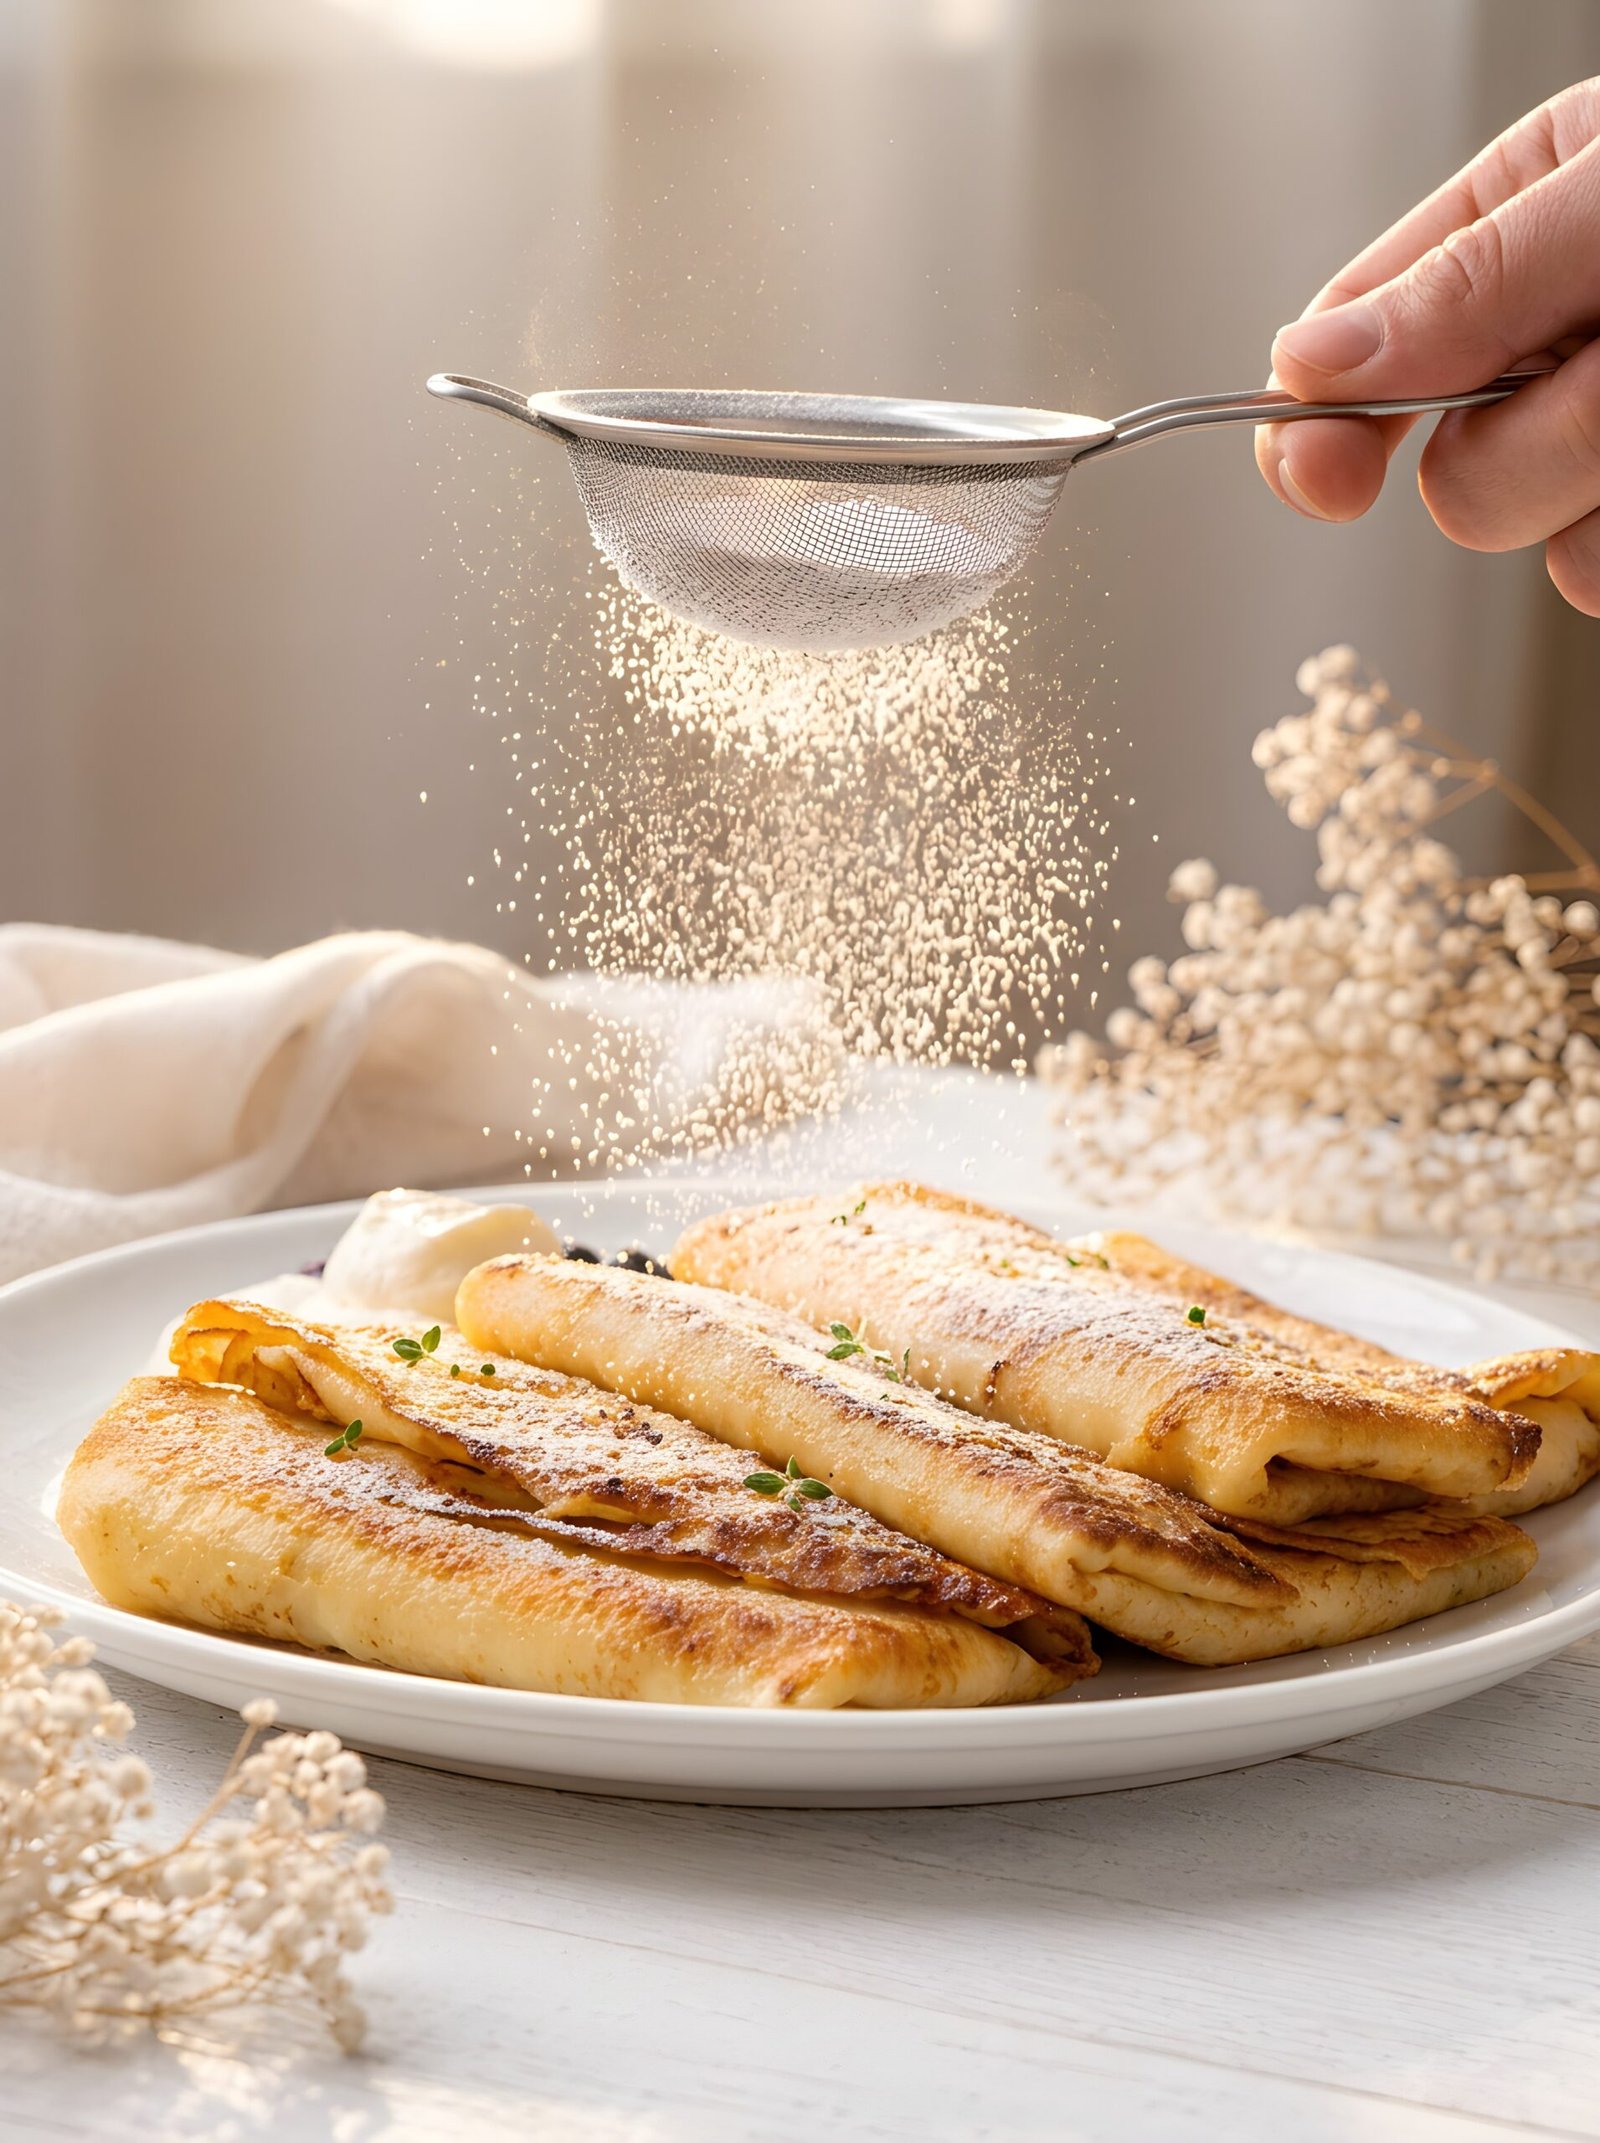
There are some recipes that are more than just food—they bring back memories, and these sweet cottage cheese crepes are definitely one of those recipes for me. I grew up eating them on weekends when my mom would make a big batch for the family. The smell of freshly cooked crepes in the kitchen, a warm plate waiting on the table, and a creamy cottage cheese filling inside are memories I still love. Even now, whenever I make these crepes, they remind me of those slow, cozy weekend mornings at home.
These sweet cottage cheese crepes are one of my favorite breakfast recipes because they are simple, comforting, and incredibly delicious. The crepes are soft and tender with beautifully golden edges, while the cottage cheese filling is creamy, slightly sweet, and makes every bite so satisfying. They are the kind of breakfast that feels special without needing complicated ingredients or a lot of effort.
I especially love serving them warm, straight from the pan. You can enjoy them just as they are, or add your favorite toppings to make them even more delicious. A dusting of powdered sugar, fresh berries, a spoonful of jam, or a little drizzle of honey all work beautifully. But my favorite way to eat these cottage cheese crepes is with melted butter. There is something so simple and delicious about warm crepes with a little melted butter soaking into the edges and cottage cheese filling. It is the way I love them most, and it is how I remember enjoying them growing up.
One of the things I love most about this recipe is how perfect it is for families. This recipe makes about 16 filled crepes, which is around 8 portions, so you can easily make one batch and have enough to share with everyone at the breakfast table. If you have a family that loves crepes as much as mine does, this is a recipe worth saving. You won’t have to worry about making several separate batches just to have enough for everyone.
And there is another little thing I love about making a big batch of these crepes: if you have some crepes and cottage cheese filling left over, you can save them for the next day. The next morning, simply take the crepes and filling from the refrigerator, roll them up, and you have another plate of delicious cottage cheese crepes ready to enjoy. I love recipes like this because one cooking session can give you an easy breakfast for another day, too.
These crepes are perfect for those relaxed weekend mornings when everyone is home and you have a little more time to enjoy breakfast together. I love recipes like this because they encourage you to slow down and actually enjoy the food instead of rushing through breakfast. Put a big plate of warm crepes in the middle of the table, melt some butter for serving, and let everyone add their favorite toppings. It makes breakfast feel like a little family occasion.
And while these are wonderful for breakfast, you definitely don’t have to wait until morning to make them. Sweet cottage cheese crepes also make a lovely brunch, afternoon treat, or simple dessert. They are especially delicious when served warm with melted butter, berries, powdered sugar, or your favorite jam. If you want to make them a little more indulgent, you can even add whipped cream or another sweet topping.
If you’ve never tried crepes with cottage cheese filling, I really hope you give this recipe a try. They are soft, creamy, lightly sweet, and wonderfully comforting. And if you already love cottage cheese crepes, I have a feeling these will become one of those recipes you want to make again and again.
So whether you’re looking for a delicious weekend breakfast, an easy recipe to feed the whole family, or simply a comforting homemade treat, these sweet cottage cheese crepes are a wonderful choice. Make a big stack, add some melted butter, choose your favorite toppings, gather everyone around the table, and enjoy them warm. For me, they will always be a little taste of those cozy weekend mornings when my mom made them.
Why You’ll Love These Cheese-Filled Crepes
Creamy & Delicate Texture: The contrast between the paper-thin, golden-brown crepes and the rich, velvety sweet cheese filling is pure perfection.
Packed with Protein: Thanks to the cottage cheese filling, this satisfying meal keeps you full and energized without the mid-morning sugar crash.
Completely Customizable: You can serve them plain, dust them with powdered sugar, or top them with fresh berries, melted butter, warm maple syrup, or a quick fruit compote.
Café-Quality at Home: Skip the brunch lines and create an elegant, restaurant-worthy dish right in your own kitchen with simple ingredients.
Silky, Lump-Free Filling: Blending the cottage cheese transforms it into a smooth, luxurious cream that completely upgrades the traditional curd texture.
Pantry-Staple Simple: You do not need exotic ingredients for this gourmet meal; everything required is likely already sitting in your fridge right now.
Make-Ahead Magic: These roll up and freeze beautifully, making them the ultimate gourmet meal prep for effortless, stress-free mornings.
Next-Day Freshness Redefined
If you have leftover crepes and filling stored in the fridge, your next morning is completely sorted. Just pull them out, place the cold filling right onto the crepe wrapper, roll it up, and pop it into a hot pan. Frying them up fresh transforms the leftovers into a crisp, buttery breakfast that feels entirely brand new.
My Tips for the Best Results
Opt for 9% Cottage Cheese: Use a 9% fat cottage cheese for the richest flavor and best consistency. You can buy pre-processed, smooth 9% cottage cheese to save time, or simply blend standard 9% cottage cheese until it is completely silky and lump-free.
Rest the Crepe Batter: Let your batter sit for at least 20 minutes before frying to relax the gluten for ultra-tender, tear-free crepes.
Master the Swirl: Pour batter into the center of a hot, oiled skillet and immediately tilt it in a circular motion to spread it paper-thin.
Don’t Overfill the Wrapper: Add just enough filling to cover the center, leaving room at the edges so the cheese does not leak out during frying.
Seam-Side Down First: Always place your rolled crepes into the hot pan seam-side down first (the side where the edge of the crepe wraps around). Searing this connection side immediately seals the crepe shut, making it incredibly easy to flip and preventing that luxurious cheese filling from leaking out into your pan.
The Old-School Onion Trick: Cut an onion in half, dip it into a small bowl of oil, and pierce the outer side with a fork. Before pouring the batter for every single crepe, simply swipe the oiled onion face across the hot skillet. This coats the pan with the perfect, ultra-thin layer of fat so your crepes never stick or tear, keeping the process smooth from the first pancake to the last.
Use Clean Kitchen Gloves: Wear a pair of clean, heat-resistant kitchen gloves while frying to make flipping and rolling the delicate crepes incredibly easy. The gloves protect your fingers from the hot pan and flying steam, allowing you to quickly handle the edges of the crepes without burning yourself.
The Wooden Skewer Secret: Run a thin wooden skewer (the kind we use for kebabs) gently around the edges of the frying crepe. This easily loosens the delicate margins from the side of the skillet, making it a breeze to lift and flip the pancake without tearing it.
No-Touch Flip Technique: Once you loosen the edges with your wooden skewer, wait for the center of the crepe to lose its wet sheen. Slide your gloved fingers or a thin spatula halfway underneath, then use a quick, confident wrist motion to flip it over seamlessly.
Avoid Excess Oil: Never pour oil directly from the bottle into the pan between crepes, as this creates a greasy texture. Rely on your oiled onion tool to coat the pan; it applies the exact micro-layer of fat needed to prevent burning without flooding the skillet. Or, if you do pour from the bottle, do it very gently so it drops only a tiny bit of oil at a time.
The Perfect Batter Portion: Use a standard 1/4-cup measuring cup or a small ladle to scoop the batter for each crepe. This precise amount ensures your pancakes turn out uniformly thin, delicate, and easy to roll rather than thick and rubbery.
ෆ Picky Eater Approved: If you or your kids dislike the texture of traditional cottage cheese, do not skip this recipe. Blending the 9% cheese completely removes all the tiny lumps and curds. It transforms into a smooth, velvety cream that tastes just like a luxurious, sweet dessert filling.
Simona
Sweet Cottage Cheese Crepes – Easy Breakfast or Dessert
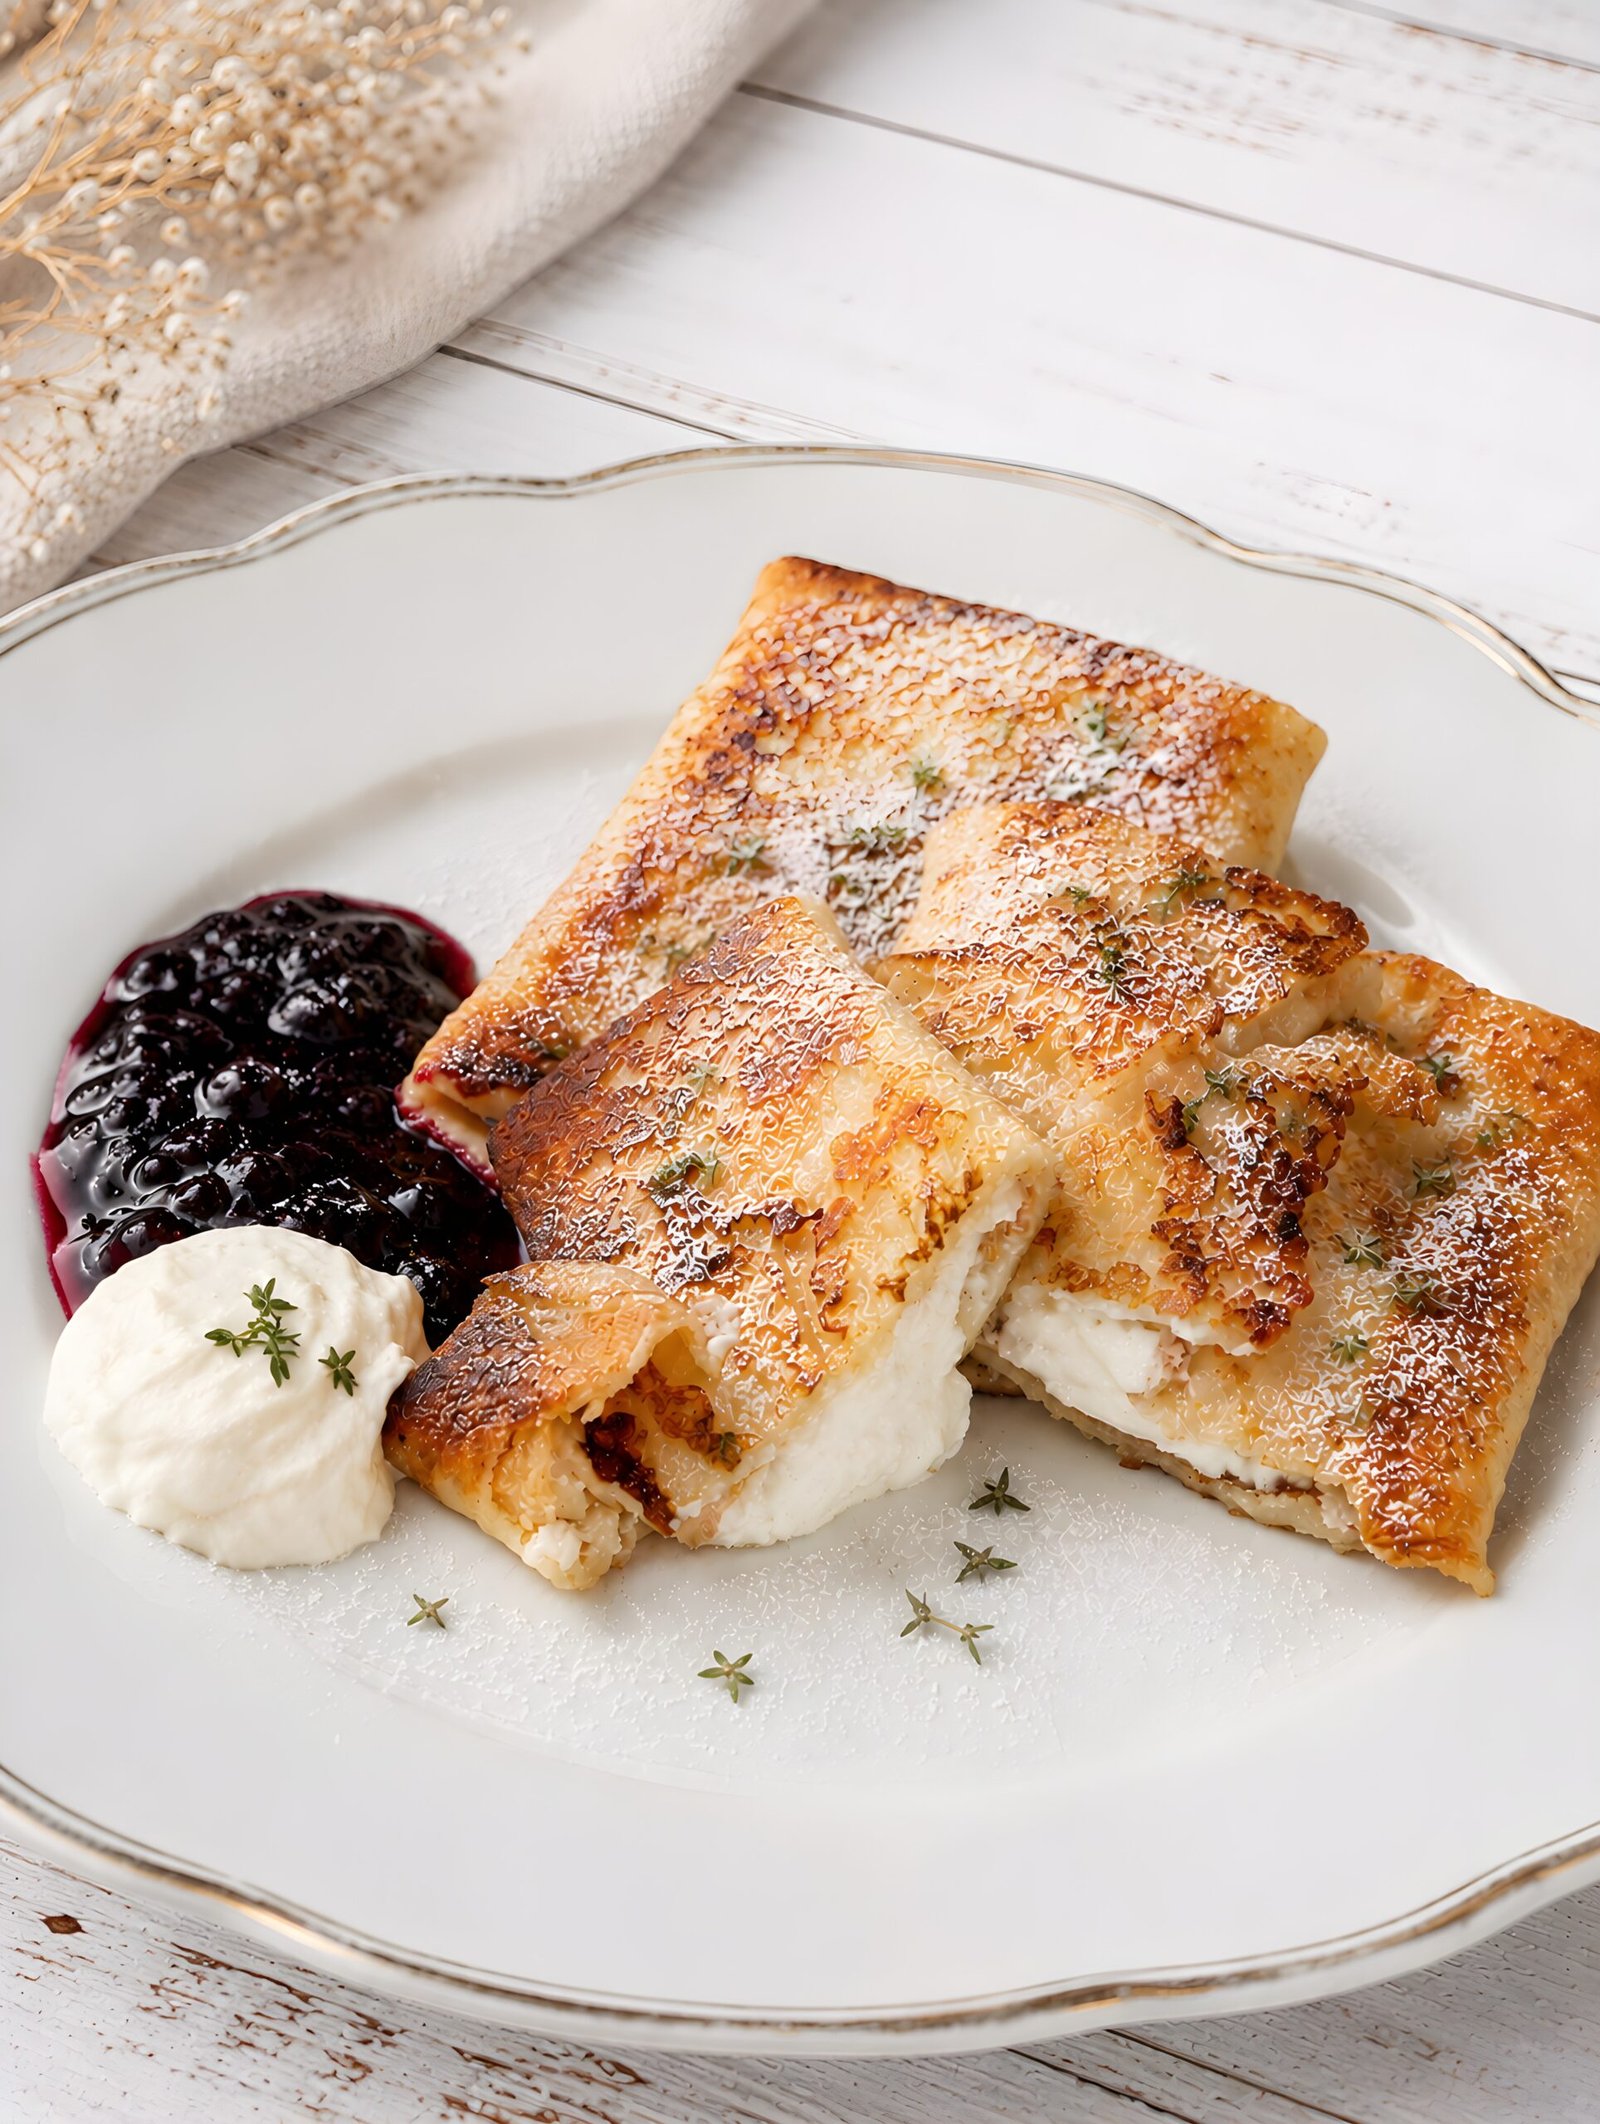
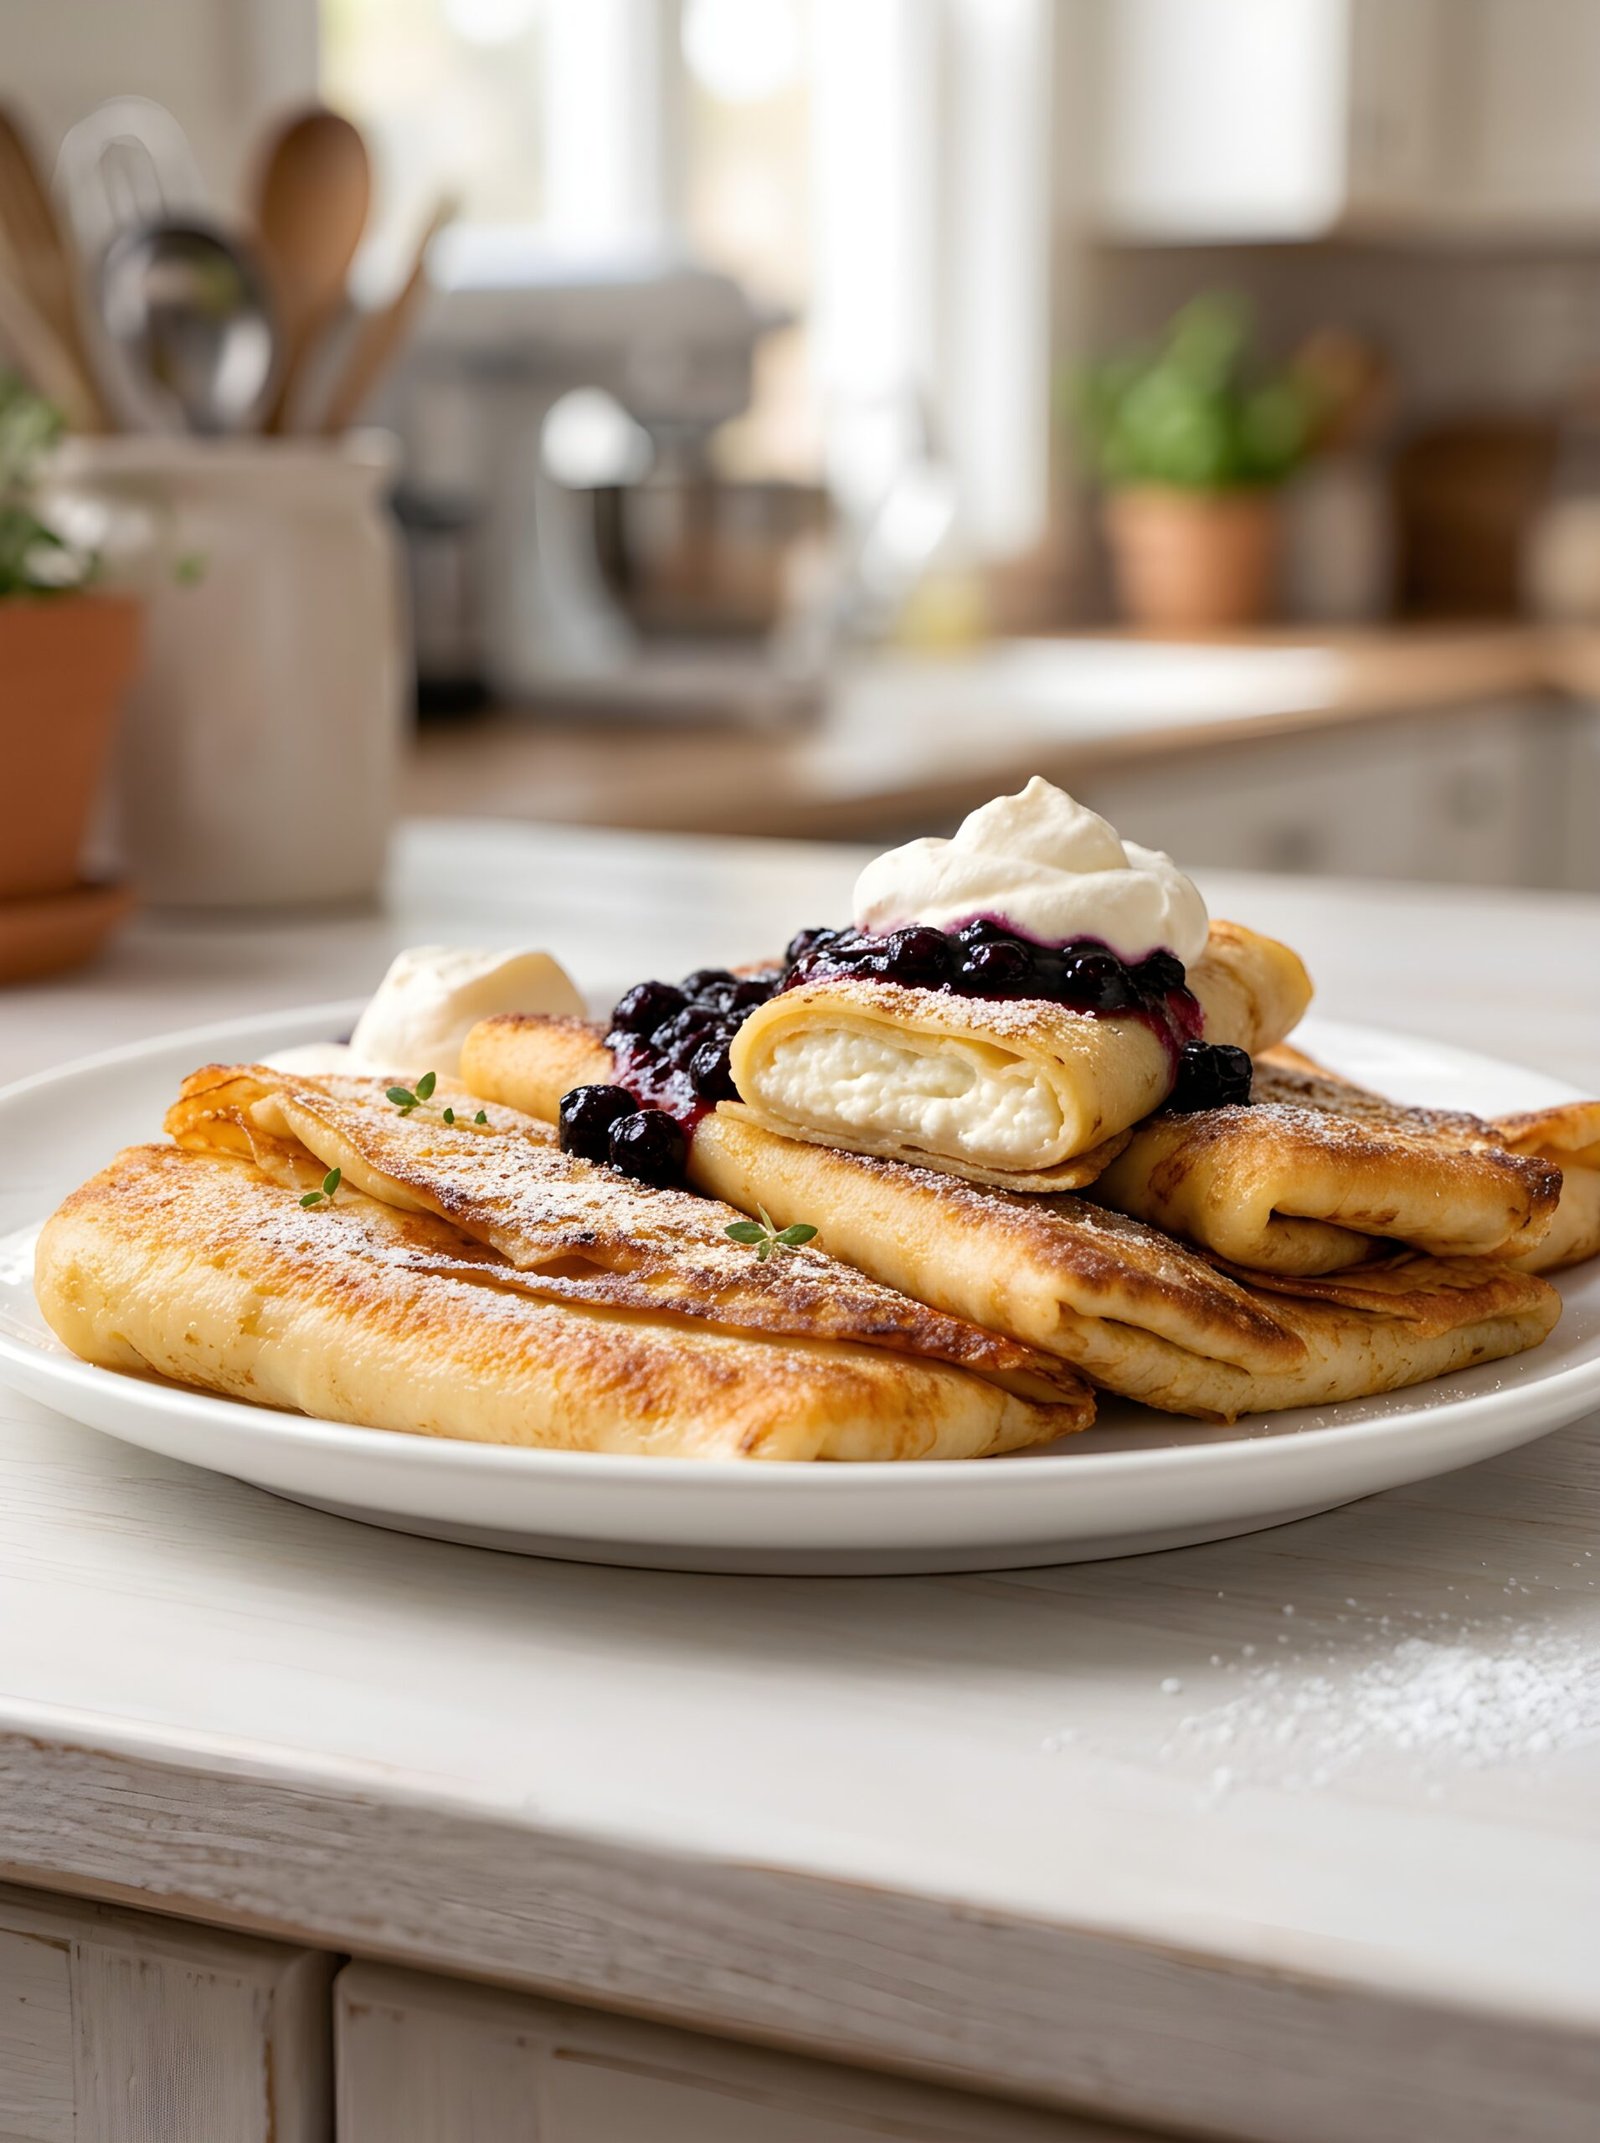
Delicate, paper-thin crepes meet a silky, sweet 9% cottage cheese filling in this ultimate breakfast comfort food. Pan-fried in cooking oil or real butter until beautifully golden and crisp on the outside, these cheese-filled crepes offer the perfect balance of creamy texture and rich flavor. They make a simple, protein-packed homemade breakfast or dessert that the whole family will love—especially when served warm with melted butter, sweet jam, or fresh berries!
200 g / 1 ⅔ cupsall-purpose flour(spooned and leveled)
2 tbspneutral cooking oil(plus extra for the onion-greasing trick)
1tbspunsalted buttermelted
¾ tspfine salt
For the Cottage Cheese Filling
540 g / 19 ozcottage cheese(9% full-fat content, processed/pre-blended or standard)
5tbspsour cream(30% full-fat or heavy sour cream)
4tbsp granulated white sugar
1tspvanilla sugar(or 1 tsp pure vanilla extract)
A generous pinchfine salt
Method
Whisk the Crepe Batter
In a large mixing bowl, crack the 4 large eggs. Add 1 tablespoon of granulated sugar, 1 teaspoon of vanilla sugar, and ¾ teaspoon of fine salt. Whisk vigorously until the eggs are broken down and the sugar begins to dissolve.
Pour in half of the whole milk (275 ml) followed by the 200 g of all-purpose flour. Whisk well until a smooth, thick paste forms without any stubborn flour pockets.
Gradually pour in the remaining milk while whisking to thin out the batter.
Stream in the 2 tablespoons of neutral oil and 1 tablespoon of melted butter, whisking until fully integrated. The final batter will look liquid and runny—don't worry, it is supposed to look exactly like heavy cream!
Let the Batter Rest (Crucial!)
Cover the bowl with plastic wrap and set it aside on the counter for at least 20 minutes.
This rest time allows the gluten in the flour to completely relax, ensuring your finished crepes turn out tender, pliable, and completely tear-free.
Prepare the Silk-Smooth Filling
If using standard cottage cheese: Place the 540 g of 9% cottage cheese into a food processor or blender by itself. Blend for about 60 seconds just until the small curds disappear and it turns completely smooth and silky. Transfer the smooth cheese to a mixing bowl, then add the 5 tablespoons of 30% sour cream, 4 tablespoons of sugar, 1 teaspoon of vanilla sugar, and a generous pinch of fine salt. Stir everything together with a spoon until velvety and fully combined.
If using processed/pre-blended cottage cheese: Skip the blender entirely! Simply place your smooth, processed 9% cottage cheese straight into a mixing bowl. Add the 5 tablespoons of sour cream, 4 tablespoons of sugar, 1 teaspoon of vanilla sugar, and a generous pinch of salt. Mix well with a spoon until combined, and your luxurious filling is ready to go.
Fry the Paper-Thin Crepes
Place a high-quality 8-to-10-inch non-stick skillet over medium heat. Let the pan heat up evenly; never pour batter onto a cold pan.
The Old-School Onion Trick: Take your halved onion pierced with a fork, dip the flat side into a small bowl of oil, and lightly swipe it across the hot pan. This creates a perfect micro-layer of fat that prevents sticking without making the crepes greasy.
Measure exactly 1/4 cup of batter (or use a small ladle) and pour it right into the center of the skillet. Immediately lift the pan and tilt your wrist in a swift circular motion to swirl the batter into a perfectly thin circle.
Let it cook on medium heat for about 50- 60 seconds. You will know it is ready when the edges lightly brown and the wet, glossy surface turns completely matte and dry.
The Wooden Skewer Secret & Glove Flip: Put on a pair of clean, heat-resistant kitchen gloves. Run a thin wooden skewer gently around the edges of the crepe to loosen it from the pan. Using your gloved fingers, lift the edge, slide your fingers underneath, and quickly flip it over with a confident snap of your wrist.
Cook the second side for just 15 to 20 seconds. Slide the finished crepe onto a plate and cover it with a clean kitchen towel to trap the steam and keep it beautifully soft. Repeat the process for all 16 crepes, swiping with the oiled onion before each one.
Fill and Wrap (The Bakery Envelope)
Lay a crepe flat on a clean surface. Place 1 to 2 tablespoons of the smooth sweet cheese filling right in the center. Do not overfill, or it will leak!
Fold both the left and right sides of the crepe inward over the filling, creating a long vertical rectangle.
Starting from the bottom edge closest to you, roll the crepe upward tightly over the filling into a neat, secure packet (the letter/envelope fold).
The Final Crisp
Melt a generous knob of real butter (or a tiny drop of cooking oil) in your skillet over medium heat.
Seam-Side Down First: Place your rolled crepes into the hot pan seam-side down first (the side where the fold connects). Frying this side first instantly sears the flap shut and locks the cheese filling inside.
Fry for 2 to 3 minutes until deeply golden-brown and crisp, then flip and fry the other side.
Serve immediately while hot and crisp, heavily drizzled with warm melted butter, a dollop of cold sour cream and sweet jam, or a dusting of snowy powdered sugar!
Notes
The Vanilla Swap: If vanilla sugar is unavailable in your local grocery store, you can easily substitute it with an equal amount (1 teaspoon) of pure vanilla extract in both the batter and the filling.
Dairy Consistency Matters: Always stick to a high-quality 9% full-fat cottage cheese and 30% sour cream. Low-fat or fat-free dairy products contain too much water and acidity, which will cause your sweet filling to turn runny and make your crepe wrappers soggy.
Make-Ahead Convenience: You can mix the crepe batter and prepare the cheese filling up to 24 hours in advance. Store them separately in airtight containers in the refrigerator. In the morning, give the batter a quick stir to redistribute any settled flour, and you are ready to fry fresh.
Calorie Count Reference: The nutritional value of 183 kcal is calculated per individual, fully assembled, and pan-fried crepe. A standard satisfying serving size is typically 3 to 4 filled crepes per person.
Pan Size & Yield: This recipe yields 16 crepes when using a standard 8-to-10 inch (20-25 cm) non-stick skillet. If you use a larger pan, your crepes will still be delicious, but you will get fewer total pieces, and you may need to adjust the amount of filling per crepe.
The “First Crepe” Rule: Do not worry if your very first crepe tears, wrinkles, or looks messy! This is completely normal because the skillet is still adjusting its heat distribution. Treat it as a test run, and your second crepe will turn out absolutely perfect.
Resting is Mandatory: Do not skip the 20-minute batter rest time. Letting the batter sit on the counter relaxes the gluten and allows the flour to absorb the liquids. Skipping this step is the number one reason crepes turn out rubbery instead of melt-in-your-mouth tender.
Never Cook on Max Heat: Always keep your stove setting on medium heat throughout the entire process. Max heat will burn the thin batter before it has a chance to set, while too low heat will dry the crepes out, turning them stiff like crackers instead of soft and pliable.
Next-Day Roll & Fry Hack: If you have leftover empty crepes and filling stored separately in the fridge, do not assemble them ahead of time. Simply take them out the next morning, place the cold filling into the room-temperature crepe wrapper, fold it up, and fry it fresh. Frying brings that signature crispness back instantly!
How to Choose the Right Cottage Cheese
Stick to 9% Full-Fat: For the ultimate creamy experience, always reach for 9% fat cottage cheese. Lower-fat or fat-free versions tend to be too watery and acidic, which makes your filling runny and causes the crepe wrappers to get soggy.
Check the Curd Size: If you are blending the cheese yourself, look for small-curd options. They break down much faster and smoother into that desired velvety, cream-like texture compared to large, firm curds.
Pre-Blended is a Lifesaver: To save time, look for processed or pre-blended 9% cottage cheese (often sold as smooth curd or baking cheese). It already has a perfectly uniform texture, so you can skip the blender completely and get straight to filling.
Watch Out for Added Salt: Some cottage cheese brands add a heavy amount of sodium. Check the label and choose a brand with a milder, more neutral taste so your sweet sugar and vanilla additions can really shine.
How to Fold Crepes Like a Pro
The beauty of these crepes is that there are no strict rules—you can fold them however you like! Personally, I love using the letter (envelope) fold because it keeps all that glorious cheese tucked safely inside. But feel free to experiment and find your own favorite style. Here are the three best ways to do it:
The Bakery Envelope (My Favorite!): Add the filling to the center, fold both the left and right sides inward over the cheese, and then roll it up from the bottom. This locks the cottage cheese completely inside so nothing leaks into your pan.
The Classic Cigar Roll: Place your sweet cheese filling in a neat line down the center of the crepe, then simply roll it up tightly from one side to the other. This traditional method is perfect for getting a quick, even pan-fry.
The Elegant Restaurant Triangle: Spread a thin, even layer of filling over one half of the crepe. Fold it in half to create a semi-circle, and then fold it in half once more into a neat triangle that looks beautiful stacked on a plate.
How to Flip Crepes Like a Pro
The Edge Loosener: Never try to flip a crepe straight away. First, run your wooden skewer gently around the margins to lift any edges that might be stuck to the sides of the pan.
Watch the Sheen: Wait for the wet, glossy look on top of the batter to turn completely matte and dry. If the surface still shines, the crepe is too delicate and will tear.
The Two-Finger Lift: Wear your clean kitchen gloves, slide your fingers just underneath the lifted edge, and confidently pick up the crepe. The gloves shield you from the steam so you can move quickly.
The Quick Wrist Snap: Lift the crepe slightly, then flip it over in one swift, gentle motion. Do not hesitate—a fast and confident wrist movement ensures the crepe lands flat without folding or wrinkling.
Practice Makes Perfect: Remember, mastering the crepe flip takes time! Do not be discouraged if your first few crepes tear, fold, or look a bit messy. Even as a food blogger, they do not always turn out perfectly for me either. Just keep practicing, and you will get that confident wrist snap down in no time.
Easy Recipe Variations to Try
One of the absolute best things about this recipe is how incredibly versatile it is. While the classic sweet cottage cheese filling is pure perfection on its own, you can easily use it as a canvas for your own culinary creativity!
Here are a few simple, delicious ways to switch things up and upgrade your breakfast game:
Berry and Cream Dream: Layer a spoonful of fresh raspberry or blueberry compote right on top of the cheese filling before rolling it up. When you pan-fry the crepe, the berries warm up and create an instant, built-in sauce inside.
Warm Cinnamon Spice: Whisk a pinch of ground cinnamon and a dash of dark brown sugar into your blended cheese cream. This transforms the recipe into a cozy, comforting autumn breakfast that smells absolutely incredible.
Chocolate Lover’s Delight: Drizzle the inside of the crepe with hazelnut spread or toss in a handful of mini chocolate chips before folding. The chocolate melts beautifully into the warm, velvety cottage cheese as it hits the hot skillet.
Apple Pie Magic: Top the cheese filling with a spoonful of warm apples sautéed in butter, brown sugar, and cinnamon right before rolling. It tastes exactly like a cozy, comforting slice of homemade apple pie wrapped in a delicate crepe.
The Royal Vanilla Bean: Swap out standard vanilla extract for real vanilla bean paste. The tiny black flecks not only look gorgeous and professional on camera but also inject a deep, luxurious aroma into the rich filling.
The Almond Crunch: Fold a couple of tablespoons of finely chopped, toasted almonds or hazelnuts directly into the silky cheese filling. This adds a delightful, nutty crunch that beautifully contrasts the soft and tender layers.
Common Mistakes to Avoid
Making crepes might feel a little intimidating at first, but it is actually incredibly simple once you get the hang of it! Most crepe disasters happen because of a few tiny, easily fixable slip-ups in the kitchen. To save you the heartbreak of torn wrappers, rubbery layers, or leaking cheese, I have gathered the most common pitfalls that home bakers face.
Pouring Batter Onto a Cold Pan: If your skillet isn’t hot enough, the crepe batter will just soak up the grease instead of searing. Wait until your pan is completely hot before swiping your oiled onion across it and pouring the first ladle.
Skipping the Batter Rest Time: Rushing straight from mixing to frying results in rubbery crepes that tear easily. Letting the batter rest for at least 20 minutes allows the gluten to relax, giving you that signature paper-thin, delicate texture.
Overcrowding with Filling: It is tempting to pile on the sweet cottage cheese, but less is more. Overstuffing makes the crepes heavy and causes the filling to burst through the seams and burn in your pan when you fry them.
Frying the Wrong Side First: Putting the smooth, beautiful side of the rolled crepe onto the pan first is a recipe for a leaky disaster. Always place them seam-side down first to sear the connection shut and lock all that creamy goodness inside.
Flipping Too Quickly: Trying to turn the crepe before the edges have dried out and the top has lost its glossy sheen will cause it to crumple into a gooey mess. Be patient, look for that matte surface, and let your wooden skewer do its job first.
Pouring Too Much Batter: If you dump too much batter into the pan, your crepes will turn out thick, heavy, and pancake-like. Use a precise quarter-cup measure and swirl the pan instantly to achieve that coveted, elegant, paper-thin consistency.
Using Low-Fat Cottage Cheese: Opting for a 0% or low-fat cottage cheese will yield a watery, grainy filling with an unpleasant sour aftertaste. Stick to the 9% full-fat version to get that rich, luxurious, dessert-like creaminess.
Leaving Lumps in the Filling: Skipping the blending process leaves you with a bumpy, curd-heavy texture that might turn off picky eaters. Take the extra minute to blend it silky smooth, or buy pre-processed smooth cheese for the best mouthfeel.
What to Serve with These Cottage Cheese Crepes
To elevate your homemade cottage cheese crepes into a truly memorable breakfast spread or a show-stopping brunch, the right accompaniments make all the difference. Because these crepes offer a mild, rich, and slightly sweet flavor profile, they pair beautifully with elements that add brightness, acidity, texture, or warmth.
Here are the absolute best ways to serve and present them to your family or guests:
Melted Butter (My Absolute Favorite!): Heavily drizzle warm, melted butter right over the crisp, pan-fried crepes just before serving. It soaks beautifully into the golden layers and enhances that rich, comforting, and nostalgic homemade flavor profile.
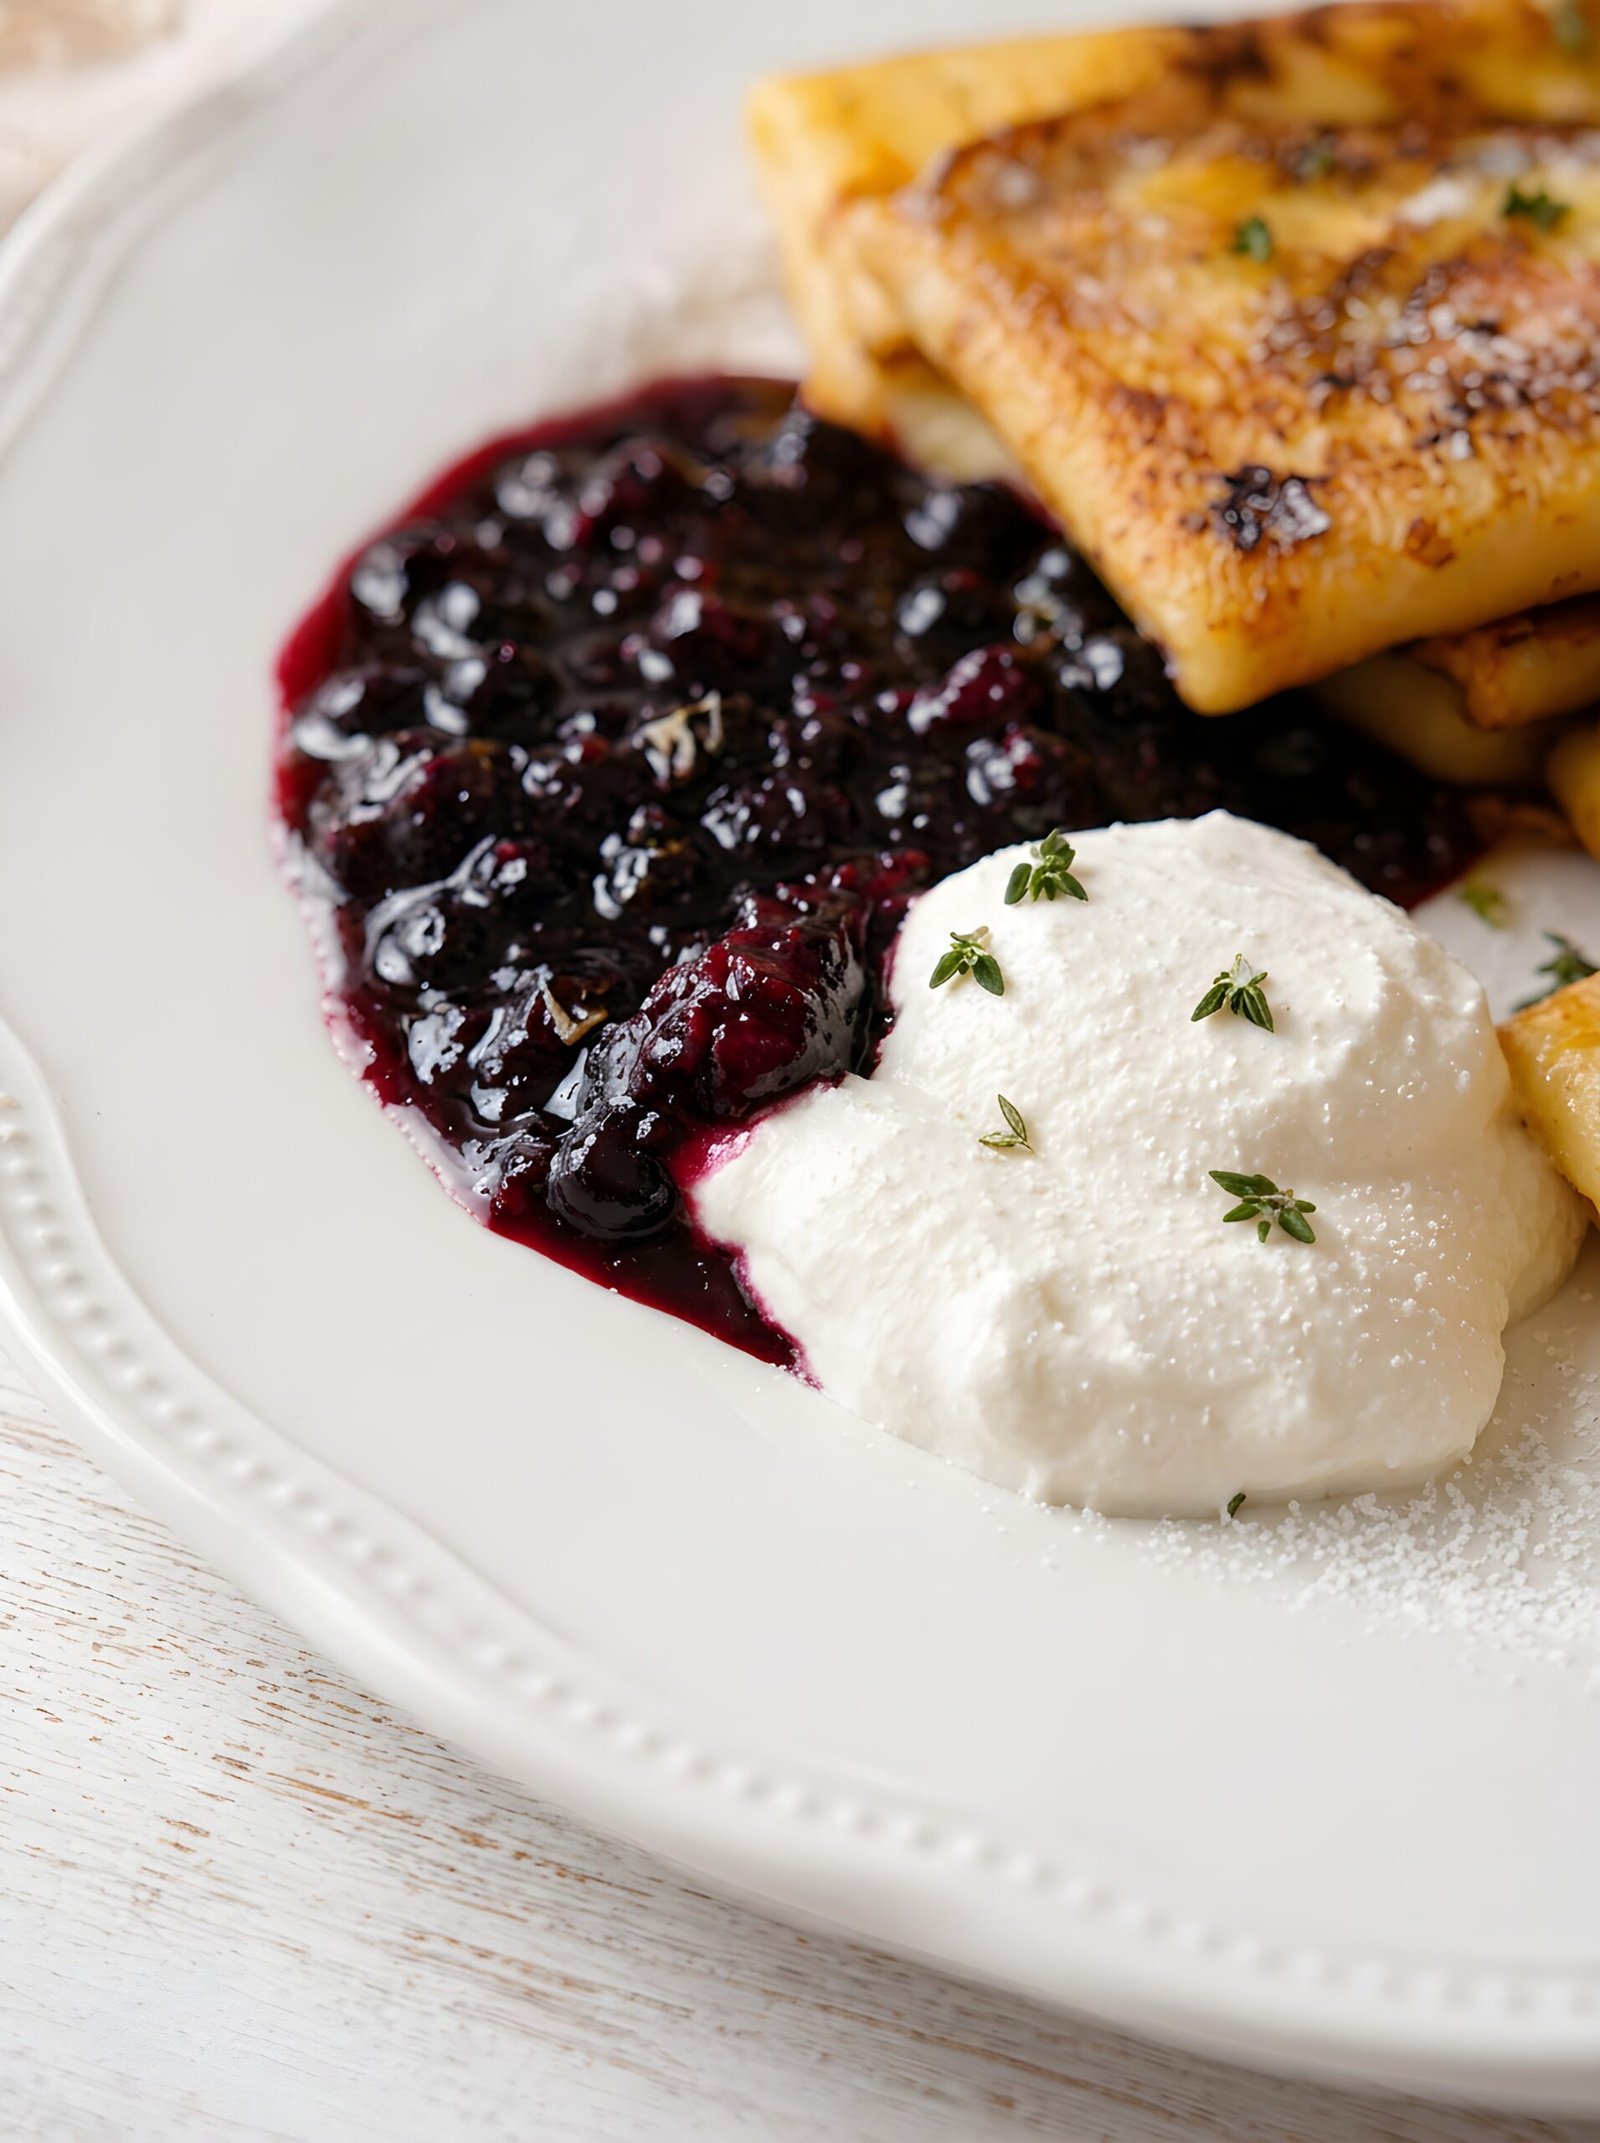
Jam & Sour Cream: Top your hot crepes with a dollop of cold, tangy sour cream right next to your favorite sweet jam. This traditional combination creates an incredible hot-and-cold, sweet-and-sour contrast that takes these crepes to a whole new level.
Salted Caramel Sauce: Drizzle warm salted caramel over the crisp, pan-fried crepes to lean entirely into a luxurious, dessert-for-breakfast vibe.
Toasted Nut Butter: Add a gentle drizzle of warm almond butter or a spoonful of hazelnut chocolate spread across the top for an extra layer of nutty depth.
Pure Maple Syrup & Powdered Sugar: Keep it classic with a generous, snowy dusting of powdered sugar and a light pour of high-quality, pure amber maple syrup.
Melted Milk Chocolate: Drizzle warm, velvety melted milk chocolate over your freshly fried crepes. The rich sweetness of the chocolate wraps around the delicate crepe wrapper and blends beautifully with the creamy cottage cheese center for pure dessert perfection.
Make-Ahead & Storage
These cottage cheese crepes are an absolute dream for meal prep! Because the elements store beautifully, you can easily do the heavy lifting ahead of time and enjoy a gourmet breakfast on busy weekday mornings with minimal effort.
Here is exactly how to store, freeze, and revive your crepes so they taste perfectly fresh every single time:
Preparing Ahead of Time
Overnight Batter Rest: You can whip up the crepe batter the night before. Cover the bowl tightly with plastic wrap and store it in the fridge. In the morning, give it a quick stir to redistribute any settled flour, and you are ready to fry.
Advance Filling Prep: Mix or blend your 9% cottage cheese filling up to 2 days in advance. Store it in an airtight container in the refrigerator so the vanilla and sugar flavors have even more time to meld together.
How to Store Leftovers
In the Refrigerator: Store any leftover fried crepes and filling separately in airtight containers for up to 3 days. When you want a fresh batch, simply take them out, place the cold filling onto the room-temperature crepe wrapper, fold them up, and pan-fry them in fresh butter.
Storing Fully Assembled Crepes: If you have already rolled the crepes with the filling but haven’t pan-fried them yet, arrange them in a single layer in a container separated by parchment paper. Keep them in the fridge for up to 2 days before crisping them up.
How to Freeze Crepes for Long-Term Storage
Freezing Empty Crepe Wrappers: Stack the cooled, empty crepes with a sheet of parchment paper between each one to prevent sticking. Place the stack in a heavy-duty freezer bag and freeze for up to 2 months. Thaw in the fridge overnight before using.
Freezing Rolled (Unfried) Crepes: Place your assembled, filled crepes on a baking sheet lined with parchment paper, making sure they do not touch. Flash-freeze them for 2 hours until firm, then transfer them into a freezer-safe bag. They will keep perfectly for up to 1 month.
How to Reheat and Serve
From the Fridge: For the ultimate experience, always reheat your stored, rolled crepes in a hot skillet with a generous knob of real butter or cooking oil. Fry them seam-side down first until golden brown and crisp on both sides, ensuring the cold cheese inside becomes warm and velvety.
From the Freezer: Do not thaw frozen filled crepes in the microwave, or they will get soggy. Instead, let them thaw in the refrigerator overnight, and then pan-fry them fresh in butter the next morning for that signature café-quality crunch.
Frequently Asked Questions
Why are my crepes tearing when I try to flip them?
Your crepes are likely tearing for one of three reasons: the pan isn’t hot enough, the batter didn’t rest to relax the gluten, or you are trying to flip them too early. Always look for the wet, glossy sheen on top to turn completely matte and dry before using your wooden skewer to gently lift the edges.
Can I use low-fat or fat-free cottage cheese for the filling?
It is highly recommended to stick with 9% full-fat cottage cheese. Low-fat and fat-free versions contain too much moisture and acidity. This extra liquid will make your filling runny, which causes the delicate crepe wrappers to get completely soggy and leak during the final pan-fry.
Why is the first crepe always a total disaster?
Do not worry—the first crepe is famously a throwaway for almost everyone! This usually happens because the pan has not evenly distributed its heat yet, or there is slightly too much oil on the surface. Use your oiled onion trick to keep the grease micro-thin, and your second crepe will turn out perfectly.
My crepe batter looks very runny—did I mess up?
Do not worry at all—it is supposed to look that way! Unlike thick pancake batter, authentic crepe batter should have a very thin, liquid consistency, almost like heavy cream or whole milk. This runny texture is exactly what allows the batter to spread instantly when you swirl the pan, giving you those coveted, paper-thin, and delicate layers.
Why did my cottage cheese filling turn completely liquid and watery?
This usually happens if you used a lower-fat cheese or over-blended the mixture. Over-processing cottage cheese can break down its structure too much and release trapped whey. Stick to a high-quality 9% full-fat cottage cheese and blend it just until the lumps disappear—don’t let the food processor run too long.
What type of pan is best for frying crepes?
A dedicated crepe pan or a high-quality 8-to-10-inch non-stick skillet with low, sloped sides is best. The low sides make it much easier to slide your wooden skewer around the margins and smoothly slip your fingers or a spatula underneath for that seamless flip.
My crepes are crispy and stiff instead of soft and pliable—what went wrong?
If your crepes look like crackers, your heat setting is off. Either your heat was too low, causing them to dry out slowly, or your heat was on max, which burns the outside before the inside cooks. Always cook your crepes on medium heat, never on max heat. Keep it to about 50-60 seconds on the first side and 20 seconds on the second. Stack the finished crepes on a plate under a clean kitchen towel so the trapped steam keeps them perfectly soft and pliable.
I hope you love these crepes as much as I do. Happy cooking! ෆ
These easy ham and cucumber mini sandwiches are the perfect party appetizer, made with crispy oven-baked baguette, creamy dill spread, fresh cucumber, and savory ham. Perfect for parties, brunches, showers, holidays, game day, and easy entertaining.
Warm up with the best creamy mushroom soup recipe from scratch! Packed with tender potatoes, carrots, and onions, this homemade dish gets its restaurant-quality richness from a velvety blend of heavy cream and soft spreadable cheese with no flour or blending required.
The ultimate Creamy Scrambled Egg Toast recipe! Fluffy soft-scrambled eggs with juicy tomatoes, parsley butter, and mayo on crunchy artisan bread. Pure comfort!
This Easy No-Bake Toffee Wafer Cake is a simple 3-ingredient dessert loaded with crispy plain wafer shards coated in a rich, velvety glaze made from melted creamy toffee candies. No oven required! It’s the perfect crunchy, sweet treat for hosting a crowd.
This Creamy Smoked Sausage Pasta is the ultimate quick and easy dinner! Tender penne, savory smoked sausage, and a rich, creamy sauce come together for a comforting meal the whole family will love.
These easy sausage buns are soft, buttery, and packed with flavor, thanks to ready-made yeast dough, juicy sausages, and a delicious garlic butter and parsley filling. They come together with minimal effort and are perfect for breakfast, lunch, parties, or an easy snack. Add cheese, mustard, or ketchup for your own twist!