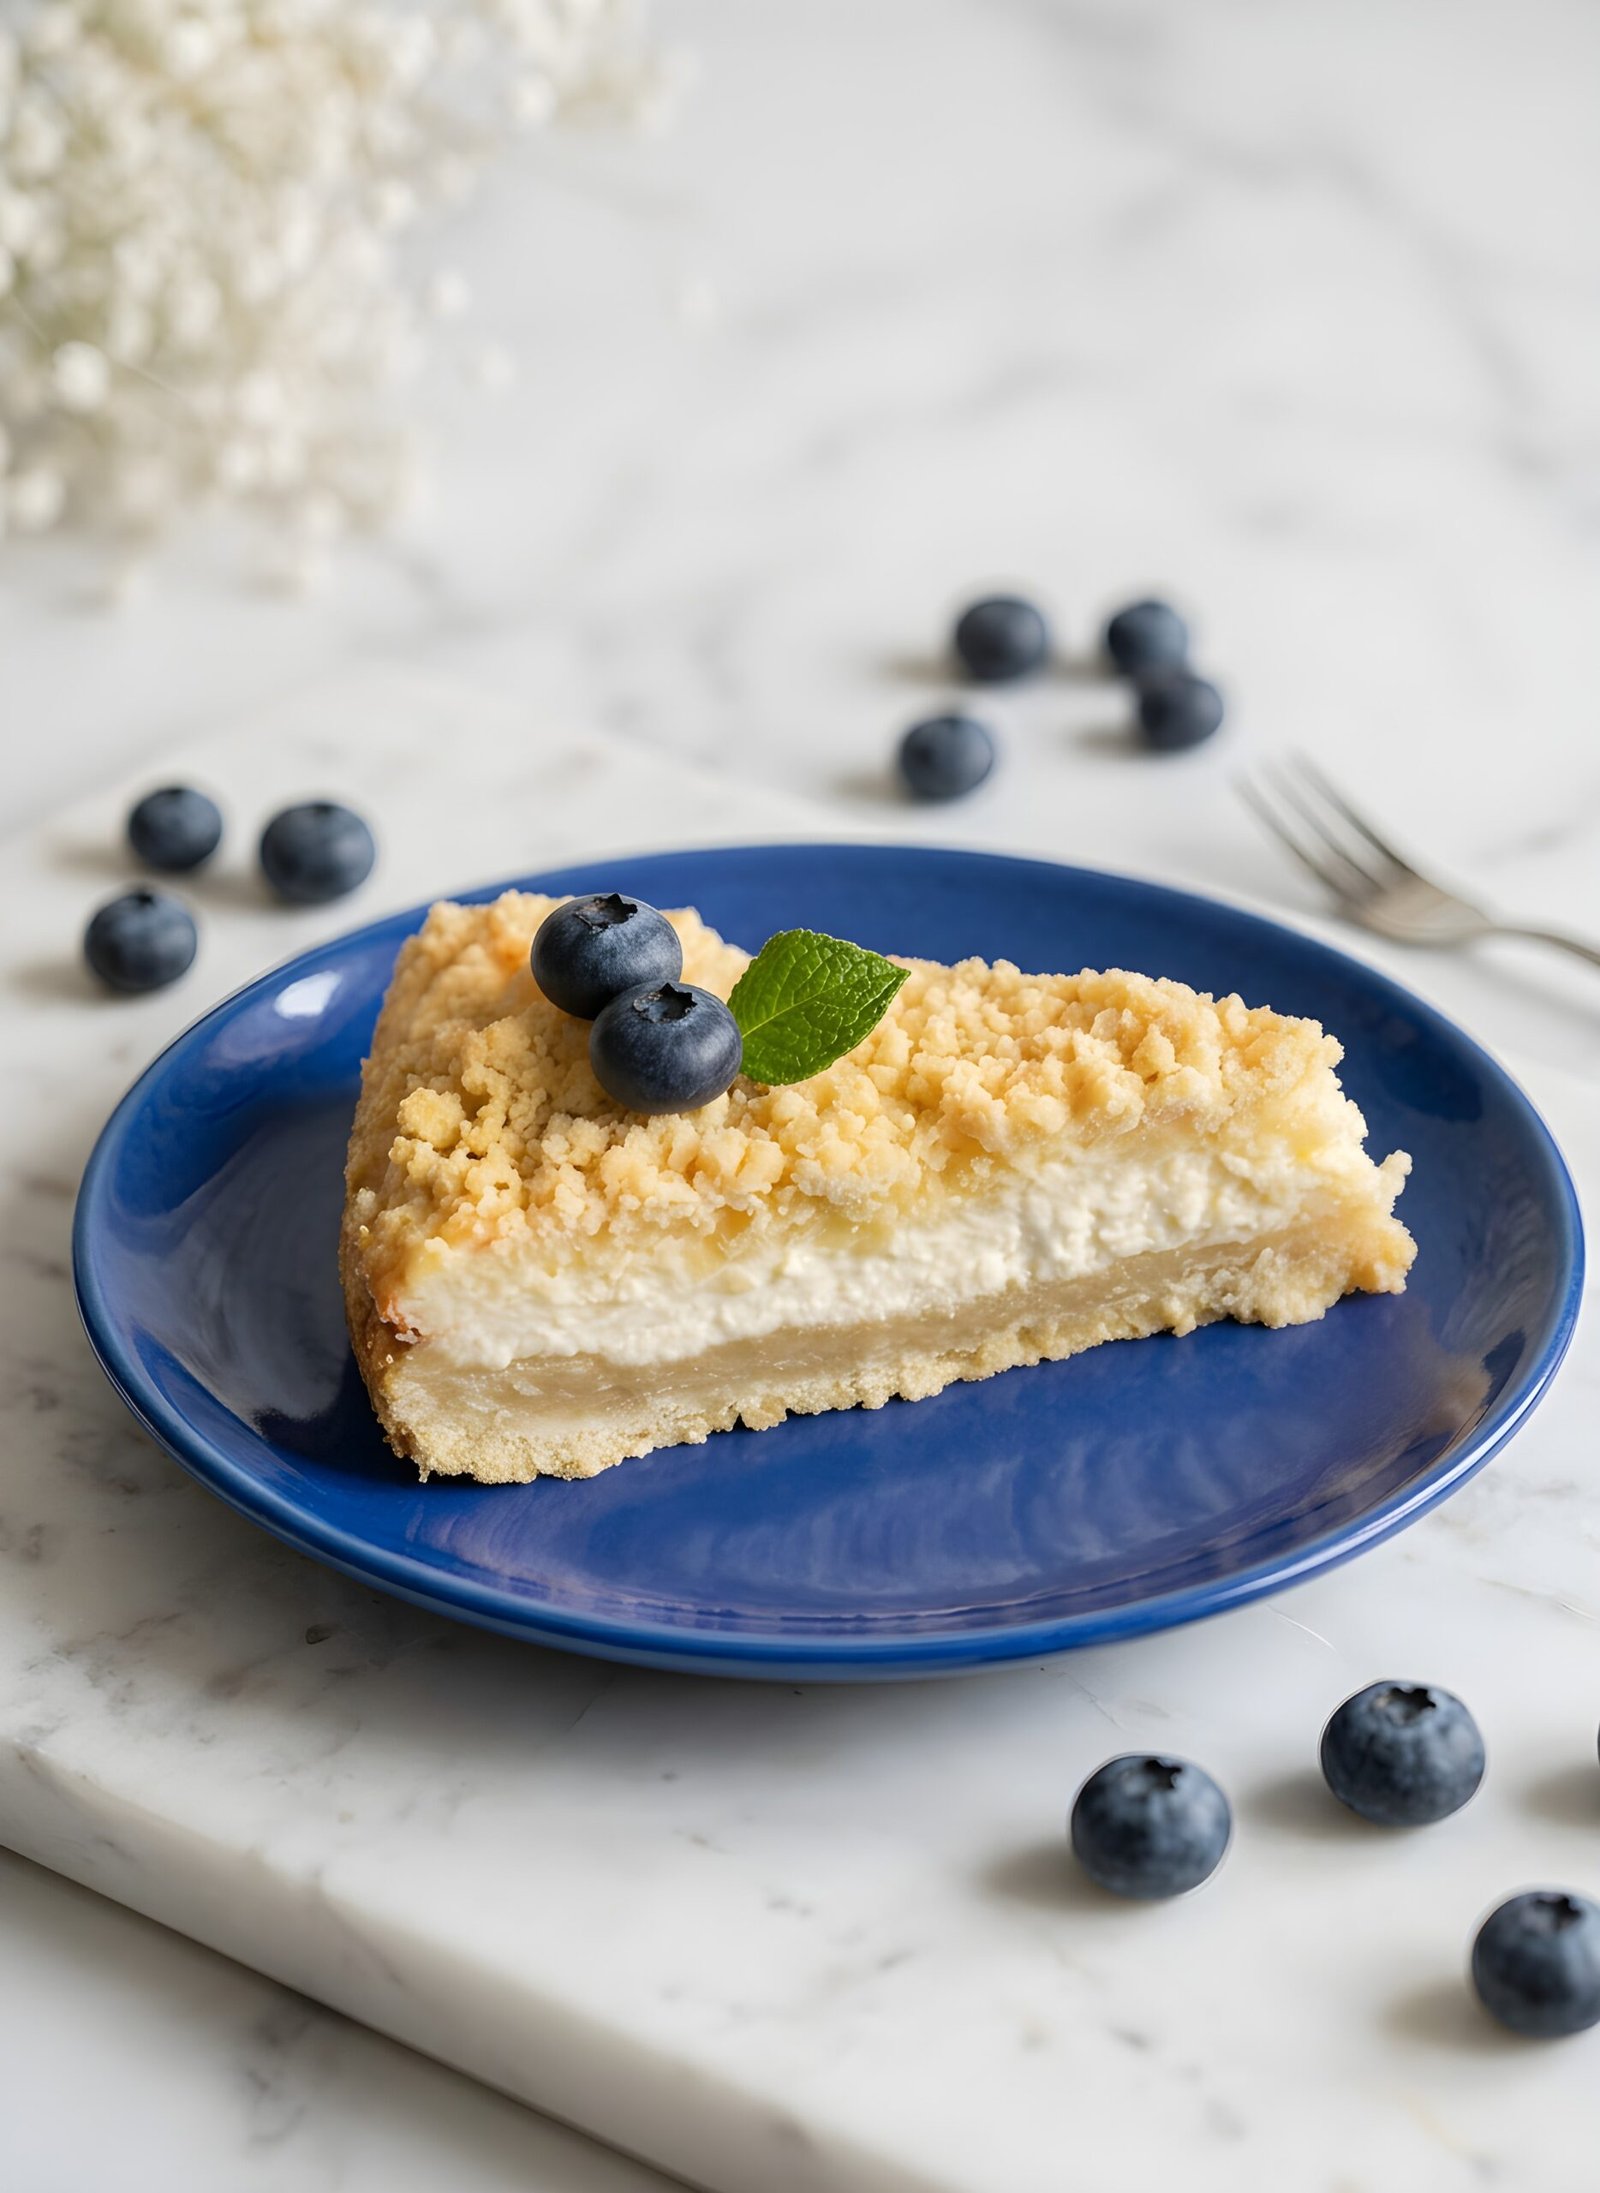
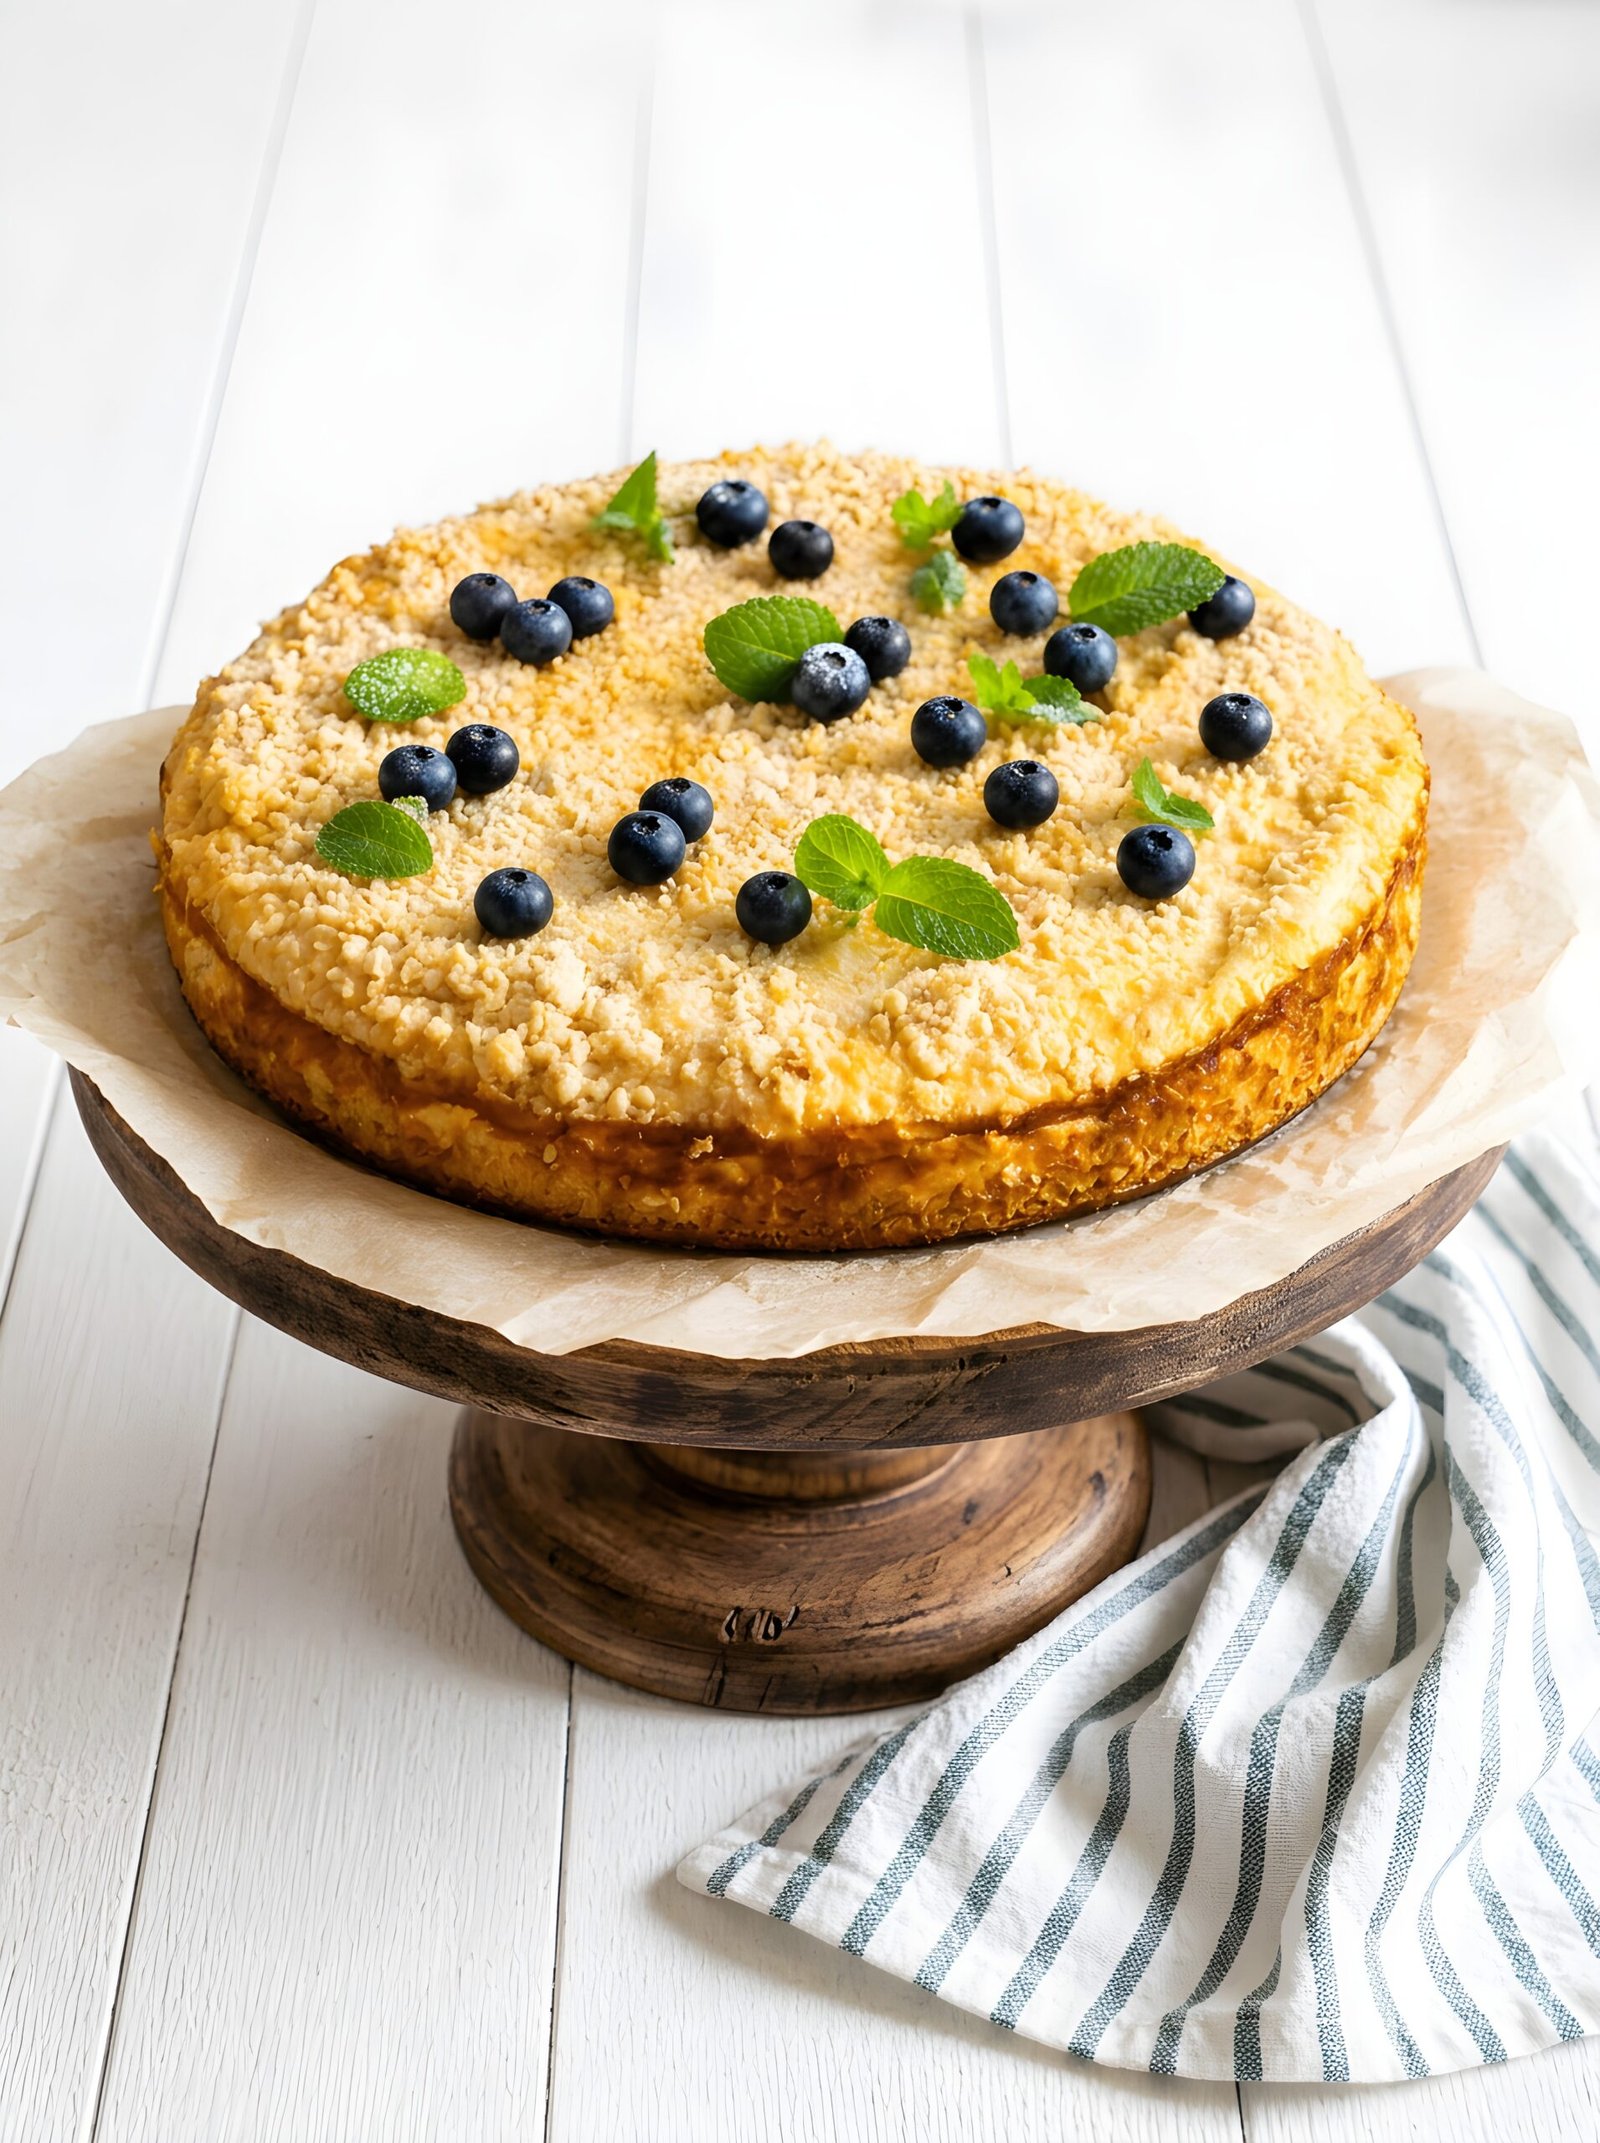
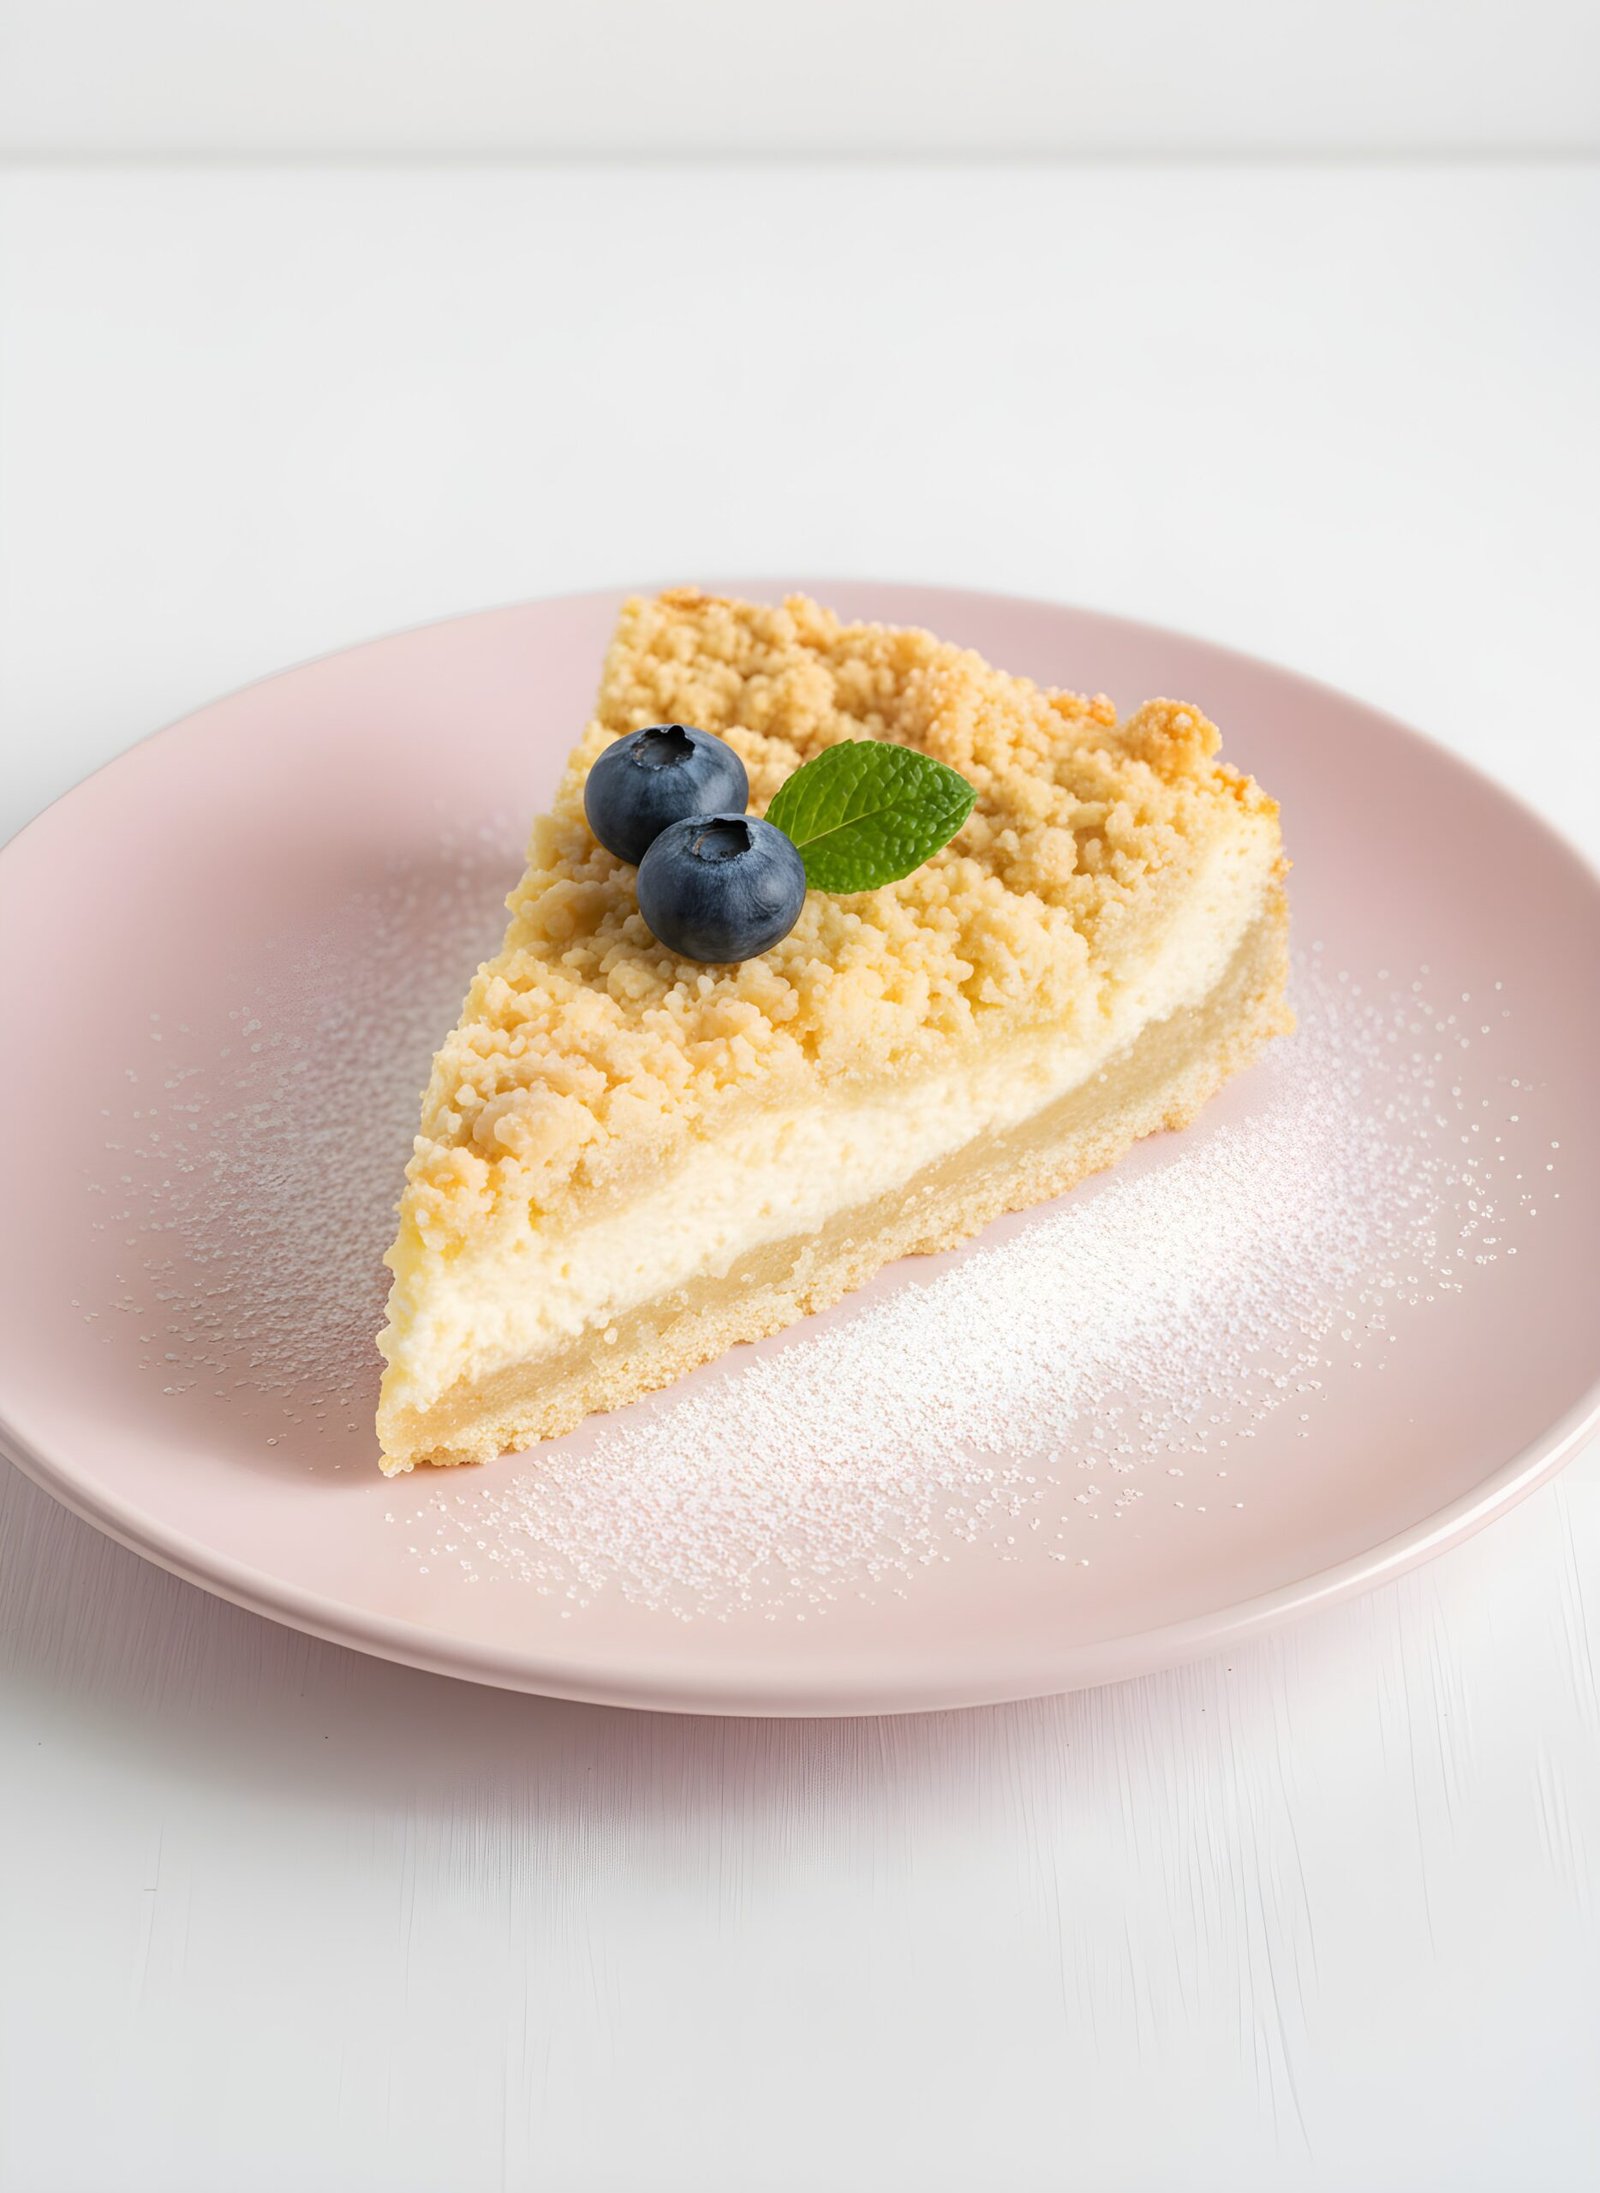
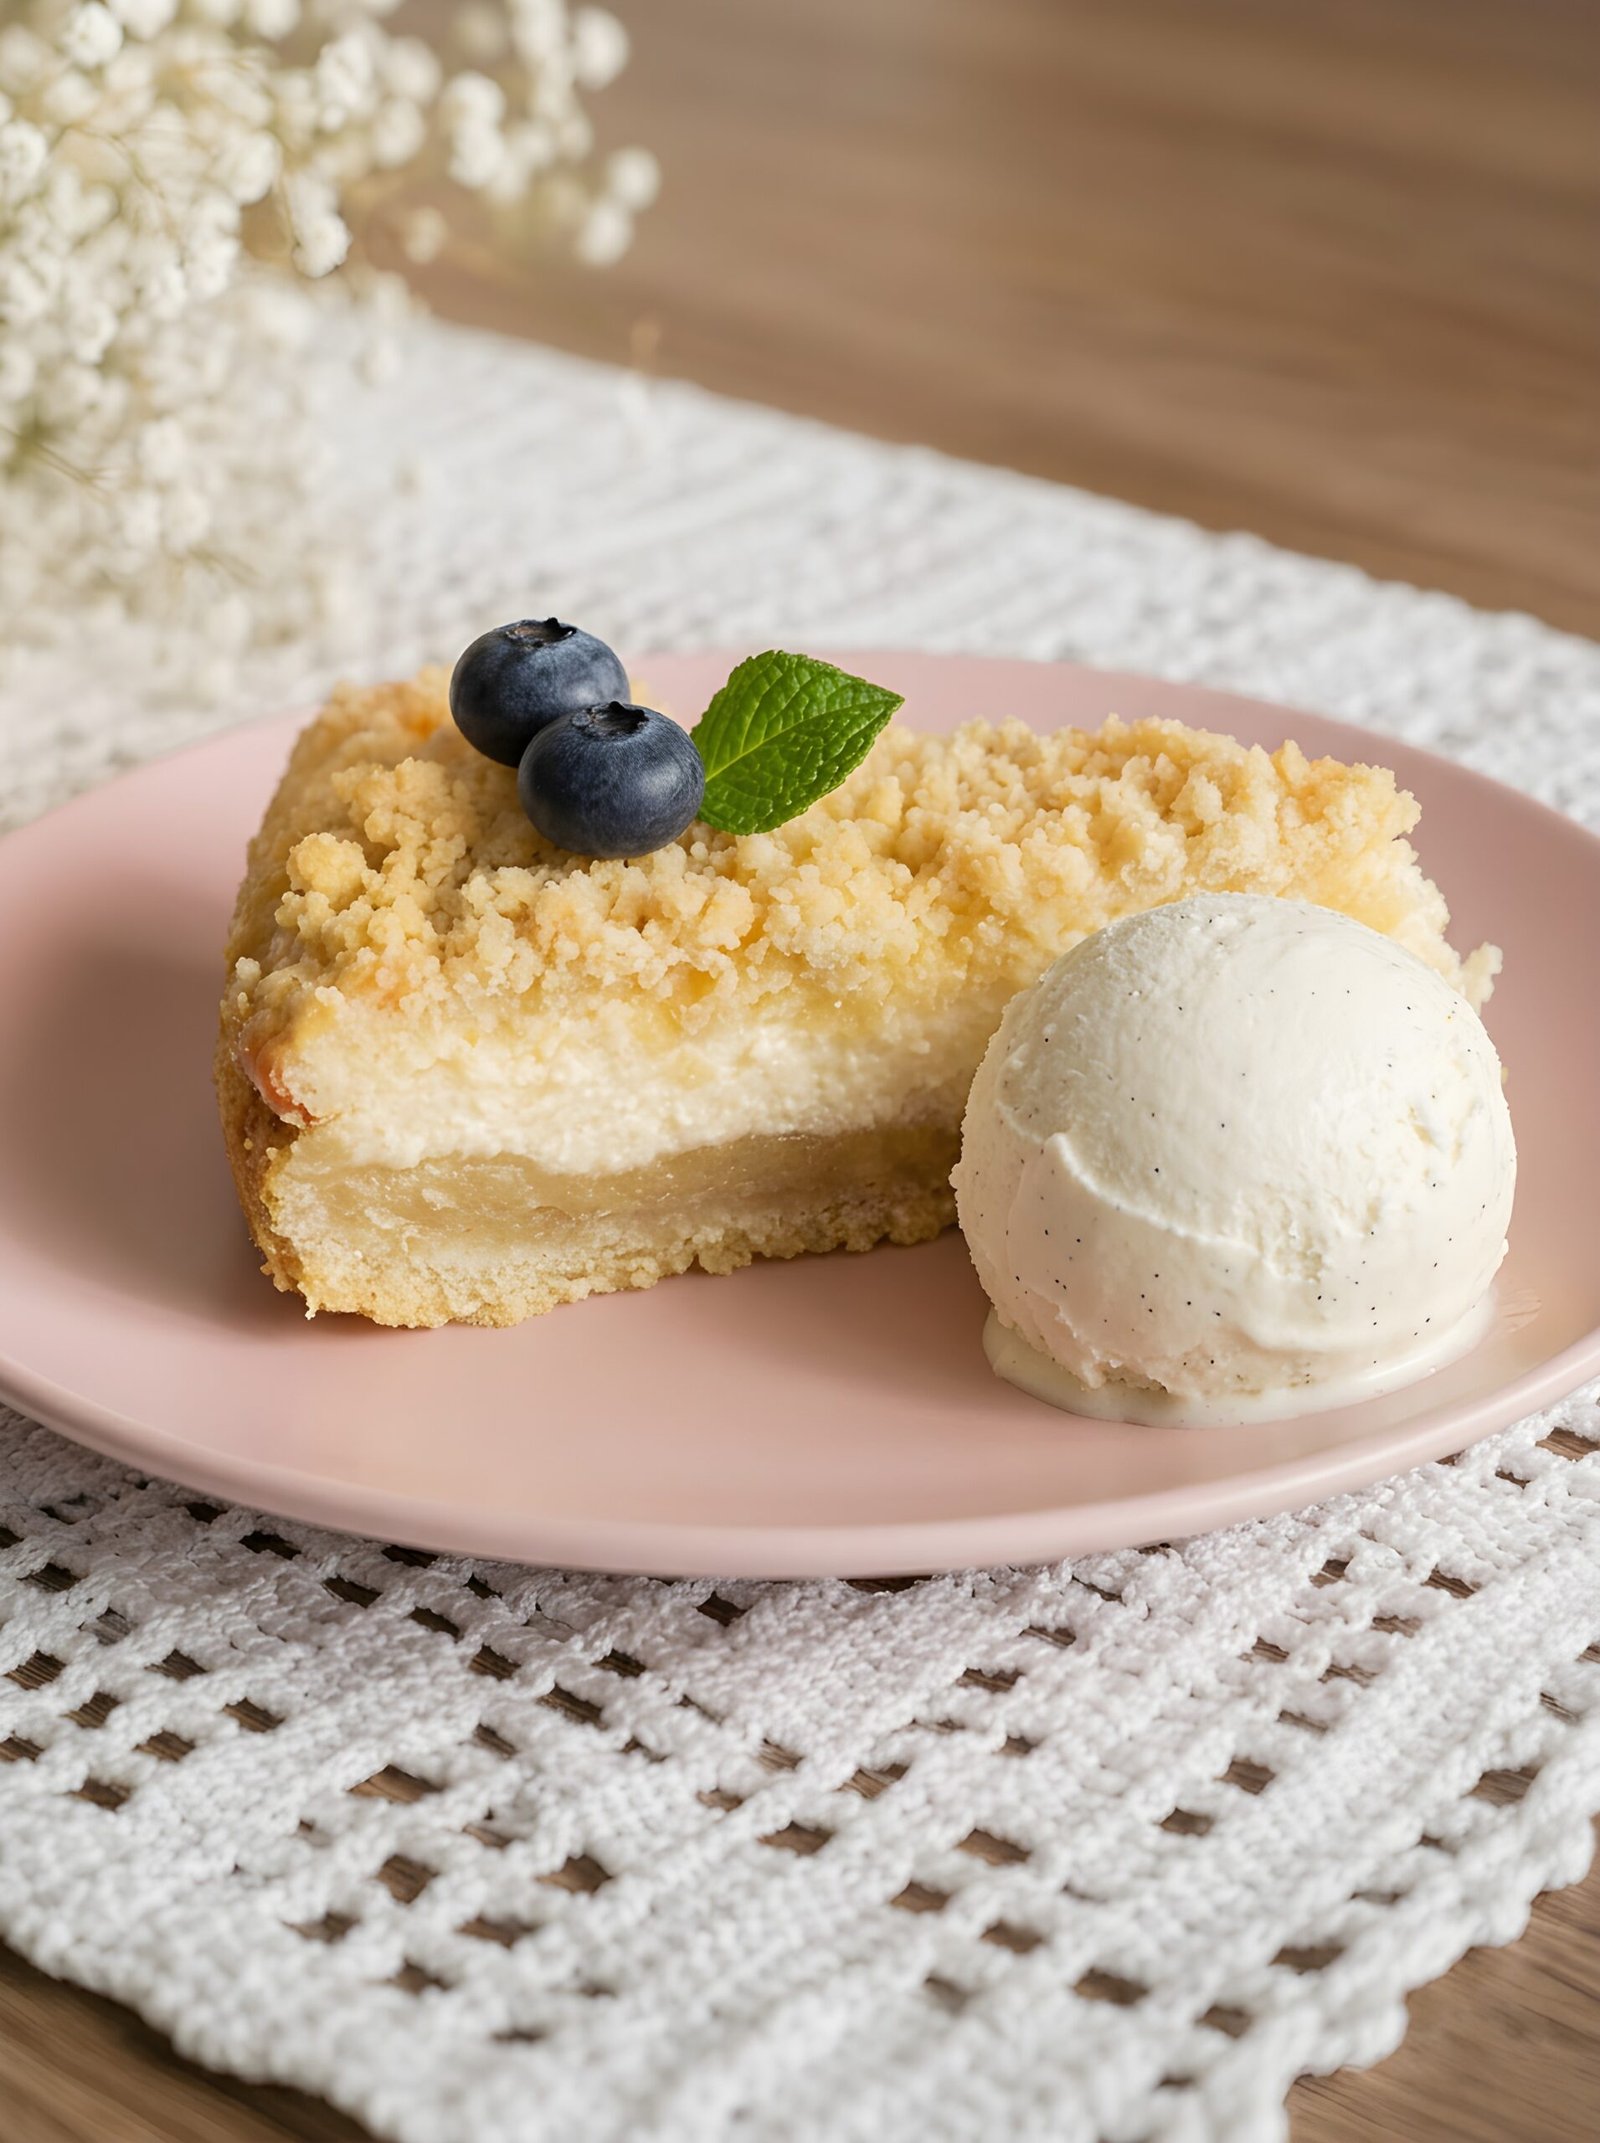
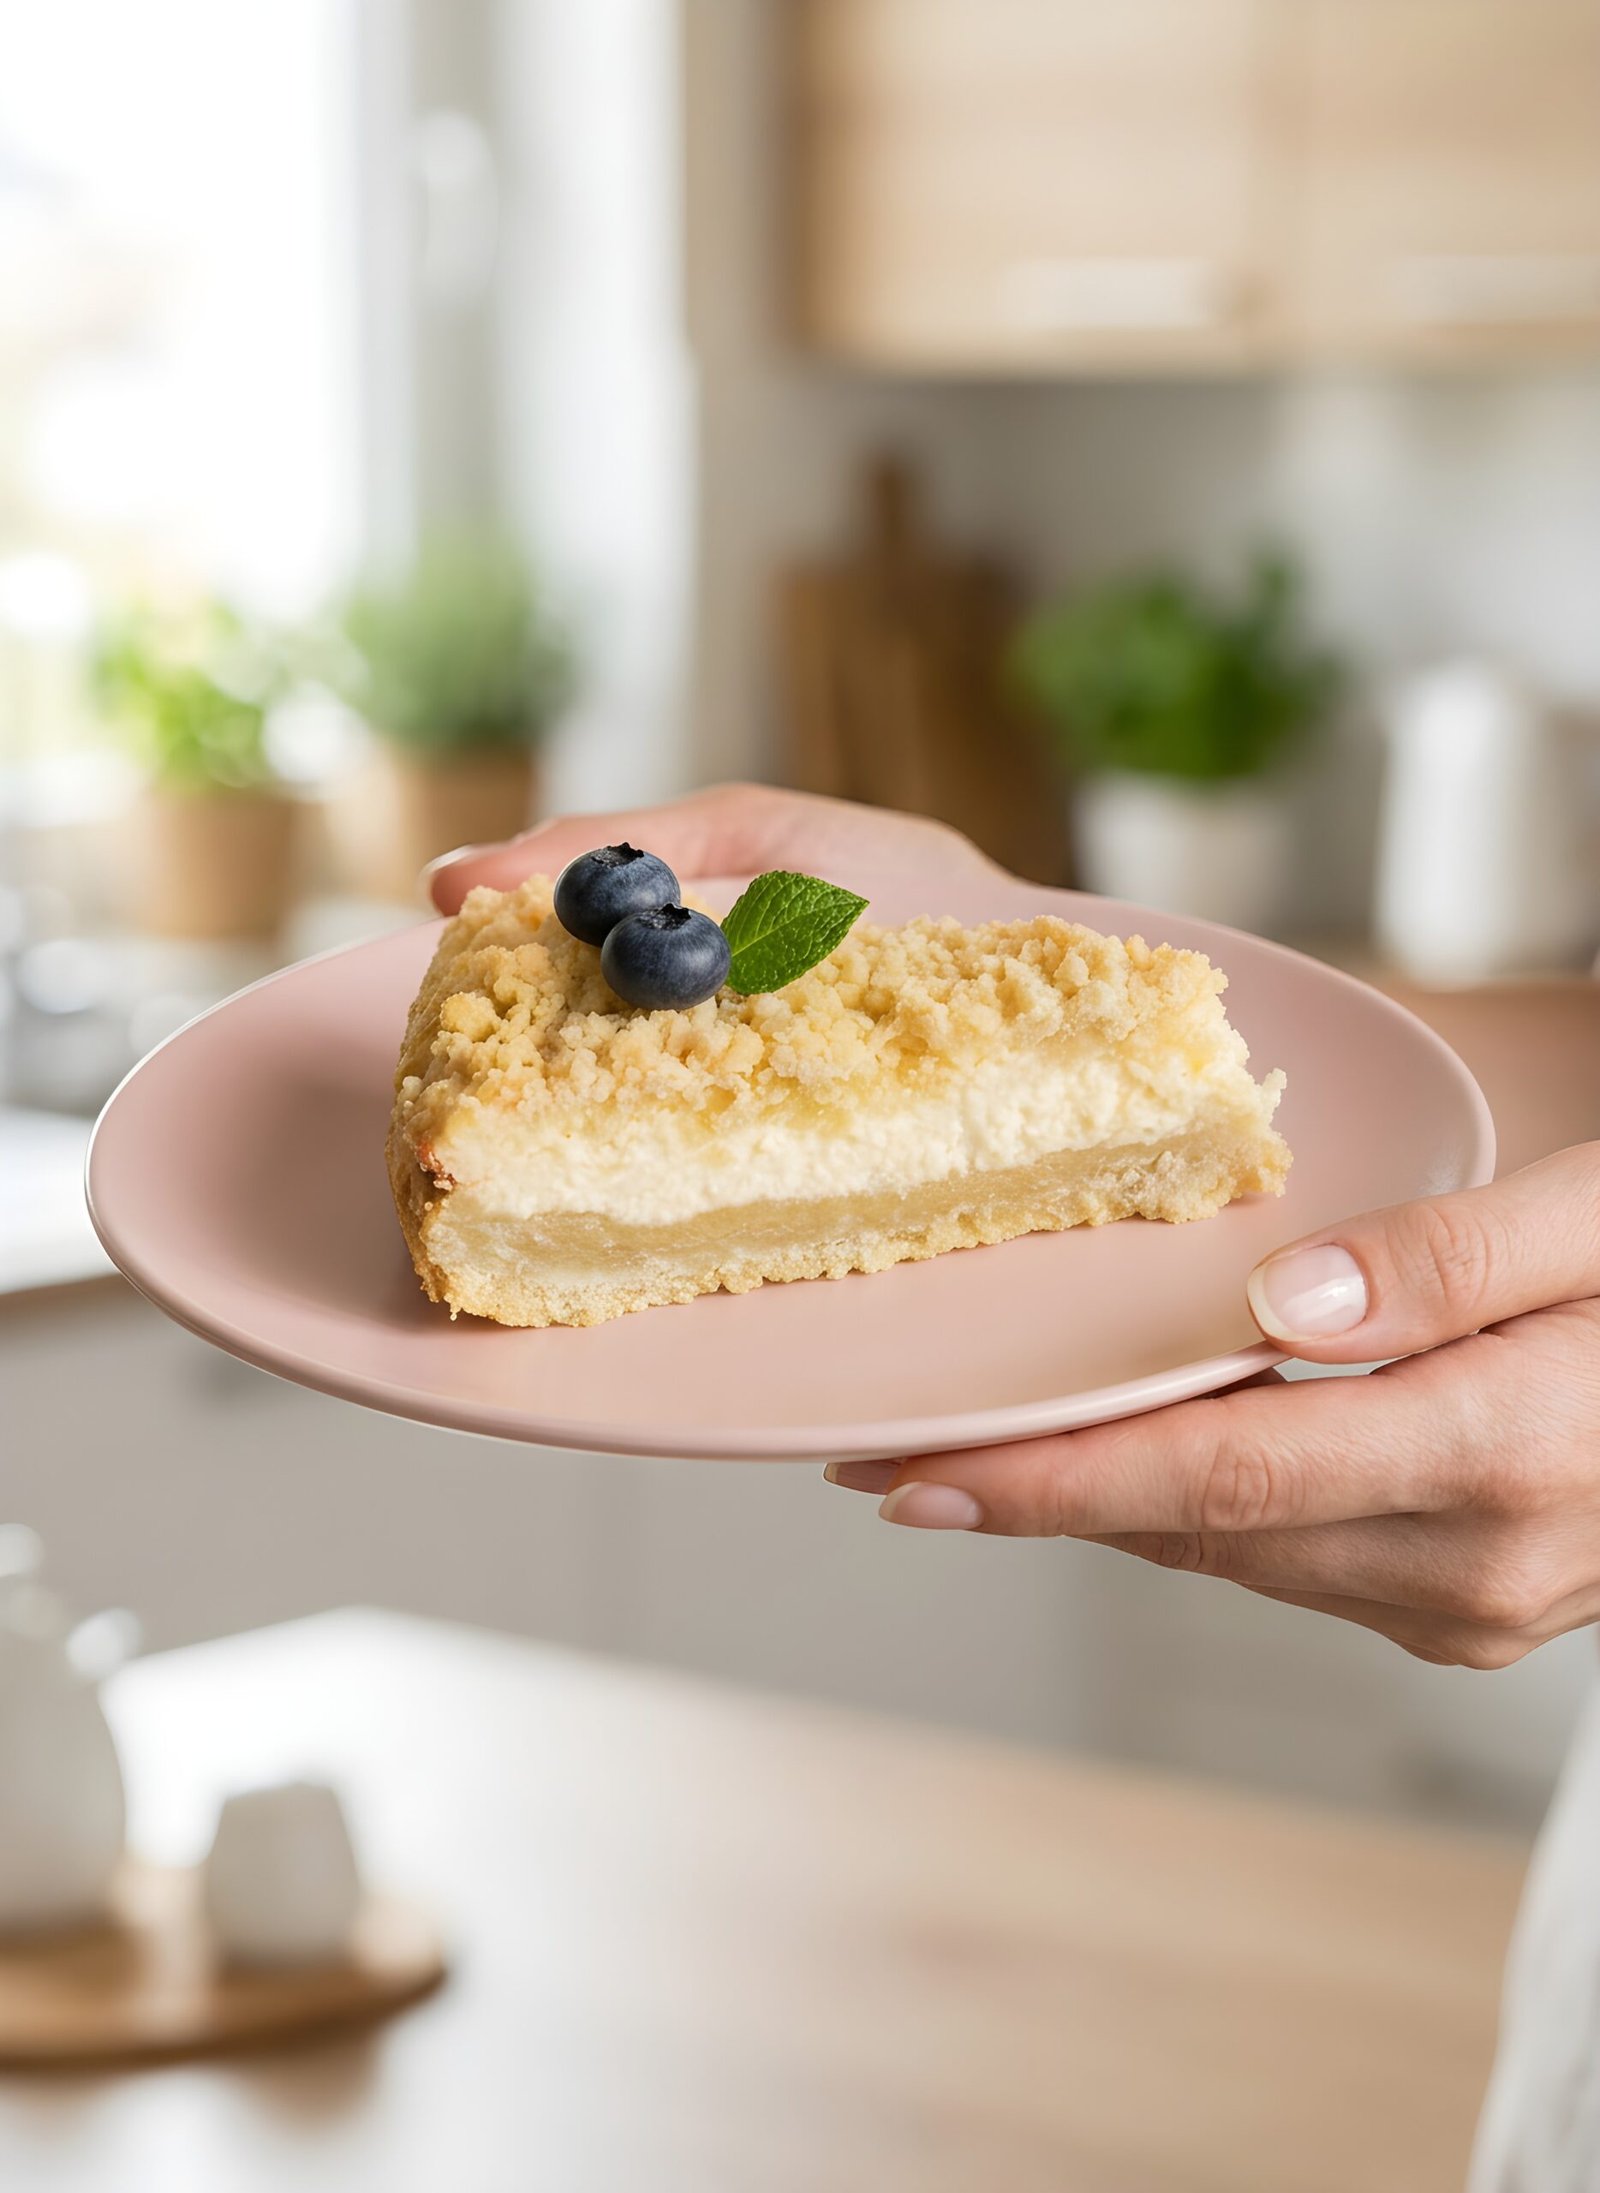
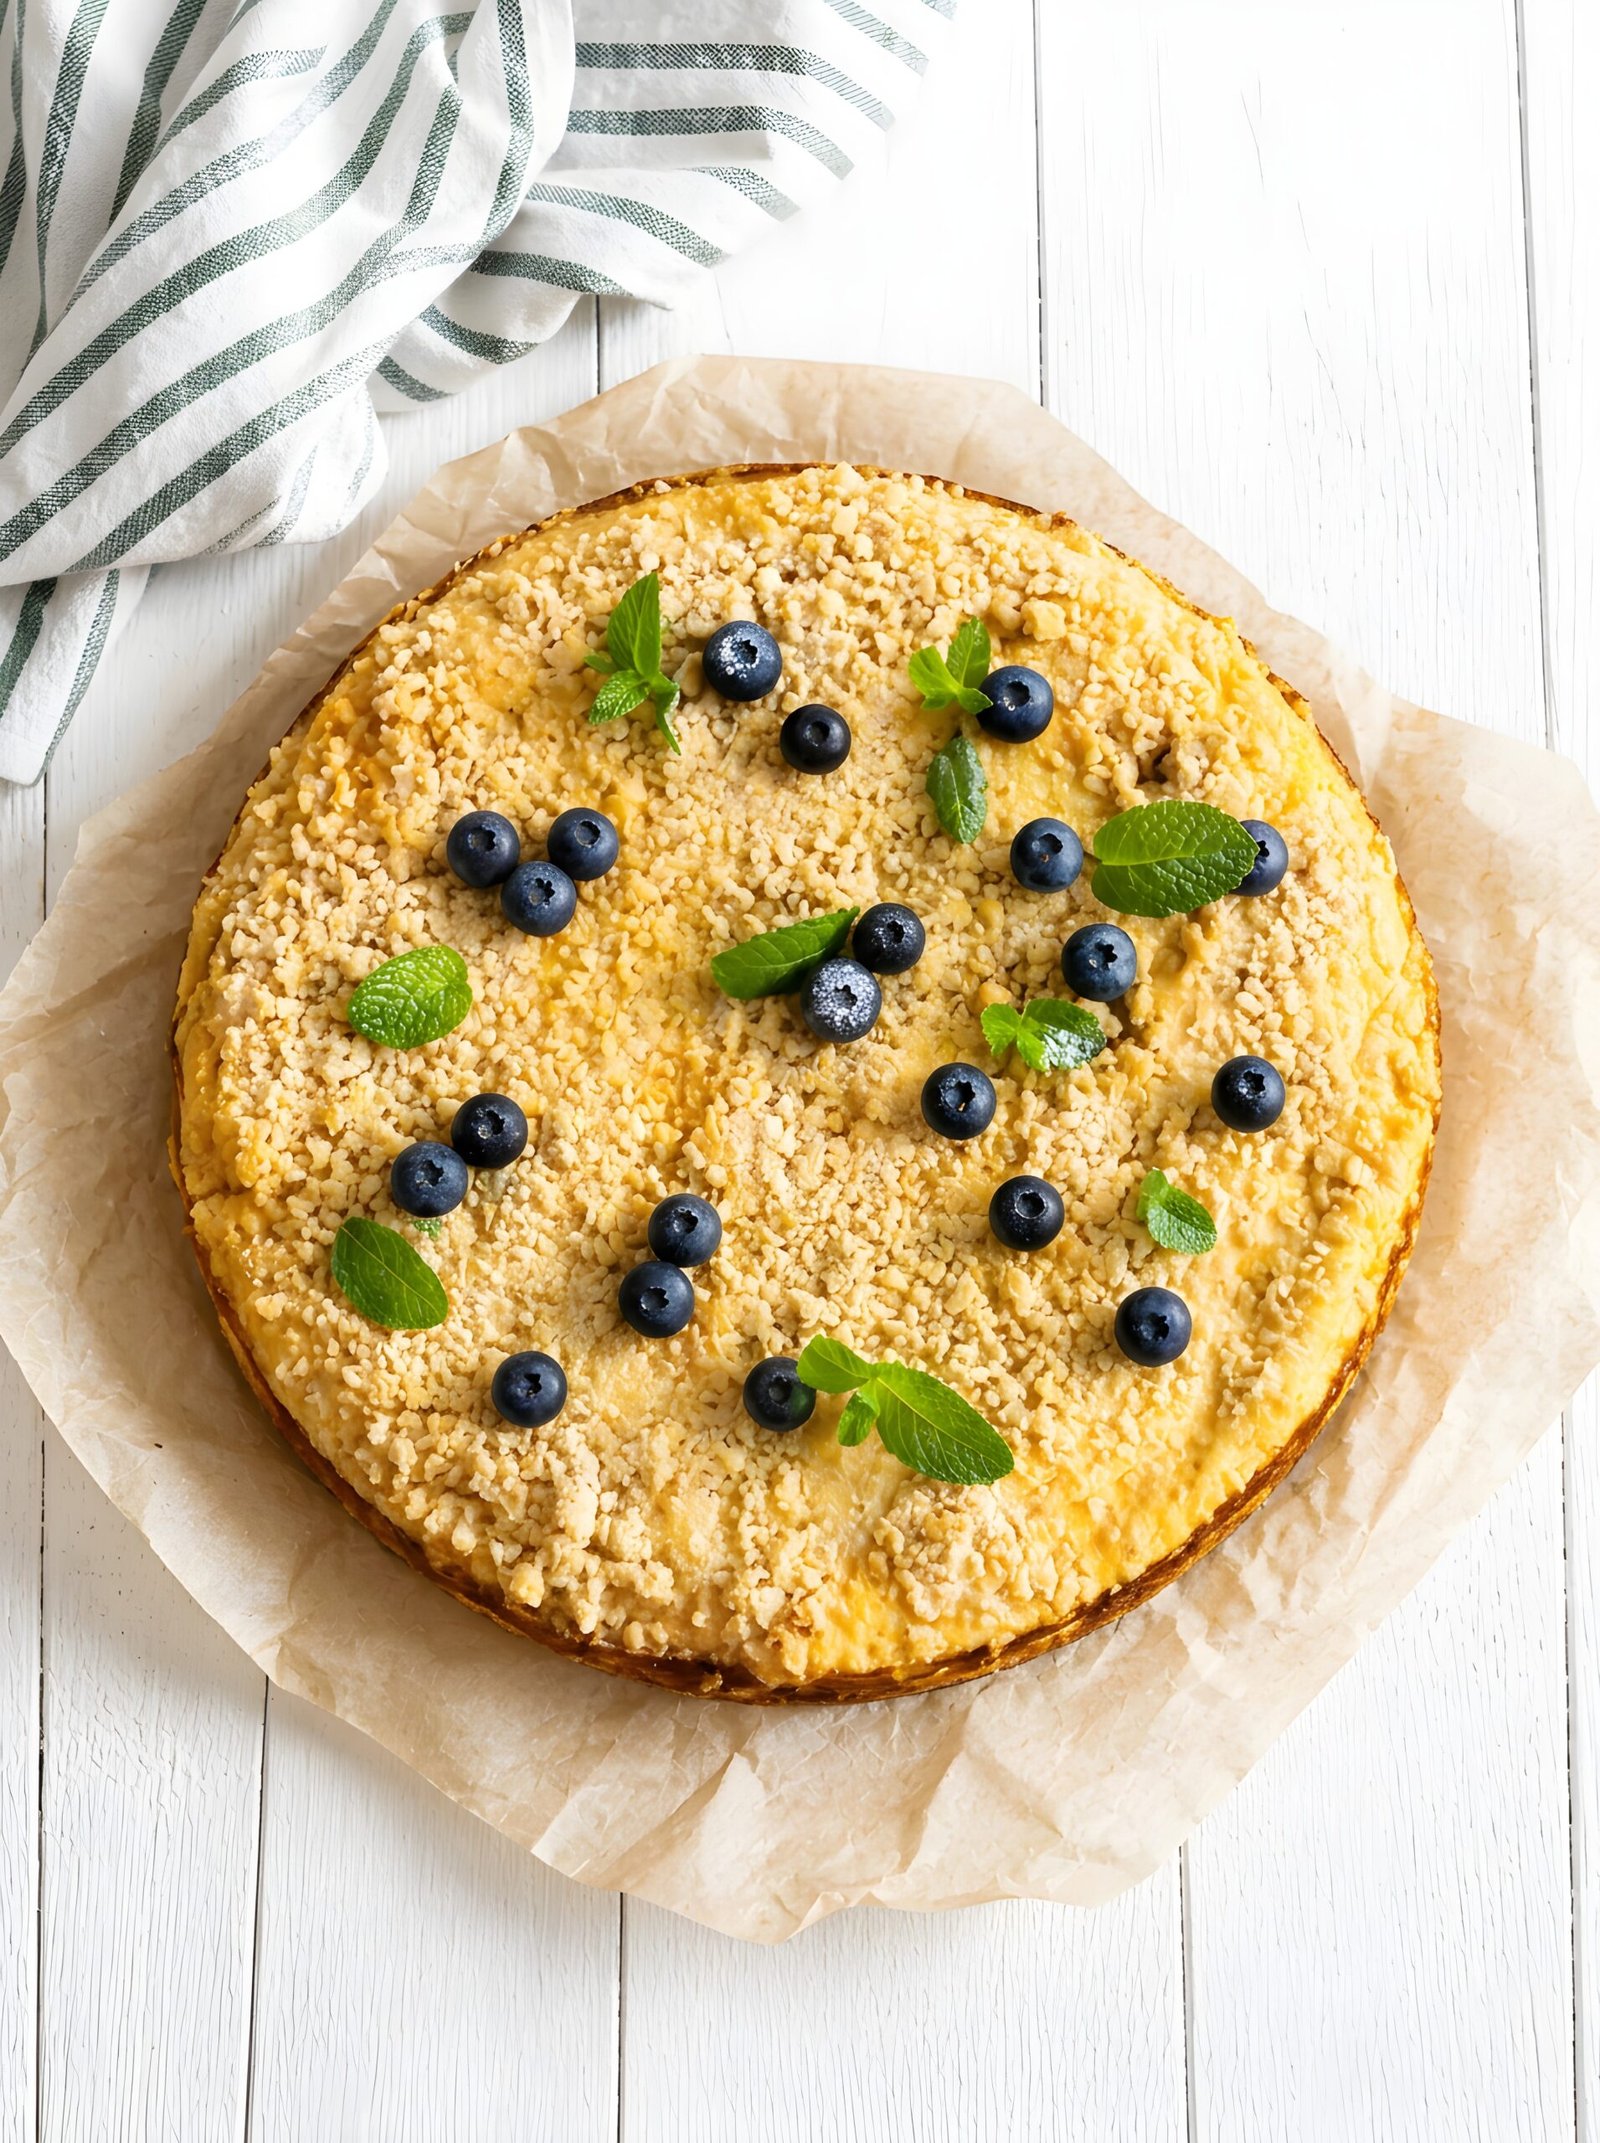
If you’re looking for a homemade dessert that feels comforting, creamy, and a little bit special, this Cottage Cheese Cake with Crumb Topping is one of my favorites. It has a buttery, tender base, a creamy cottage cheese filling, and a generous layer of golden crumbs on top. The combination of soft, creamy filling and slightly crisp, buttery crumble makes every bite so satisfying.
This is also one of those cakes I especially love taking on picnics and family gatherings. I’ve always found myself wanting this cake whenever I’m planning a picnic because it travels so well. Once chilled, the cake becomes firm enough to hold its shape beautifully, so it’s easy to cut, pack, and carry with you without worrying about it falling apart. You can prepare it ahead of time, keep it chilled, and simply bring it along when you’re ready to head outside.
I love that it doesn’t need to be served straight from the oven. In fact, letting the cake cool and chill gives the cottage cheese filling time to set, making the slices neat and sturdy while keeping the inside wonderfully creamy. This makes it a great dessert for warm-weather gatherings, picnics, potlucks, birthdays, or simply a cozy afternoon with a cup of coffee.
The cottage cheese filling is the star of this cake. It gives the dessert a naturally creamy texture and a delicate, slightly tangy flavor that balances the sweetness of the buttery crumbs. The crumb topping adds a lovely contrast, making the cake feel homemade and comforting without being overly complicated.
If you enjoy simple European-style desserts, this easy cottage cheese cake recipe is definitely worth trying. It uses familiar ingredients and doesn’t require complicated decorating or special equipment. Just bake, let it cool, chill until firm, and slice. I love serving it cold or slightly chilled, especially with coffee or tea.
Whether you’re making it for a picnic, bringing dessert to a gathering, or simply want an easy homemade cake for the weekend, this creamy cottage cheese cake with crumb topping is a delicious choice. It’s sturdy enough to travel, beautiful when sliced, and creamy enough to make you want another piece.
Why You’ll Love This Cottage Cheese Cake with Crumb Topping
Creamy and comforting – The cottage cheese filling becomes wonderfully soft and creamy while baking, making every bite rich and satisfying.
Buttery crumb topping – A generous layer of golden, buttery crumbs adds a delicious contrast to the smooth cottage cheese filling and tender base.
Not overly sweet – This cake has a delicate sweetness that lets the creamy filling and buttery crumbs shine without being too heavy.
Simple ingredients – Made with everyday ingredients, this is an easy homemade dessert you can enjoy without complicated techniques.
Perfect with coffee or tea – Serve a slice with your favorite hot drink for a cozy afternoon treat or a simple dessert after dinner.
Easy to make – With straightforward steps and simple preparation, this is a great recipe for both beginners and experienced bakers.
Great for sharing – This cake is perfect for family gatherings, weekend baking, holidays, or whenever you want a homemade dessert to share.
Can be made ahead – It tastes wonderful after chilling, making it a convenient dessert to prepare in advance.
Higher In Protein
Traditional cheesecakes rely heavily on cream cheese, which is packed with fat but low on protein. By swapping it for a cottage cheese filling, you get a naturally high-protein dessert—delivering roughly double the protein of a classic slice! It satisfies your sweet tooth while keeping you full and supporting steady energy levels.
My Tips for the Best Results
Stick to 9% Fat Cottage Cheese: For the ultimate rich, velvety texture that rivals classic cheesecake, you must use 9% milk fat cottage cheese (traditional Tvorog or curd cheese). Lower fat options contain too much water and will make your crumb crust soggy during baking.
Blend Until Ultra-Smooth (Or Buy Pre-Whipped): Process the filling in a high-speed blender or food processor to completely eliminate the curd texture. Want a shortcut? Save a step and look for pre-whipped or smooth cottage cheese in the dairy aisle
Keep Ingredients Cold: Use chilled, firm butter for the crumb topping to ensure distinct, crunchy streusel clumps rather than a melted, oily layer.
Press Crust Evenly: Use the flat bottom of a glass or measuring cup to pack the bottom crust layer tightly into your baking pan so it forms a solid foundation for the heavy filling.
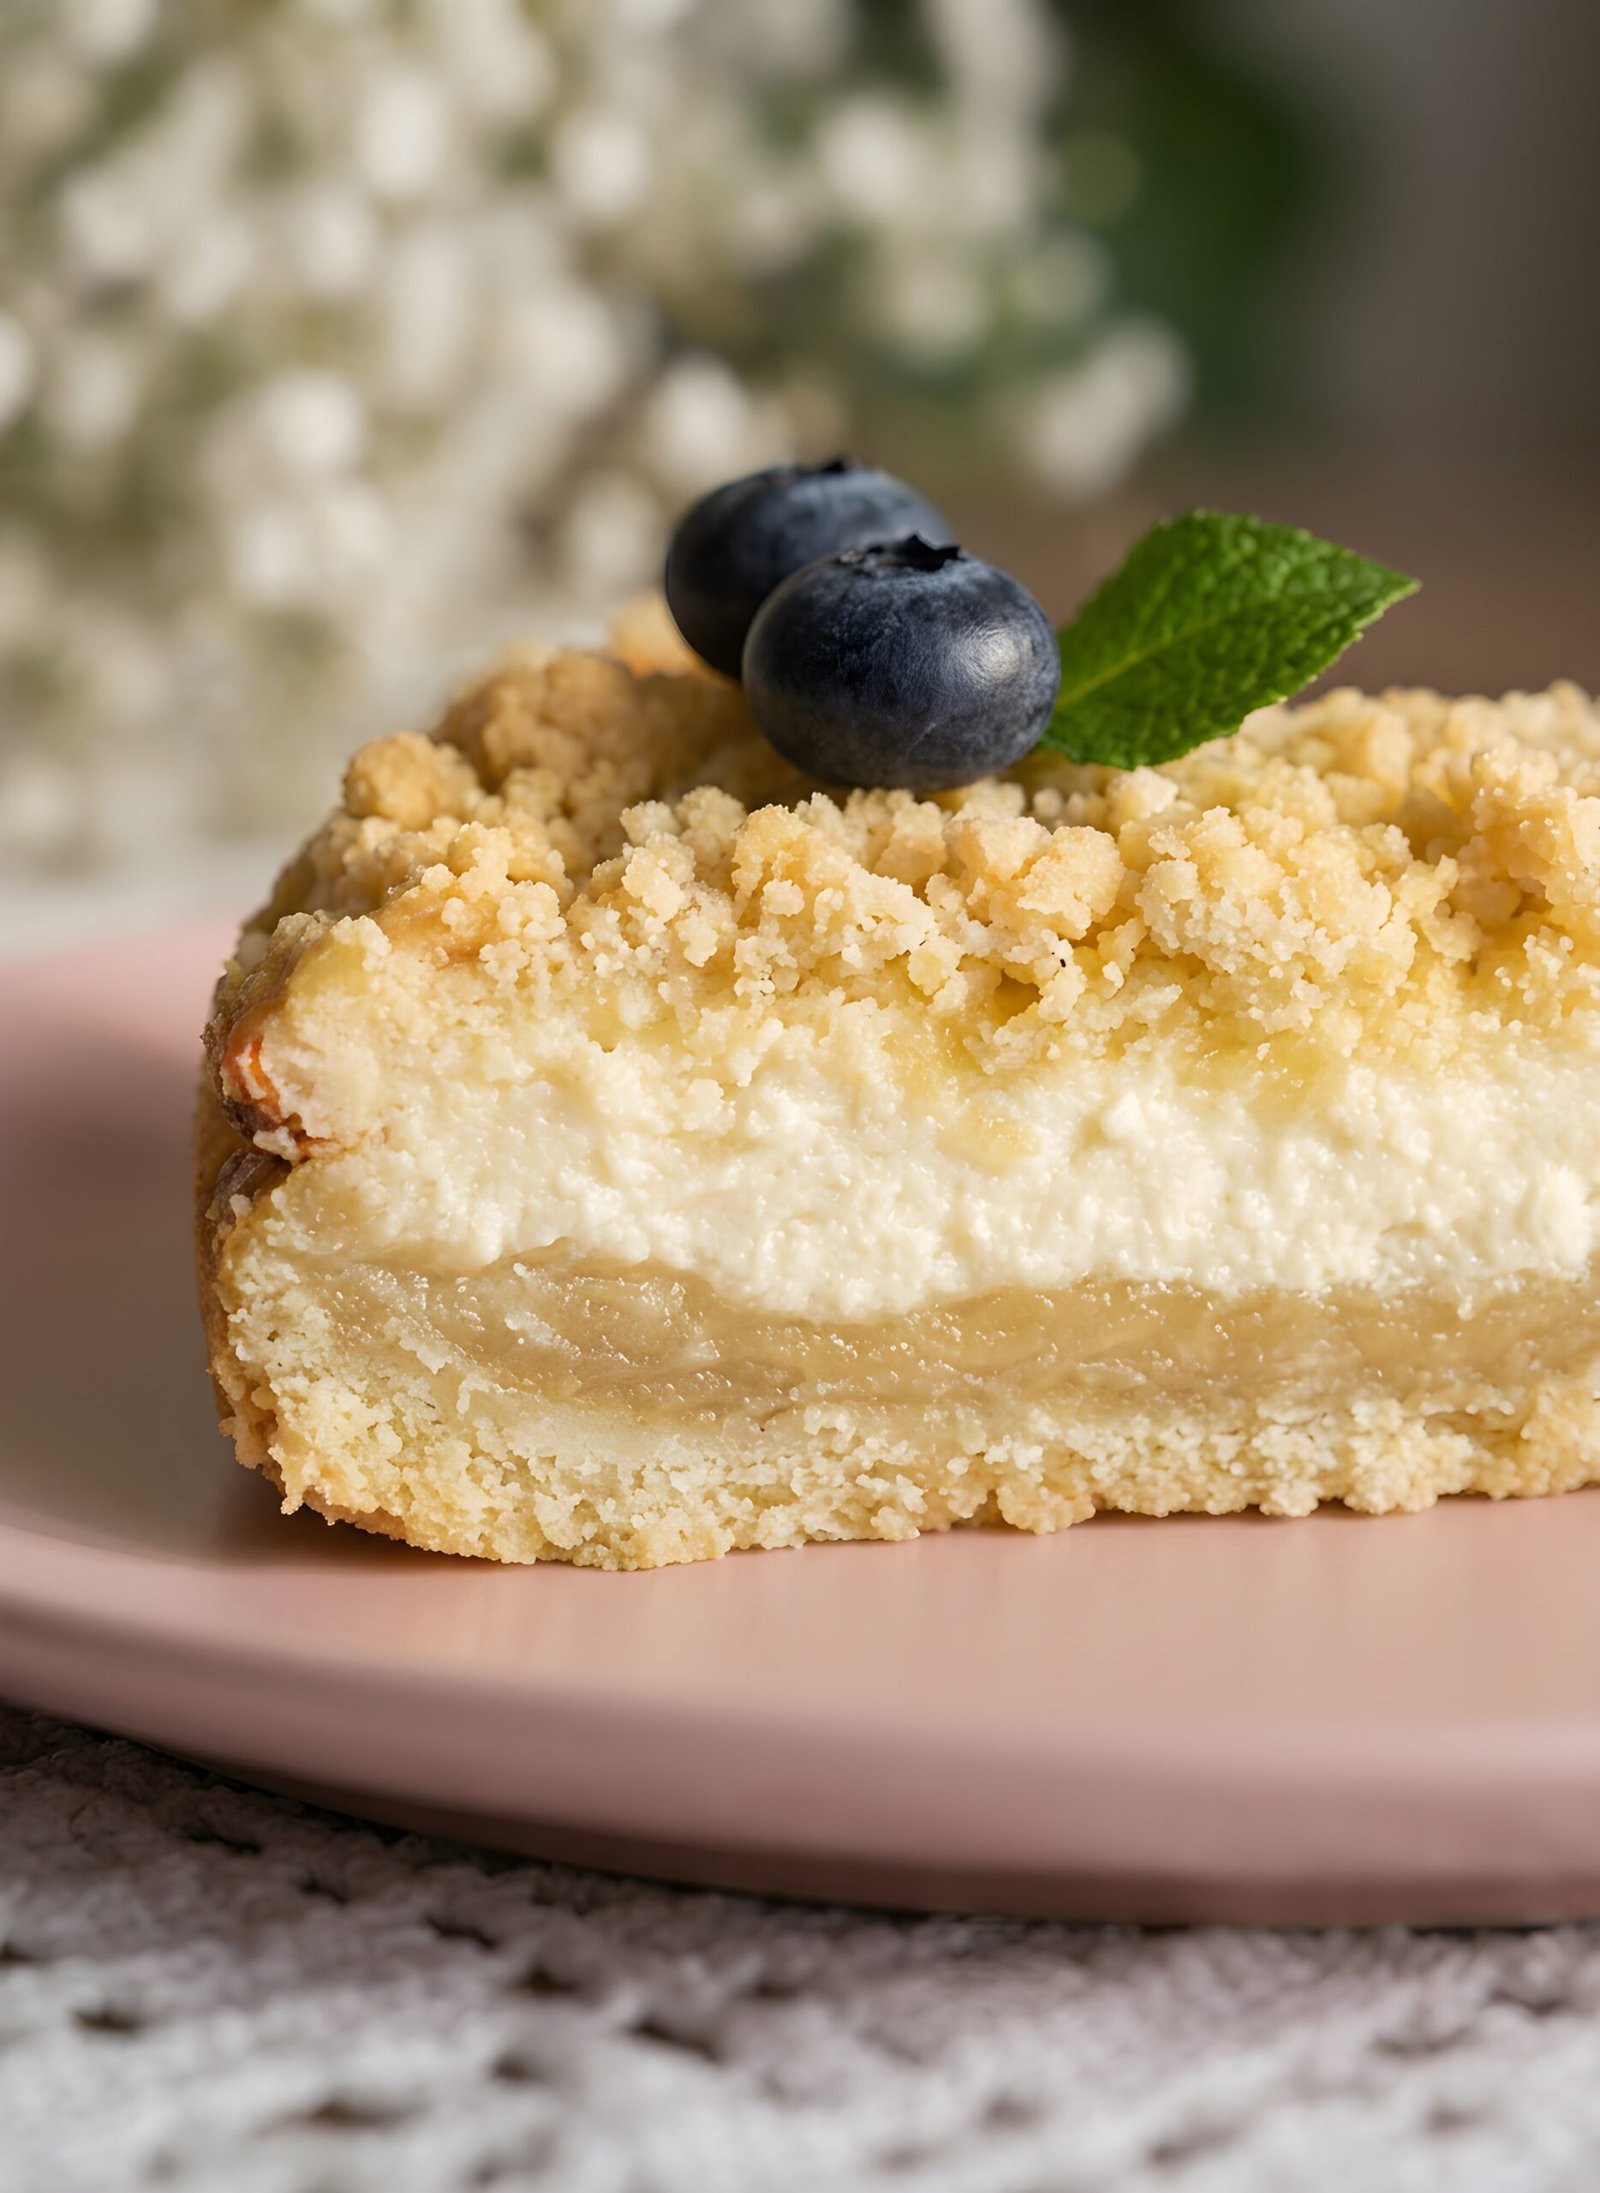
The “Hot Knife” Slicing Trick: To get those gorgeous, clean layers like the one in your photo, dip a sharp chef’s knife in hot water and wipe it completely dry before each cut. Cleaning the blade between every single slice keeps the crumb topping from dragging down into the white filling.
Aim for a 1 cm Thick Crust: Don’t press the crust too thin! For a 24 cm pan, you want the bottom layer to be roughly 1 cm (about 1/2 inch) thick. This gives you the perfect crust-to-filling ratio seen in the photo, and provides a sturdy structural base that won’t get soggy under the heavy, rich 9% cottage cheese filling.
Gently Tap the Pan Before Baking: After pouring the blended filling over your thick crust, give the pan a few gentle taps on the counter. This releases any large air bubbles trapped in the dense 9% mixture, ensuring a completely solid, uniform middle layer without air pockets.
Master the Crumb Size Contrast: For the ultimate visual appeal, create a mix of crumb sizes for the top. Rub the dough between your fingers to make mostly small, sand-like crumbs, but leave a few larger, pebble-sized clusters. This gives the cake that beautiful, uneven, artisan texture.
ෆ Picky Eater Note:
If you have kids or picky eaters at home who refuse to touch cottage cheese because of the lumpy texture, do not tell them it is in this cake!
Once you blend high-fat 9% cottage cheese, the curds completely disappear, transforming it into a silky, velvety custard that mimics a traditional baked cheesecake.
Here is why even the pickiest eaters will devour this:
Zero Curds: Blending completely changes the structure. No one will ever guess there is cottage cheese hidden inside.
Tastes Like Cookie Dough Crumbs: The golden streusel topping gives every bite a sweet, buttery, cookie-like crunch that kids absolutely love.
Milder Flavor: It lacks the strong, sharp tang of cream cheese or Greek yogurt, offering a mild, sweet, vanilla-forward flavor profile instead.
Simona
Easy Cottage Cheese Cake with Crumb Topping
This Easy Cottage Cheese Cake with Crumb Topping is the ultimate baked cheesecake alternative, featuring an ultra-silky filling nestled between a thick crust and a crunchy, buttery streusel topping. Swapping heavy cream cheese for cottage cheese cuts down on fats while delivering a satisfying, protein-dense dessert with a velvety texture that even the pickiest eaters will love. The recipe is perfectly calibrated for a 24 cm pan, yielding a sturdy 1 cm bottom crust that supports the rich filling beautifully without getting soggy. Best of all, you can use a pre-processed smooth cottage cheese shortcut to skip the blender entirely, and the cake tastes even better after setting in the fridge overnight for clean, bakery-style slices.
90 ml / 6 tablespoonsgranulated sugar(approx. 75 g)
1 teaspoonbaking powder
½ teaspoonvanilla extract
A pinchsalt
For the Creamy Filling
500 g / 17.6 ounces (approx. 2 cups)cottage cheese9% fat
200 g / 7 ounces sour cream30% fat
4 largeeggs
140 g / 11 tablespoonsgranulated sugar
1 teaspoonvanilla sugar
1 tablespooncornstarch
Method
Prep the Oven and Your Pan
Preheat your oven to 180°C (350°F). Grease the bottom and the sides of your 24 cm springform pan, or line it with parchment paper. This is a crucial step to keep the delicate, expanding cottage cheese edges from sticking and tearing when you open the pan
Grate the Crumb Dough
In a large bowl, whisk together the dry ingredients: 250 g (2 cups) of all-purpose flour, 90 ml of sugar, 1 teaspoon of baking powder, and a pinch of salt.
Take your 200 g of ice-cold butter straight from the fridge. Instead of slicing it, grab a box grater.
The secret pro-tip: To stop the cold butter from sticking to the grater and clumping together, dip the butter block directly into the flour mixture in your bowl before you start grating. Keep tossing and coating the butter in the flour as you grate it.
Once all the butter is grated into the bowl, add 1/2 teaspoon of vanilla extract.
Use your fingers to quickly toss and lightly work the mixture until the grated butter breaks down into small, separate, sand-like crumbs. Do not overwork it with warm hands; you want a sandy, crumbly texture.
Take roughly two-thirds of this crumb dough and press it firmly into the bottom of your prepared 24 cm pan, creating an even base that is 1 cm thick.
Place the pan and your remaining crumb topping into the fridge for 15 minutes to firm up.
Whisk the Creamy Filling
If your 500 g of 9% fat cottage cheese is already pre-processed and smooth, dump it straight into your mixing bowl. If it is standard grainy cottage cheese, blend it in a high-speed food processor for a few minutes until it is completely silky and free of curds.
Add 200 g of 30% sour cream, 140 g of sugar, and 1 teaspoon of vanilla sugar to the smooth cottage cheese. Whisk lightly until combined.
Crack 4 eggs and add them to the bowl one at a time, mixing slowly and gently after each addition. Make sure each egg is fully incorporated before pouring in the next one. This gradual process creates a perfectly smooth emulsion without trapping excess air.
Finally, add 1 tablespoon of cornstarch. Whisk it in very slowly and gently—not aggressively—just until the starch dissolves into the batter and no white streaks remain. Over-mixing at this stage will ruin the velvety, custard-like texture.
Assemble and Bake
Take your chilled pan out of the fridge. Pour the smooth, liquid filling directly over your thick 1 cm crust.
Grab your remaining crumb topping from the fridge and gently scatter it over the top of the filling, working from the edges toward the center. Make sure the coverage is even, but do not press the crumbs down into the wet filling.
Bake at 180°C (350°F) for 30 to 35 minutes. The edges should look beautifully golden, and the center should still have a slight, gelatinous jiggle when you gently shake the pan.
To be absolutely sure it is cooked, insert a wooden toothpick directly into the center of the cake. It should come out mostly clean with just a few moist crumbs. If it comes out with wet, liquid batter, let it bake for another 3 to 5 minutes and check again.
Cool and Set (Or Serve It Warm!)
Let the cake cool completely to room temperature on your counter, then transfer it to the fridge for at least 2 hours. This gives the rich cottage cheese filling the necessary time to fully settle into that perfect, fudgy, bakery-style texture that slices like a dream.
While letting it set in the fridge guarantees clean, perfect slices, you can also enjoy it while it is still slightly warm! Eating a slice of this cake warm—especially with a big scoop of vanilla bean ice cream on top—is pure heaven. As the ice cream melts against the warm, creamy filling and crunchy trupiniai, it creates an irresistible dessert experience.
Notes
Butter Temperature: Your butter must be ice-cold straight from the fridge for the grating method to work. If the butter starts warming up or sticking to your hands, pop it back into the freezer for 5 minutes before you finish making the crumbs.
The Shortcut: If you want to skip the blender or food processor cleanup completely, look for pre-processed, homogenized, or smooth cottage cheese at the store. It allows you to mix the filling straight by hand in just one bowl!
Egg Tip: Do not rush the filling! Pouring each egg separately and mixing slowly one by one is what prevents air pockets and guarantees that smooth, dense, cheesecake-like texture.
Serving Ideas: While chilling the cake creates those perfect bakery-style cuts, eating a slice while it is still slightly warm with a massive scoop of vanilla bean ice cream is an absolute game-changer.
The Best Cottage Cheese to Use (And What to Avoid)
For the best results, you want 9% milk fat cottage cheese, often sold as traditional Eastern European curd cheese or Tvorog.
Where to find it: Look for it in the dairy aisle of European markets, international grocery stores, or well-stocked local supermarkets. It usually comes in solid blocks or tightly packed tubs.
Why it works: The 9% fat content provides the perfect balance of richness and structure. It melts down into a silky, custard-like texture when baked, rather than pulling apart or leaking liquid.
What to Absolutely Avoid
Do not use standard low-fat (1% or 2%) or fat-free cottage cheese.
The Problem: These products have a very high water content and use chemical stabilizers to keep their shape. If you try to bake with them, the excess water will release into the oven, completely soaking your 1 cm thick crust and leaving you with a soggy, separated mess.
The Ultimate Time-Saving Shortcut: Buy It Pre-Processed!
Traditional Tvorog comes in firm blocks with a distinct grain or curd texture that usually requires a food processor or blender to smooth out.
Want to skip the blender entirely? Look for smooth, processed, or whipped 9% Tvorog (often sold in tubs labeled as creamy curd or baking curd cheese).
By buying it pre-processed:
No Blender Needed: You can dump it straight from the tub into your mixing bowl.
Zero Cleanup: You save yourself from washing a heavy blender or food processor.
Instant Smoothness: It is already perfectly silky, meaning you just whisk it with your eggs and sugar and go straight to baking!
Easy Recipe Variations to Try
Once you master the base recipe, you can easily customize this cake to suit your cravings or the changing seasons. Here are a few delicious ways to switch it up:
Warm Spiced Apple: Sauté finely diced apples with cinnamon, nutmeg, and a splash of lemon juice until slightly softened. Layer the apples over the thick crust before pouring the creamy cheese filling on top.
Chocolate Chip Cheesecake: Fold half a cup of mini semi-sweet chocolate chips into the filling after whisking it smooth. The combination of rich curd cheese and chocolate tastes just like a gourmet cannoli.
Poppy Seed Layer : Spread a thin layer of sweet poppy seed paste directly over your 1 cm crust, then top it with the 9% Tvorog filling and crumbs for a beautiful, distinct triple-layer look.
Exotic Lemon & Coconut: Grate the zest of a whole lemon into the 9% Tvorog filling, and mix a couple of tablespoons of shredded coconut into the crumb dough. It creates an incredibly fresh, summery flavor and smells amazing while baking.
Salted Caramel Drizzle: Just before serving, drizzle a thin ribbon of homemade salted caramel right over the golden crumb topping. The salt and deep caramel notes beautifully cut through the richness of the 9% curd cheese.
Cozy Autumn Pumpkin Spice: Whisk a tablespoon of pumpkin pie spice (cinnamon, nutmeg, and ginger) directly into your crumb topping flour mixture. This instantly transforms the rustic cake into the ultimate fall comfort dessert.
Common Mistakes to Avoid
Using 0% or Low-Fat Cottage Cheese: This is the number one mistake. Low-fat varieties lack the fat solids needed to bind the filling and contain too much water, which will ruin your 1 cm crust.
Over-Mixing the Streusel Layer: If you mix the crumb topping too long or use warm hands, the butter will melt. This turns your distinct, crunchy pebbles into a greasy, solid paste.
Opening the Oven Door Too Early: Avoid checking on the cake during the first 15 minutes of baking. Letting cold air into the oven causes a sudden temperature drop, which can make the dense filling sink or crack.
Cutting the Cake While It is Still Warm: It is tempting to slice it straight out of the oven, but the cheese filling needs time to fully solidify. Slicing it warm will result in a messy, gooey center instead of clean, sharp edges.
Neglecting to Dry the Fresh Berries: If you use the blueberry variation, ensure your fruit is 100% dry after washing. Trapped water droplets will create wet patches on top of your filling, making the crumbs soggy.
Over-Whipping the Cheese Filling: Avoid beating the 9% Tvorog mixture at high speed for too long once the eggs are added. Incorporating too much air will cause the cake to puff up dramatically like a soufflé in the oven, only to collapse violently and crack across the center as it cools. Mix just until combined.
Forgetting to Prep the Sides of Your Pan: Don’t just grease the bottom—you absolutely need to grease the sides, too! That curd cheese filling expands a bit in the oven and loves to stick to the metal. If the edges get stuck to the sides of your 24 cm pan, the middle of the cake won’t be able to settle down smoothly as it cools. It will pull and tear itself apart, leaving you with ugly cracks right around the rim.
What to Serve With This Cottage Cheese Crumb Cake
A Scoop of Vanilla Bean Ice Cream: You can never go wrong with a classic! A scoop of high-quality vanilla bean ice cream next to a slice of this cake is pure heaven—especially if you are eating the cake while it is still slightly warm. As the ice cream melts against the warm, dense cottage cheese filling, it creates a rich, creamy sauce that flows perfectly into the crunchy crumb topping.
Fresh Berries and Mint : Scatter a handful of fresh blueberries, raspberries, or blackberries around the plate. Add a tiny sprig of fresh mint for a pop of color and a burst of freshness that cuts through the rich filling.
A Dollop of Crème Fraîche: For a truly elegant finish, serve a slice with a cold spoonful of tangy crème fraîche on the side. The slight acidity of the crème fraîche cuts through the richness of the cottage cheese filling and beautifully balances the sweetness of that thick 1 cm crust and the buttery crumb topping.
A Dusting of Powdered Sugar: Keep it simple and beautiful. A light snow-dusting of powdered sugar over the golden crumbs right before slicing makes it look straight out of a bakery window.
The Perfect Coffee Pairing: The richness of the cottage cheese and the buttery crust pair beautifully with a hot, bitter espresso, a creamy cappuccino, or a strong pour-over coffee.
Herbal or Black Teas: Serve it alongside a steaming mug of Earl Grey, English Breakfast, or a floral chamomile tea. The herbal notes clean the palate between bites of the dense, sweet cake.
Make-Ahead & Storage
This cottage cheese crumb cake actually tastes better the next day! The flavors meld together, and the rich cottage cheese filling settles into an incredibly fudgy, cheesecake-like texture.
Making It Ahead of Time
The Day Before: This is the ultimate make-ahead dessert. You can bake the cake completely the night before you plan to serve it. Once it cools down to room temperature, wrap the entire pan tightly in plastic wrap and leave it in the fridge overnight.
Prep the Dough in Advance: If you want to bake it fresh on the day of your event, you can press your 1 cm crust into the 24 cm pan, cover it, and keep it in the fridge for up to 2 days before adding the filling and baking.
How to Store Leftovers
In the Fridge: Because of the high dairy content in the cottage cheese, this cake cannot sit out on the counter. Store any leftover slices in an airtight container in the fridge for up to 4 to 5 days.
Keeping the Crumbs Crunchy: To prevent the buttery crumb topping from pulling moisture from the filling and getting soft in the fridge, place a piece of paper towel over the top of the cake slices before sealing the container lid.
Can You Freeze It?
Yes, it freezes beautifully! Cut the completely cooled cake into individual slices. Wrap each slice tightly in plastic wrap, then place them all inside a freezer-safe zip-top bag. It will keep perfectly in the freezer for up to 3 months.
How to Thaw: When you are ready for a slice, thaw it in the fridge overnight. If you love that warm-cake-and-ice-cream experience we talked about, just pop a thawed slice into the oven at 150°C (300°F) for about 5 to 7 minutes to warm up the crust and crisp up the crumbs before serving!
Frequently Asked Questions
Can I use low-fat (0%, 1%, or 2%) cottage cheese instead?
Definitely not. Low-fat cottage cheese contains way too much water and lacks the fat solids needed to hold the filling’s structure. During baking, that excess water will release, completely soaking your 1 cm thick crust and causing the filling to separate. To get that perfect, velvety texture, you absolutely must stick to 9% fat.
What should I do if I can’t find pre-processed, smooth 9% Tvorog?
No problem at all! If you can only find standard, grainy 9% cottage cheese or Tvorog blocks, just dump it into a high-speed blender or food processor. Blend it for a few minutes until all the curds completely disappear and it looks completely silky and smooth. Once it’s smooth, you are good to mix it with the eggs and sugar!
Why did my crumb topping melt into a solid layer instead of staying as distinct crumbs?
This usually happens for two reasons: either your butter was too warm when you started (always use cold, firm butter), or you overworked the dough with warm hands. If the butter melts into the flour before it hits the oven, it turns into a paste instead of baking into beautiful, crunchy pebbles.
Can I make this cake ahead of time?
Yes, and you actually should! This cake tastes significantly better after chilling in the fridge overnight. The cottage cheese filling needs time to settle and mature, which guarantees you get those beautifully clean, sharp bakery-style slices when you cut into it.
Can I bake this cake in a different size pan?
You can, but you will have to adjust the baking time. If you use a smaller pan (like 20 or 22 cm), the layers will be much thicker, meaning it will need to bake longer at a slightly lower temperature so the middle doesn’t stay raw. If you use a larger pan (like 26 or 28 cm), the cake will be much thinner and will bake faster, but you risk over-baking and drying out the rich cottage cheese filling. The 24 cm pan truly yields the perfect thickness and baking balance!
I hope you love this cake as much as I do. Happy cooking! ෆ
This Creamy Smoked Sausage Pasta is the ultimate quick and easy dinner! Tender penne, savory smoked sausage, and a rich, creamy sauce come together for a comforting meal the whole family will love.
Crispy golden fish cutlets are paired with a rich, velvety sauce made with butter and heavy cream. This easy and comforting fish dinner is full of flavor and perfect served with creamy mashed potatoes, rice, or your favorite side.
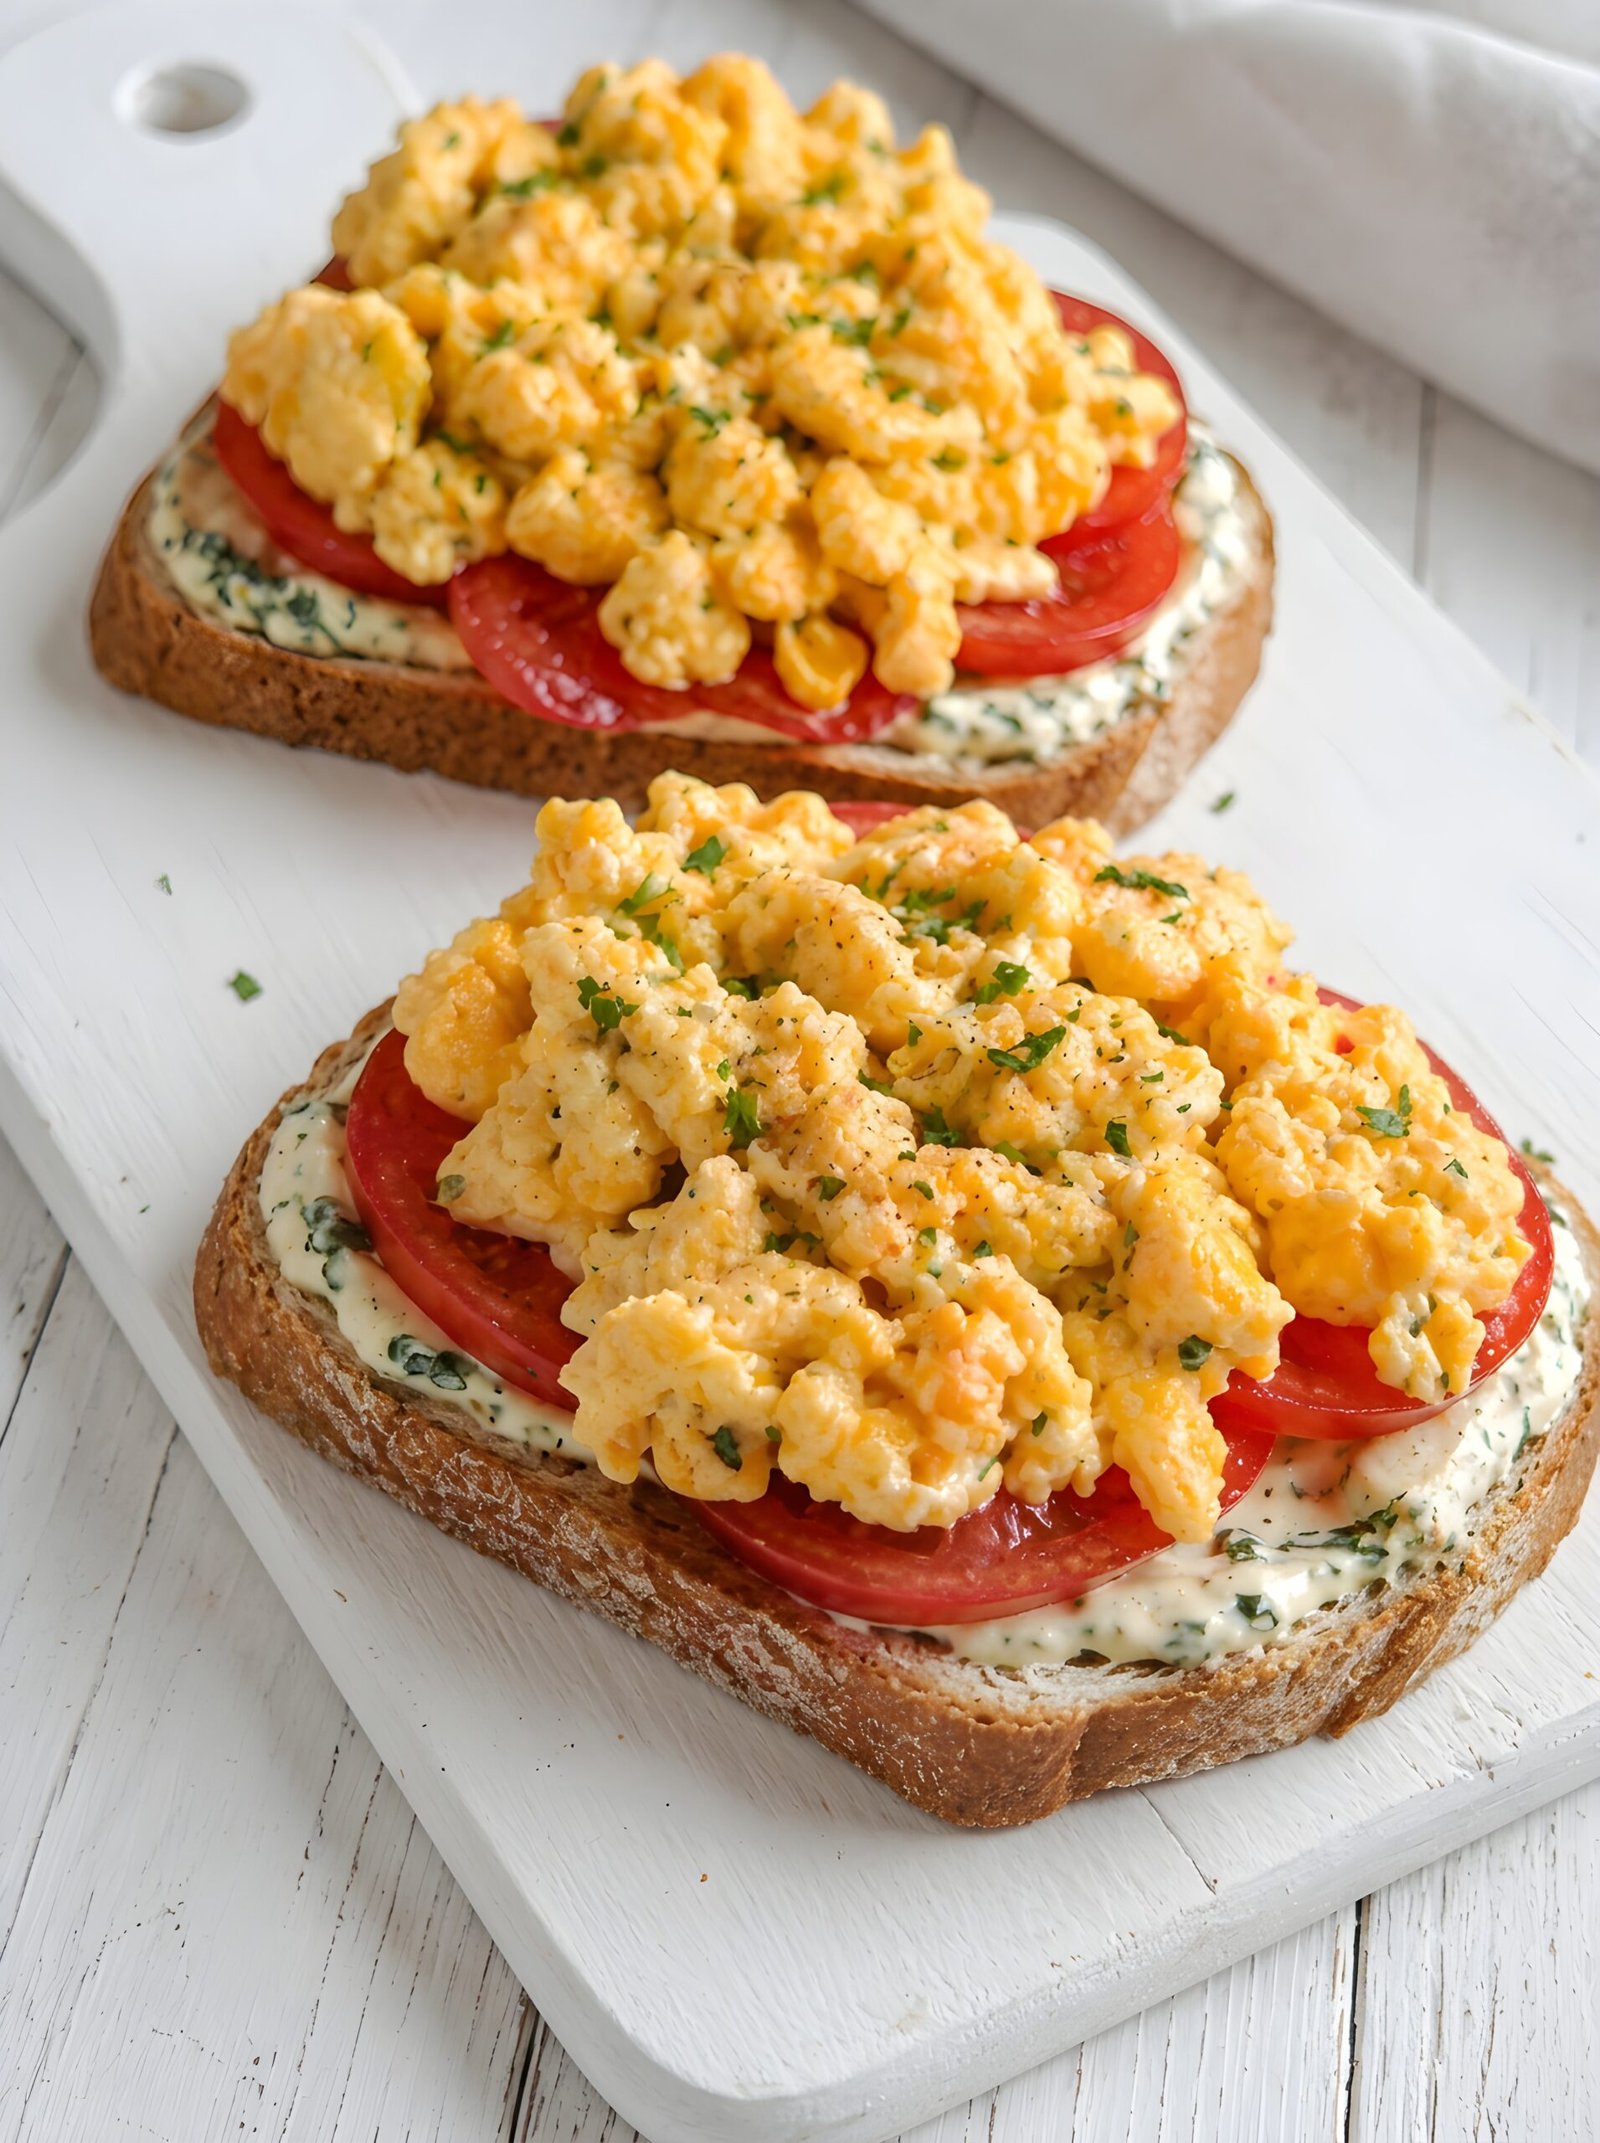
The ultimate Creamy Scrambled Egg Toast recipe! Fluffy soft-scrambled eggs with juicy tomatoes, parsley butter, and mayo on crunchy artisan bread. Pure comfort!
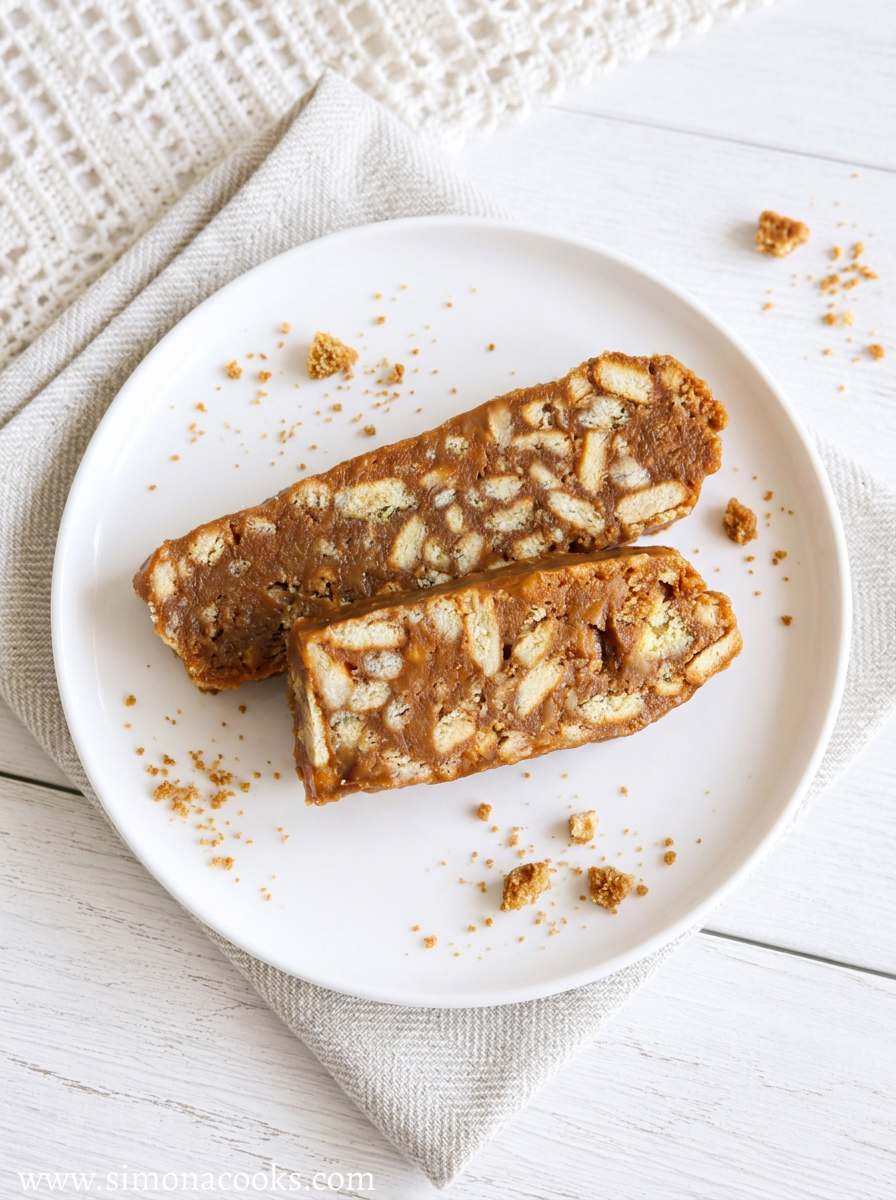
The ultimate No-Bake Twix Caramel Biscuit Cake recipe! A fudgy, crunchy fridge cake made with caramelized condensed milk. Perfect for a serious sweet tooth!
Tender, juicy pork steaks baked to perfection and topped with savory sautéed onions, sweet yellow peppers, and a rich layer of melted cheese. This easy and comforting weeknight dinner comes together with simple ingredients and plenty of flavor!
This Easy No-Bake Toffee Wafer Cake is a simple 3-ingredient dessert loaded with crispy plain wafer shards coated in a rich, velvety glaze made from melted creamy toffee candies. No oven required! It’s the perfect crunchy, sweet treat for hosting a crowd.