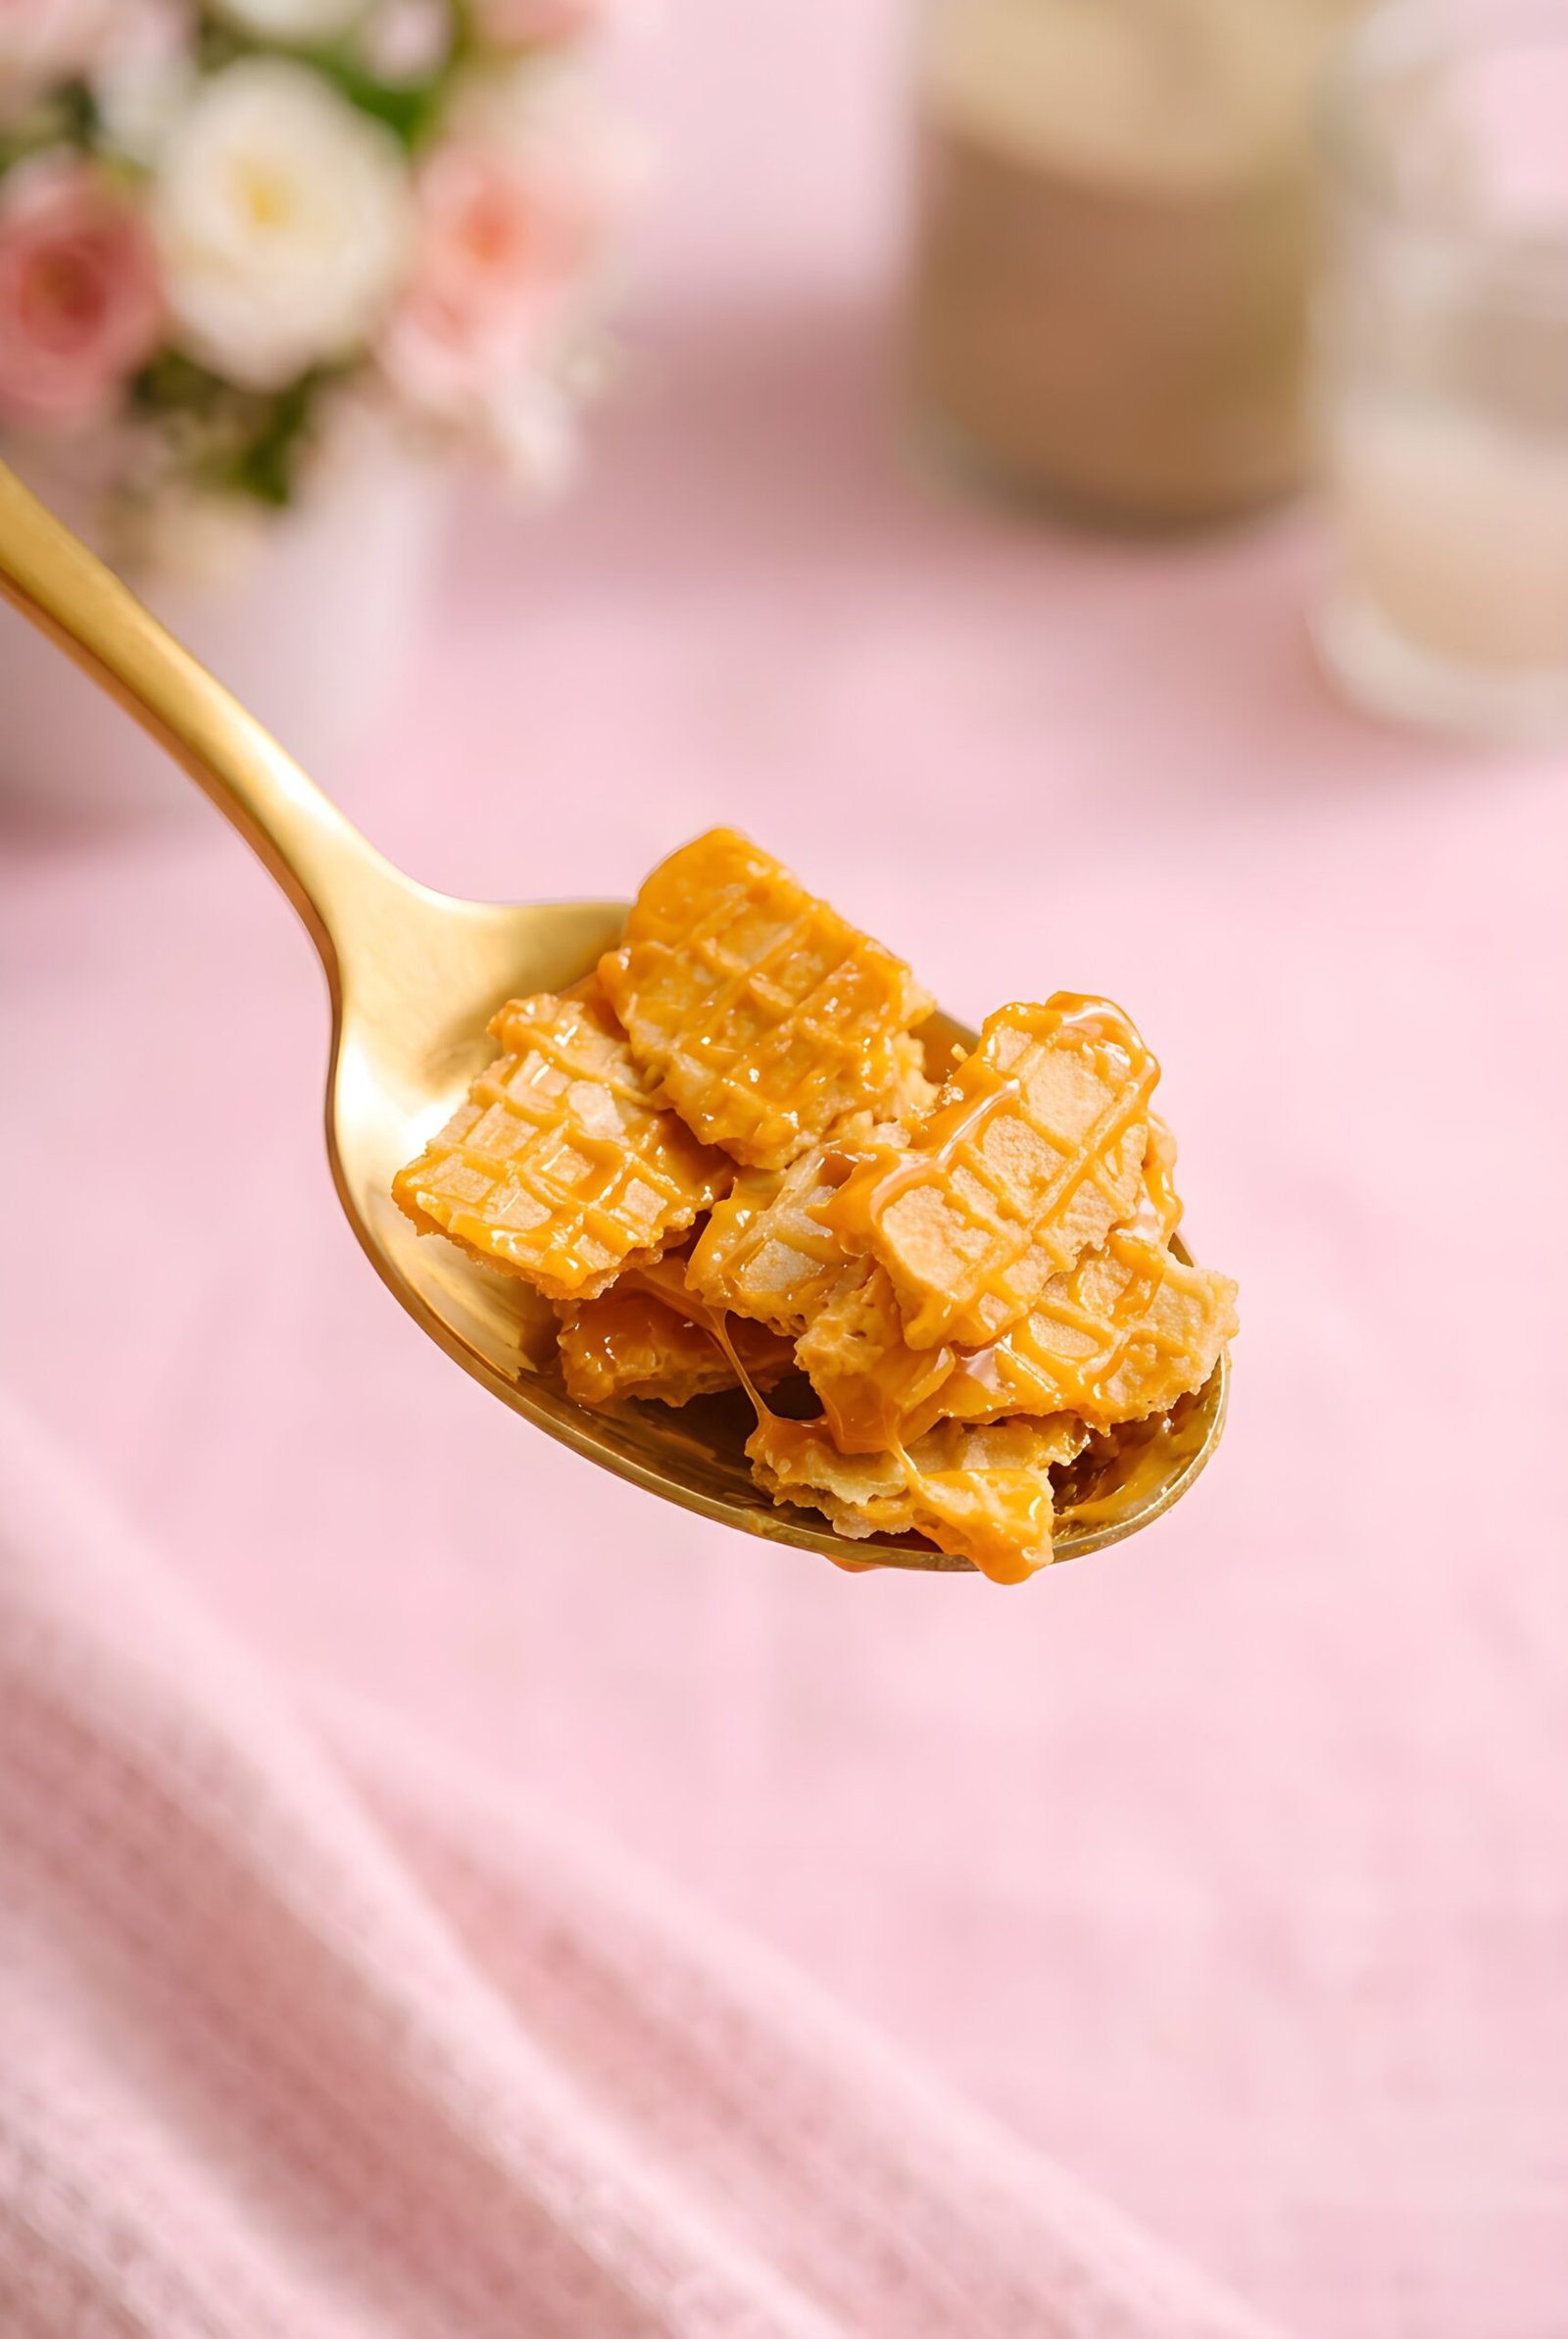
Some desserts are more than just something sweet—they bring back memories of childhood, family, and special celebrations. This No-Bake Caramel Toffee Wafer Dessert is one of those recipes for me.
My dad has been making this dessert since I was a little child, and it was always a special part of our New Year’s Eve table. I still remember my sister and me watching him make it and wanting to grab a spoonful immediately. The combination of crispy, broken wafer pieces and rich, buttery caramel toffee was simply impossible for us to resist.
But we couldn’t eat it right away. The caramel toffee needed time to cool and set, coating the crispy wafer pieces and turning them into those delicious crunchy, caramelized bites we loved. And because my sister and I were definitely not the most patient children, my dad had a solution—he would hide the bowl from us!
We would wait impatiently until it was finally ready, and somehow that made the first bite even better.
This dessert is incredibly simple to make and requires no baking. Crispy wafer pieces are broken into smaller pieces and combined with a rich caramel toffee mixture, creating a sweet, crunchy treat with plenty of buttery caramel flavor. It is perfect for holidays, parties, or simply when you want an easy homemade dessert without spending hours in the kitchen.
For me, though, it will always be more than just a dessert. It tastes like New Year’s Eve, childhood memories, my sister and me impatiently waiting, and my dad hiding the bowl until we were finally allowed to eat it.
Why You’ll Love This No-Bake Caramel Toffee Wafer Cake
Zero Baking Required: Skip the oven completely. This recipe keeps your kitchen cool and saves precious prep time.
Only a Few Simple Ingredients: Made with crisp wafer shards and a rich caramel toffee sauce made from melted toffee candies. It maximizes flavor with minimal grocery shopping.
Holds Up Perfectly for Crowds: Because the melted candy coating firms up beautifully as it cools, this dessert stays perfectly intact and can be sliced easily for holiday parties or family gatherings.
The Ultimate Texture Combination: Every single bite delivers a satisfying crunch from the crushed wafers paired with a gooey, velvety smooth caramel finish.
Perfect Make-Ahead Dessert: This sweet treat sets beautifully over time. It is an ideal, stress-free dessert to prep a day before hosting.
Completely Beginner-Friendly: No complicated pastry techniques or baking skills needed. Anyone can assemble this gorgeous cake in just minutes.
Elevate this simple treat into a gourmet experience by folding a generous pinch of flaky sea salt directly into the melted toffee liquid right before pouring it over the wafer shards. The sharp salt crystals cut perfectly through the rich, buttery sweetness of the melted hard candies, creating a perfectly balanced flavor profile.
My Tips for the Best Results
Use a Double Boiler: Always melt your toffee candies using a double boiler, rather than direct heat. The gentle steam creates an even distribution of heat that melts the hard candies safely without scorching or burning them.
Incorporate Milk Slowly: Pour in your milk gradually as the candies begin to soften over the steam. Stirring constantly helps the liquid emulsify with the melting sugars, transforming them into a glossy, perfectly smooth glaze.
Pour While Warm: Once the toffee glaze is fully melted and fluid, immediately pour it over the wafer shards. Melted hard candy sets and firms up much faster than standard store-bought syrup, so you need to move quickly.
Line or Grease the Mold: Lightly coat your assembly bowl with a neutral cooking spray, or line it completely with parchment paper. This vital step keeps the sticky toffee coating from freezing to the sides of your dish.
Maintain Large Wafer Shards: Break your waffles into distinct, bite-sized shards instead of crushing them into fine crumbs. Larger pieces leave small gaps that allow the warm toffee glaze to coat everything evenly.
Get an Extra Pair of Hands: Ask a helper to toss and mix the wafer shards while you slowly pour the warm melted glaze over the bowl. Working together ensures the fast-setting candy spreads perfectly and evenly coats every single wafer piece before it begins to harden.
Use Fresh Wafers for Ultimate Crunch: Check the freshness of your store-bought waffles or wafers before using them. Stale or slightly soft wafers will absorb the warm glaze instantly and turn soggy, whereas fresh, crispy wafers will maintain their distinct crunch even after the candy coating sets.
Choose Plain Wafers with No Filling: Make sure to use simple, plain round wafers with absolutely no cream or chocolate filling layers. Just simple, dry wafer sheets work best because filled wafers will melt, become greasy, and ruin the recipe’s texture.
ෆ Picky Eater Notes:
A Familiar, Kid-Friendly Flavor: This dessert has the comforting combination of buttery caramel toffee and crisp wafers, making it a simple sweet treat for kids who prefer familiar flavors.
Simple Ingredients and Textures: Made with crispy wafer pieces and melted caramel candies, this recipe keeps the ingredient list straightforward without adding strong spices, fruit, or unexpected flavors.
Easy to Customize: Break the wafer pieces into smaller bites or adjust the amount of caramel coating depending on your child’s preferred crunch and sweetness.
ෆ Choosing the right creamy toffee candies—such as Werther’s Original Creamy Toffees —is the most important step for this dessert because they melt into a smooth, buttery glaze that coats the wafers perfectly without becoming greasy or grainy. ෆ
An ultra-easy, beginner-friendly no-bake dessert featuring plain, dry round wafers tossed in a rich, buttery, glossy glaze made from melted creamy toffee candies and a splash of milk. This stress-free make-ahead treat delivers a satisfying crunch and decadent caramel flavor in every bite without ever turning on your oven.
3.2 to 3.5 oz / 90-100 g plain round wafers(about 2 small packs)
17.6 oz / 500 gcreamy toffee candies(best to use Werther's Original Creamy Toffees; about 2 standard bags)
Scant ½ cup (7 tbsp + 1 tsp/about 100 ml)milk
1 tspvanilla extract(optional)
Method
Prep the Wafer Shards: In a large bowl break your plain round wafer sheets into distinct, bite-sized shards instead of crushing them into fine crumbs. Sift out and discard any fine wafer dust using your fingers or a mesh strainer to prevent the toffee glaze from getting grainy.
Set Up the Double Boiler: Set up a double boiler by placing a heatproof bowl over a pot of gently simmering water. Make sure the bottom of the bowl does not touch the water so the heat distributes evenly.
Melt the Toffee Candies: Add the 500 g of creamy toffee candies into the bowl. As they begin to soften over the steam, gradually pour in the 100 ml of milk while stirring constantly to help the liquids emulsify into a glossy, perfectly smooth glaze. Stir in the vanilla extract if using.
Pour and Mix Quickly: Once the toffee glaze is fully melted and fluid, remove it from the steam. Immediately pour the hot liquid over your wafer shards. Pro Tip: Get an extra pair of hands to toss and mix the wafers in the bowl while you pour to ensure the fast-setting candy glaze spreads evenly and coats every single piece.
Transfer to Serving Bowl: Right after mixing, gently transfer the coated wafer shards into your final presentation or serving bowl. Leave them loose and airy just like in the photo—do not press them down.
Chill and Set: Place the bowl in the refrigerator for at least 2 hours to allow the melted candy glaze to cool down and harden faster. If leaving it at room temperature, note that it will take significantly longer to firm up completely.
Serve and Enjoy: Once the toffee has fully hardened into a beautiful, crispy, and glossy treat, it is ready to be enjoyed straight from the bowl!
Notes
Speed is Key When Mixing: Melted toffee candy cools and hardens back into a solid form very rapidly once removed from the steam. Ensure your plain wafer shards are already broken and sitting in your mixing bowl before you lift the hot glaze off the double boiler so you can pour and mix instantly.
The Serving Bowl Transfer: Do not wait for the mixture to cool down before placing it into your final presentation dish. Move the coated shards into your serving bowl while the toffee is still warm and pliable so they stack beautifully and loosely without breaking or clumping into a solid mass.
Leftover Crunchy Retention: Never store your leftovers in the refrigerator long-term. The natural moisture and condensation inside a fridge will soak directly into the un-coated edges of the plain wafer sheets, completely destroying their premium crunch and turning them soggy. A dark pantry inside an airtight container is best.
The Werther’s Original Advantage: For the absolute best flavor and texture, it is highly recommended to use authentic Werther’s Original Creamy Toffees. Their specific high-quality fat-to-sugar ratio ensures the candy melts smoothly into a glossy glaze without breaking, whereas cheap or off-brand alternatives frequently split into an unfixable, greasy mess.
Why Choosing the Right Creamy Toffee candies Matters
Smooth Melting Consistency: Authentic creamy toffees have the ideal balance of butter and sugar to melt down into a thick, glossy sauce over a double boiler without separating.
Perfect Soft-Chewy Texture: Unlike hard candies that turn completely brittle, high-quality creamy toffees cool down into a rich, pleasant texture that holds the wafer shards together nicely.
Deep Caramel Flavor: Real toffee candies provide a rich, buttery taste that generic or cheap candies cannot match, making the whole dessert taste like a gourmet treat.
Why Brand Choice Prevents Melting Disasters
The Risk of Cheap Candies Splitting: Low-quality or off-brand toffees contain unstable fats and fillers. When heated, instead of turning into a smooth glaze, they separate into an oily mess with hard, solid lumps that will not mix with your milk.
Reliable Melting Quality: Authentic Werther’s Original Creamy Toffees are engineered with high-quality dairy and sugar ratios that melt down evenly into a glossy, uniform sauce every single time.
Saving Your Ingredients: If cheap candy splits and fails to melt, it ruins the entire batch of wafers and wastes your time and money trying to salvage a broken sauce.
The “Too Hard” Test: If a cheap creamy toffee feels completely rock-hard straight from the bag at room temperature, it is formulated more like a hard candy than a soft chew. It will fail to emulsify with your splash of milk and will leave you with hard, unmelting chunks.
Skip Off-Brand “Milk Chews”: Avoid generic milky chews that resemble Hi-Chew or cheap nougat. They melt into a stretchy, stringy, cheese-like blob rather than a glossy, pourable caramel glaze.
Ultimate Recommendation for Recipe Success
The Ultimate Guarantee for Success: If you truly want this dessert to turn out successfully on your very first try, I strongly recommend using authentic Werther’s Original Creamy Toffees. This is not sponsored—it is simply the most reliable, tested choice that guarantees your candy will melt into a flawless, glossy glaze rather than splitting or separating.
Save Your Time and Ingredients: Experimenting with cheap, low-quality, off-brand alternatives risks ruining the entire batch. Instead of a smooth caramel coating, inferior candies often break down into greasy oils and hard, solid lumps that completely waste your wafers and ingredients.
Common Mistakes to Avoid
Melting Candy on Direct High Heat: Placing hard toffee candies straight into a hot pot without a double boiler will scorch the sugar instantly and turn your glaze bitter and burnt.
Adding Too Much Liquid All at Once: Pouring the milk in too fast instead of gradually can cause the melted sugar to seize up into a hard, unfixable lump.
Using Filled or Cream Wafers: Choosing wafers with chocolate or cream fillings instead of plain, dry round sheets will release unwanted oils and turn your dessert greasy and soggy.
Crushing Wafers into Fine Crumbs: Breaking the wafers down into tiny powder instead of keeping them as distinct, bite-sized shards leaves no airy gaps for the glaze to properly hold the structure together.
Pouring the Glaze Alone Without Help: Trying to pour the hot caramel liquid and toss the dry wafers simultaneously by yourself can result in uneven spots where the fast-setting candy hardens in one clump before mixing.
What to Serve With This Dessert
While this No-Bake Toffee Wafer Cake is a spectacular standalone dessert, pairing it with the right beverage or side can elevate the entire experience. Because the melted candy coating is intensely rich, sweet, and buttery, it pairs best with options that offer a refreshing, bitter, or creamy contrast.
Unsweetened Hot Coffee or Espresso: The dark, bitter notes of a fresh espresso or a hot cup of black coffee cut through the intense sweetness of the melted toffee perfectly, balancing your palate after every bite.
Cold Brew or Iced Latte: If you prefer cold drinks, an unsweetened iced latte or a glass of smooth cold brew acts as a refreshing counterweight to the rich, buttery crunch of the wafers.
Strong Black or Herbal Teas: A hot cup of Earl Grey, English Breakfast, or a floral chamomile tea provides a comforting, aromatic contrast that pairs beautifully with the warm caramel tones.
A Scoop of Vanilla Bean Ice Cream: For an extra indulgent treat, serve a slice of this crunchy cake alongside a scoop of unsweetened or lightly flavored vanilla bean ice cream to add a cold, creamy element to the plate.
A Tall Glass of Cold Milk: The absolute classic pairing for any rich, caramel-forward dessert. A cold glass of dairy or unsweetened plant-based milk instantly cleanses the palate and tones down the sugary finish.
Fresh Tart Berries: Serve a handful of fresh raspberries, tart blackberries, or sliced strawberries on the side. The natural acidity and brightness of the fruit slice straight through the heavy, buttery toffee candy layers.
Make-Ahead & Storage
The Ultimate Make-Ahead Treat: This dessert is actually better when made in advance. Preparing it the night before hosting gives the sticky toffee glaze plenty of time to cool, firm up completely, and settle into stable, easily sliceable layers.
Room Temperature Storage: Store any leftovers in an airtight container at room temperature for up to 3 to 4 days. Keeping it on the counter is ideal because the caramel glaze stays perfectly soft and chewy without absorbing excess ambient moisture.
Avoid the Refrigerator: Do not store the cake in the fridge long-term unless your kitchen is extremely hot and humid. The high humidity inside a refrigerator will introduce moisture into the plain wafer sheets, causing them to lose their premium crunch and turn soggy over time.
Do Not Freeze: Freezing this cake is not recommended. The intense freezing and thawing process completely breaks down the delicate structure of the dry wafers, leaving you with a mushy texture rather than a clean, shatteringly crisp bite.
Keep It Sealed Tight: Store the wafer dessert in an airtight container. The wafers can lose their crunch if left exposed to air, and the caramel coating may get sticky from moisture. Keeping it sealed helps it stay crisp and delicious.
Frequently Asked Questions
Can I use regular jarred caramel sauce instead of hard toffee candies?
No. Standard caramel sauce or liquid caramel contains too much liquid and will instantly turn your dry wafers into a soggy mess. Melting down hard toffee candies or cream toffees with a bit of milk creates the thick, candy-like glaze needed for this cake to set properly.
Why do I need to use a double boiler instead of melting the candy directly in a pot?
Hard candies burn and scorch very easily if placed straight onto high heat. Melting them over gentle steam ensures a slow, even, and safe transformation into a smooth, glossy sauce without ruining the flavor.
Can I use filled wafers or chocolate-covered wafers for this recipe?
No. You must use simple, plain round wafers with no filling or cream layers. Filled wafers will melt and release oils that ruin the texture, whereas plain dry wafer sheets absorb the glaze and keep the cake crisp.
Why do I need a helper to pour the toffee glaze?
Melted hard candy hardens much faster than regular syrup. Having someone continuously toss and mix the wafer shards while you pour ensures the hot toffee spreads evenly across every single piece before it begins to set.
How long does it need to chill in the refrigerator to set?
You should refrigerate the assembled wafer cake for at least 2 hours to help the melted toffee candy cool down and harden faster. You can also let it set at room temperature, but it will just take a bit longer to firm up completely.
Should I store the leftover dessert in the fridge or at room temperature?
Store it in a tightly sealed container at room temperature for up to 3 to 4 days. The refrigerator introduces humidity that can make the dry wafers soggy over time, unless your home is very hot and humid.
I hope you love this as much as I do. Happy cooking! ෆ
These Easy Oven-Baked Pork Meatball and Potato Skewers are the perfect all-in-one meal! Packed with juicy pork mince, roasted potatoes, and colorful veggies, they are paired with a creamy garlic dill sauce that everyone will love. Perfect for quick weeknight dinners or casual family gatherings!
These easy ham and cucumber mini sandwiches are the perfect party appetizer, made with crispy oven-baked baguette, creamy dill spread, fresh cucumber, and savory ham. Perfect for parties, brunches, showers, holidays, game day, and easy entertaining.
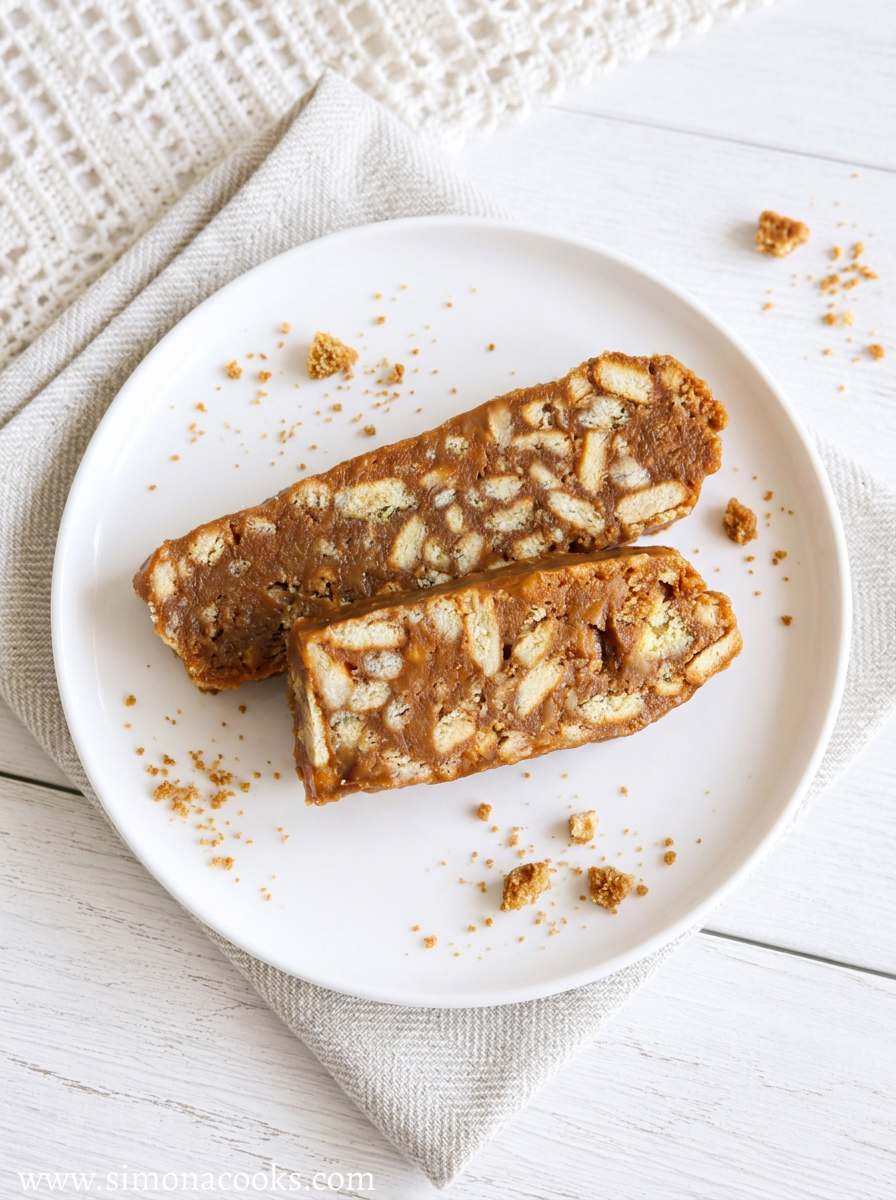
The ultimate No-Bake Twix Caramel Biscuit Cake recipe! A fudgy, crunchy fridge cake made with caramelized condensed milk. Perfect for a serious sweet tooth!
These sweet crepes are filled with a creamy, lightly sweet cottage cheese filling and cooked until beautifully golden. They make an easy homemade breakfast or dessert that the whole family will love, especially served warm with melted butter, fresh berries, or a dusting of powdered sugar.
These easy sausage buns are soft, buttery, and packed with flavor, thanks to ready-made yeast dough, juicy sausages, and a delicious garlic butter and parsley filling. They come together with minimal effort and are perfect for breakfast, lunch, parties, or an easy snack. Add cheese, mustard, or ketchup for your own twist!
The ultimate Creamy Scrambled Egg Toast recipe! Fluffy soft-scrambled eggs with juicy tomatoes, parsley butter, and mayo on crunchy artisan bread. Pure comfort!